SLA Part Design Guide Overview –
Stereolithography (SLA) allows you to design complex models and patterns and have them manufactured in record time. The high level of accuracy makes SLA ideal for manufacturing concept models, form and fit studies, precision patterns, and high quality appearance models, etc. This SLA Part Design Guide can be used to optimize your design for the SLA 3D Printing process.
Max build envelope capacity: 20” x 20″ x 20″
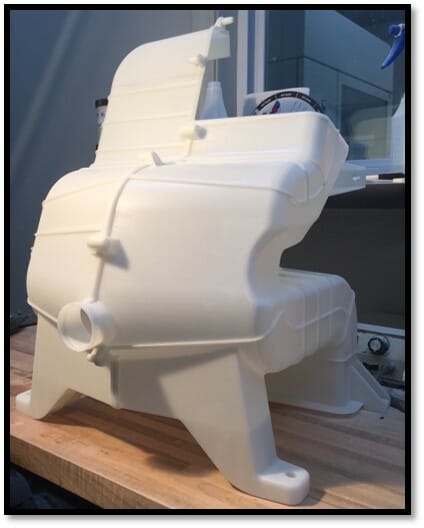
NOTE: Parts much larger than the machines build volume are possible, the CAD data is split into sections, printed, then assembled by a model maker using light welding. The finished part is just as strong and functional as if it had been printed as a single piece.
Benefits:
- Tight tolerances
- Extensive material options
- Smooth surface finish
- Machinable and paintable
- Large parts
- Optical clarity
SLA Part Design Guide – STL Resolution:
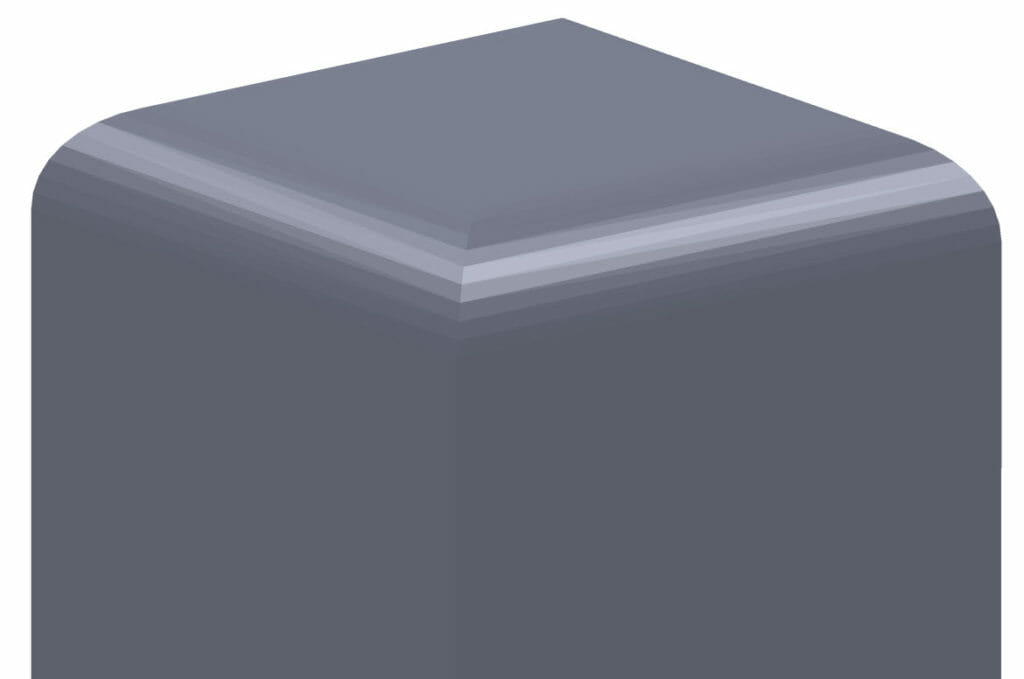
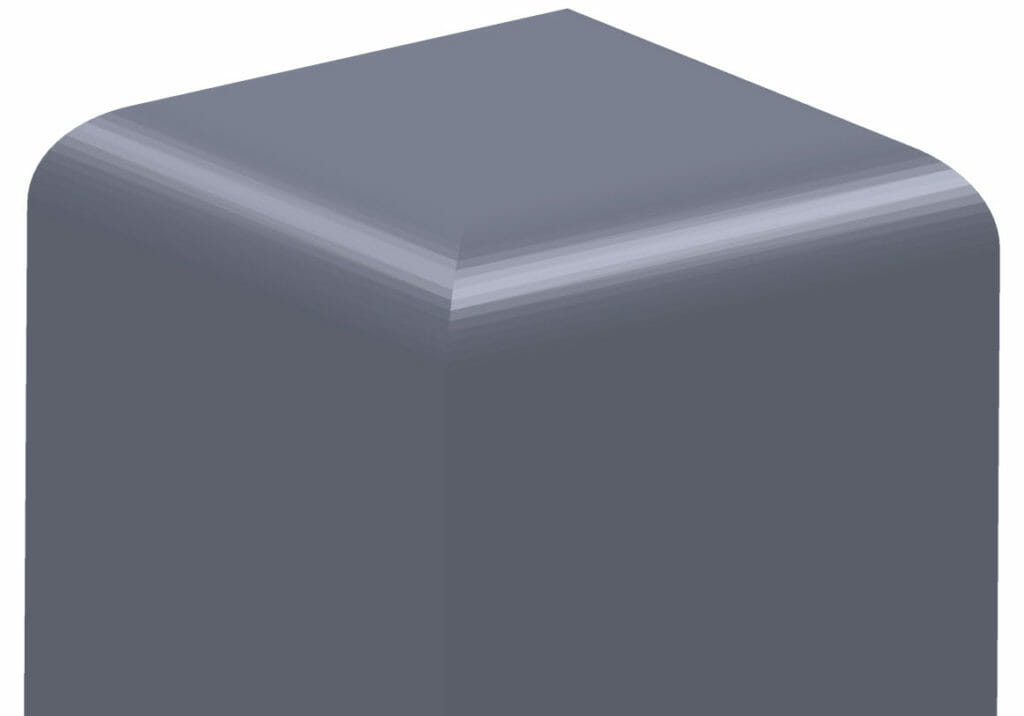
It is highly recommended that you review your STL file prior to quoting and/or manufacturing. If the resolution is too low, you can get faceting on curves which will result in poor feature definition on parts.
SLA Part Design Guide – Holes:
The resolution of the SLA process limits hole sizes to .025” or greater. Smaller holes typically will not be created.
SLA Part Design Guide – Internal Threads:
Threads as small as 1/4-20 (M5) can be printed on an SLA machine. They are not very strong or wear resistant so we recommend using helicoils to reinforce them after printing.
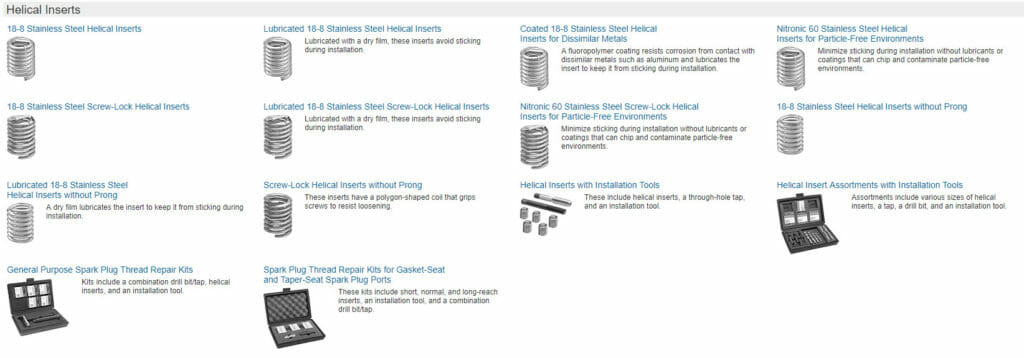
We recommend Helicoils for SLA parts from McMaster-Carr
SLA Part Design Guide – Reducing support on printed parts:
SLA Part Design Guide – Glue Joints:
Parts larger than the maximum build size can be printed with the SLA process by splitting them into different parts. They can then be joined together by gluing, light welding, or by pin inserts. If you plan to glue parts together, you are recommended to include interlocking features such as those shown in the pictures below: as a guide to position the parts, to help them to bond together, and to facilitate the gluing process. Remember to leave an additional space of .004″ [0.1mm] – .008″ [0.2mm] between parts for the glue. At F3DP we utilize a specialized software called Magics that allows us to very easily and quickly split parts to make glue joints as needed. We offer this for free to our customers and can work with you to make sure you original design intent is maintained.

We recommend using Loctite HY4070 glue for assembling HP MJF parts. Here is a 3D Printing Glue Strength Guide.
Strength test comparing UV Bonding Adhesive vs. Super Glue:
SLA Part Design Guide – Solid Parts:
It is recommended to core solid parts whenever possible in order to reduce build time and material consumption. This will result in a lower cost to manufacture parts.
SLA Part Design Guide – Inaccessible Areas:
Inaccessible areas on parts cannot be properly finished. If it is required that these surfaces be finished, it is recommended to design the part in two pieces and assemble after finishing.
As a service to our customers F3DP is happy to split up your part design in our specialized Magics software to fix an inaccessibility issue.

SLA Part Design Guide – Mating Parts & Assemblies:
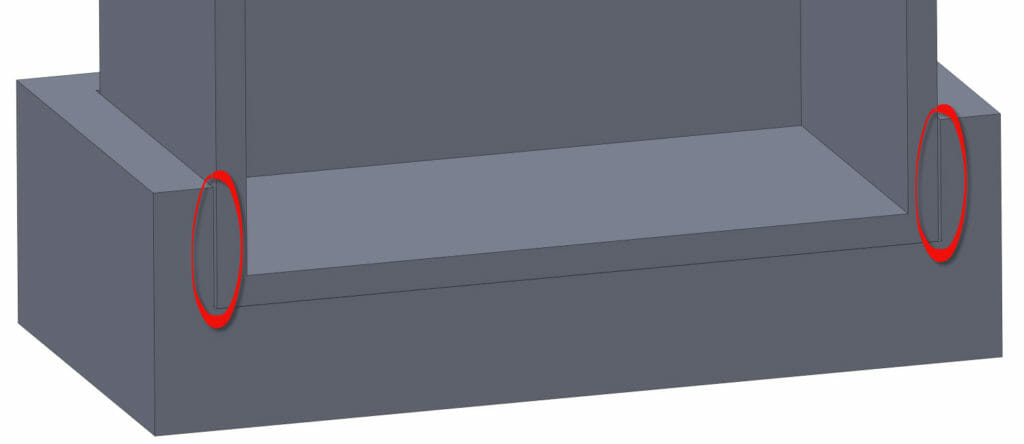
It is recommended to design at least a .010” gap overall between any two mating faces in mating parts or assemblies.
SLA Part Design Guide – Lettering:
Recessed and embossed lettering on a flat surface should be a minimum of .020” deep (or high) in order to be clearly visible. Recessed lettering on a curved surface should be a minimum of .020” deep in order to be clearly visible. Lettering should be at least .010” wide.

SLA Part Design Guide – Downward Facing Knife Edges:
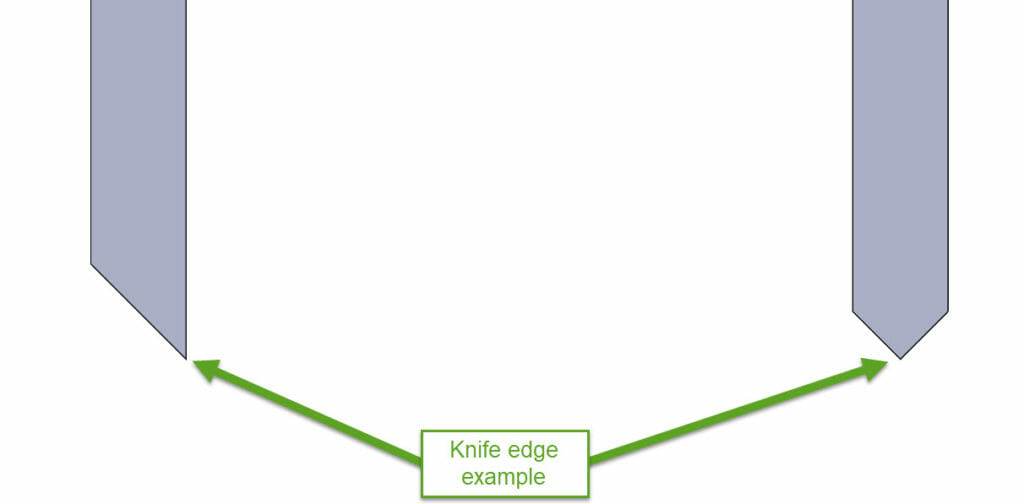
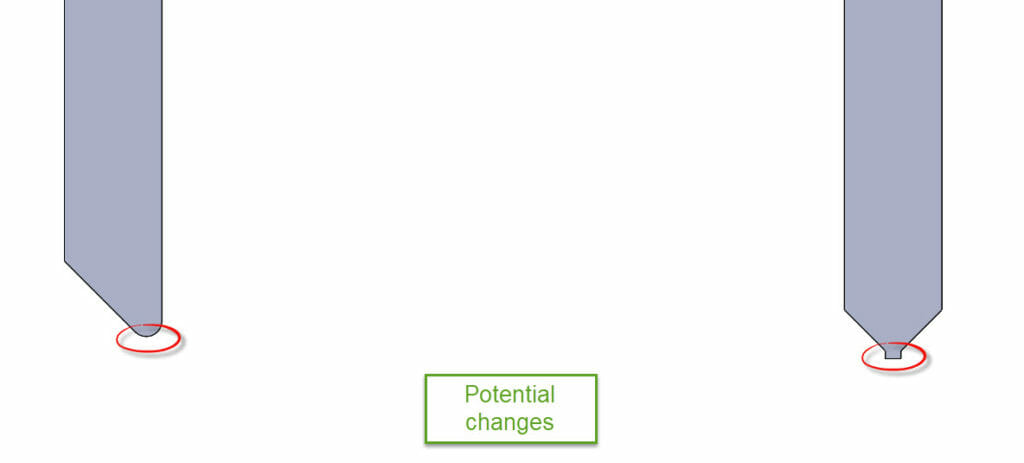
Traditional knife edges are difficult to manufacture using the SLA process when they are located on the bottom surface of the part relative to the build platform. This is due to the diameter of the laser beam and the minimum feature size (build layer thickness). Knowing if a knife edge will build can be tricky for a non 3DP process expert, therefore, if you need a knife edge on your part bring it to the attention of the F3DP sales engineer who is processing your order and they will determine how to best orient your part to preserve the knife edge.
SLA Part Design Guide – Living Hinges:
We recommend using tape to mimic a living hinge on SLA components this is due to the fact that parts printed with a living hinge will work for only a few cycles before they break.

While this SLA Part Design Guide might not have all the answers for your SLA part design, its a solid starting point. F3DP’s Sales Engineers are always happy to educate customers on the process and how to design successful parts for printing with it.

