There are many different ways of adding threads to 3D printed parts, this guide specifically covers using E-Z Lok Inserts for MJF TPU Rubber parts. At Forerunner 3D Printing we run into assembly applications almost daily that require some type of thread when either designing our own parts or consulting on our customers designs. This can be challenging when using 3D Printed rubber parts as the only 2 viable options we have found is to either print the threads into the part directly or to install a metal E-Z Lok insert after the part is printed. The reason you may want to go with a E-Z Lok insert is if your part will be getting assembled and then taken back apart regularly which over time could wear out a printed in rubber thread. We have developed our own design guidelines for the holes these inserts are installed in. We recommend using our hole sizes to prevent any splitting of the TPU part during installation while still allowing for a strong connection between the printed part and the E-Z Lok insert.
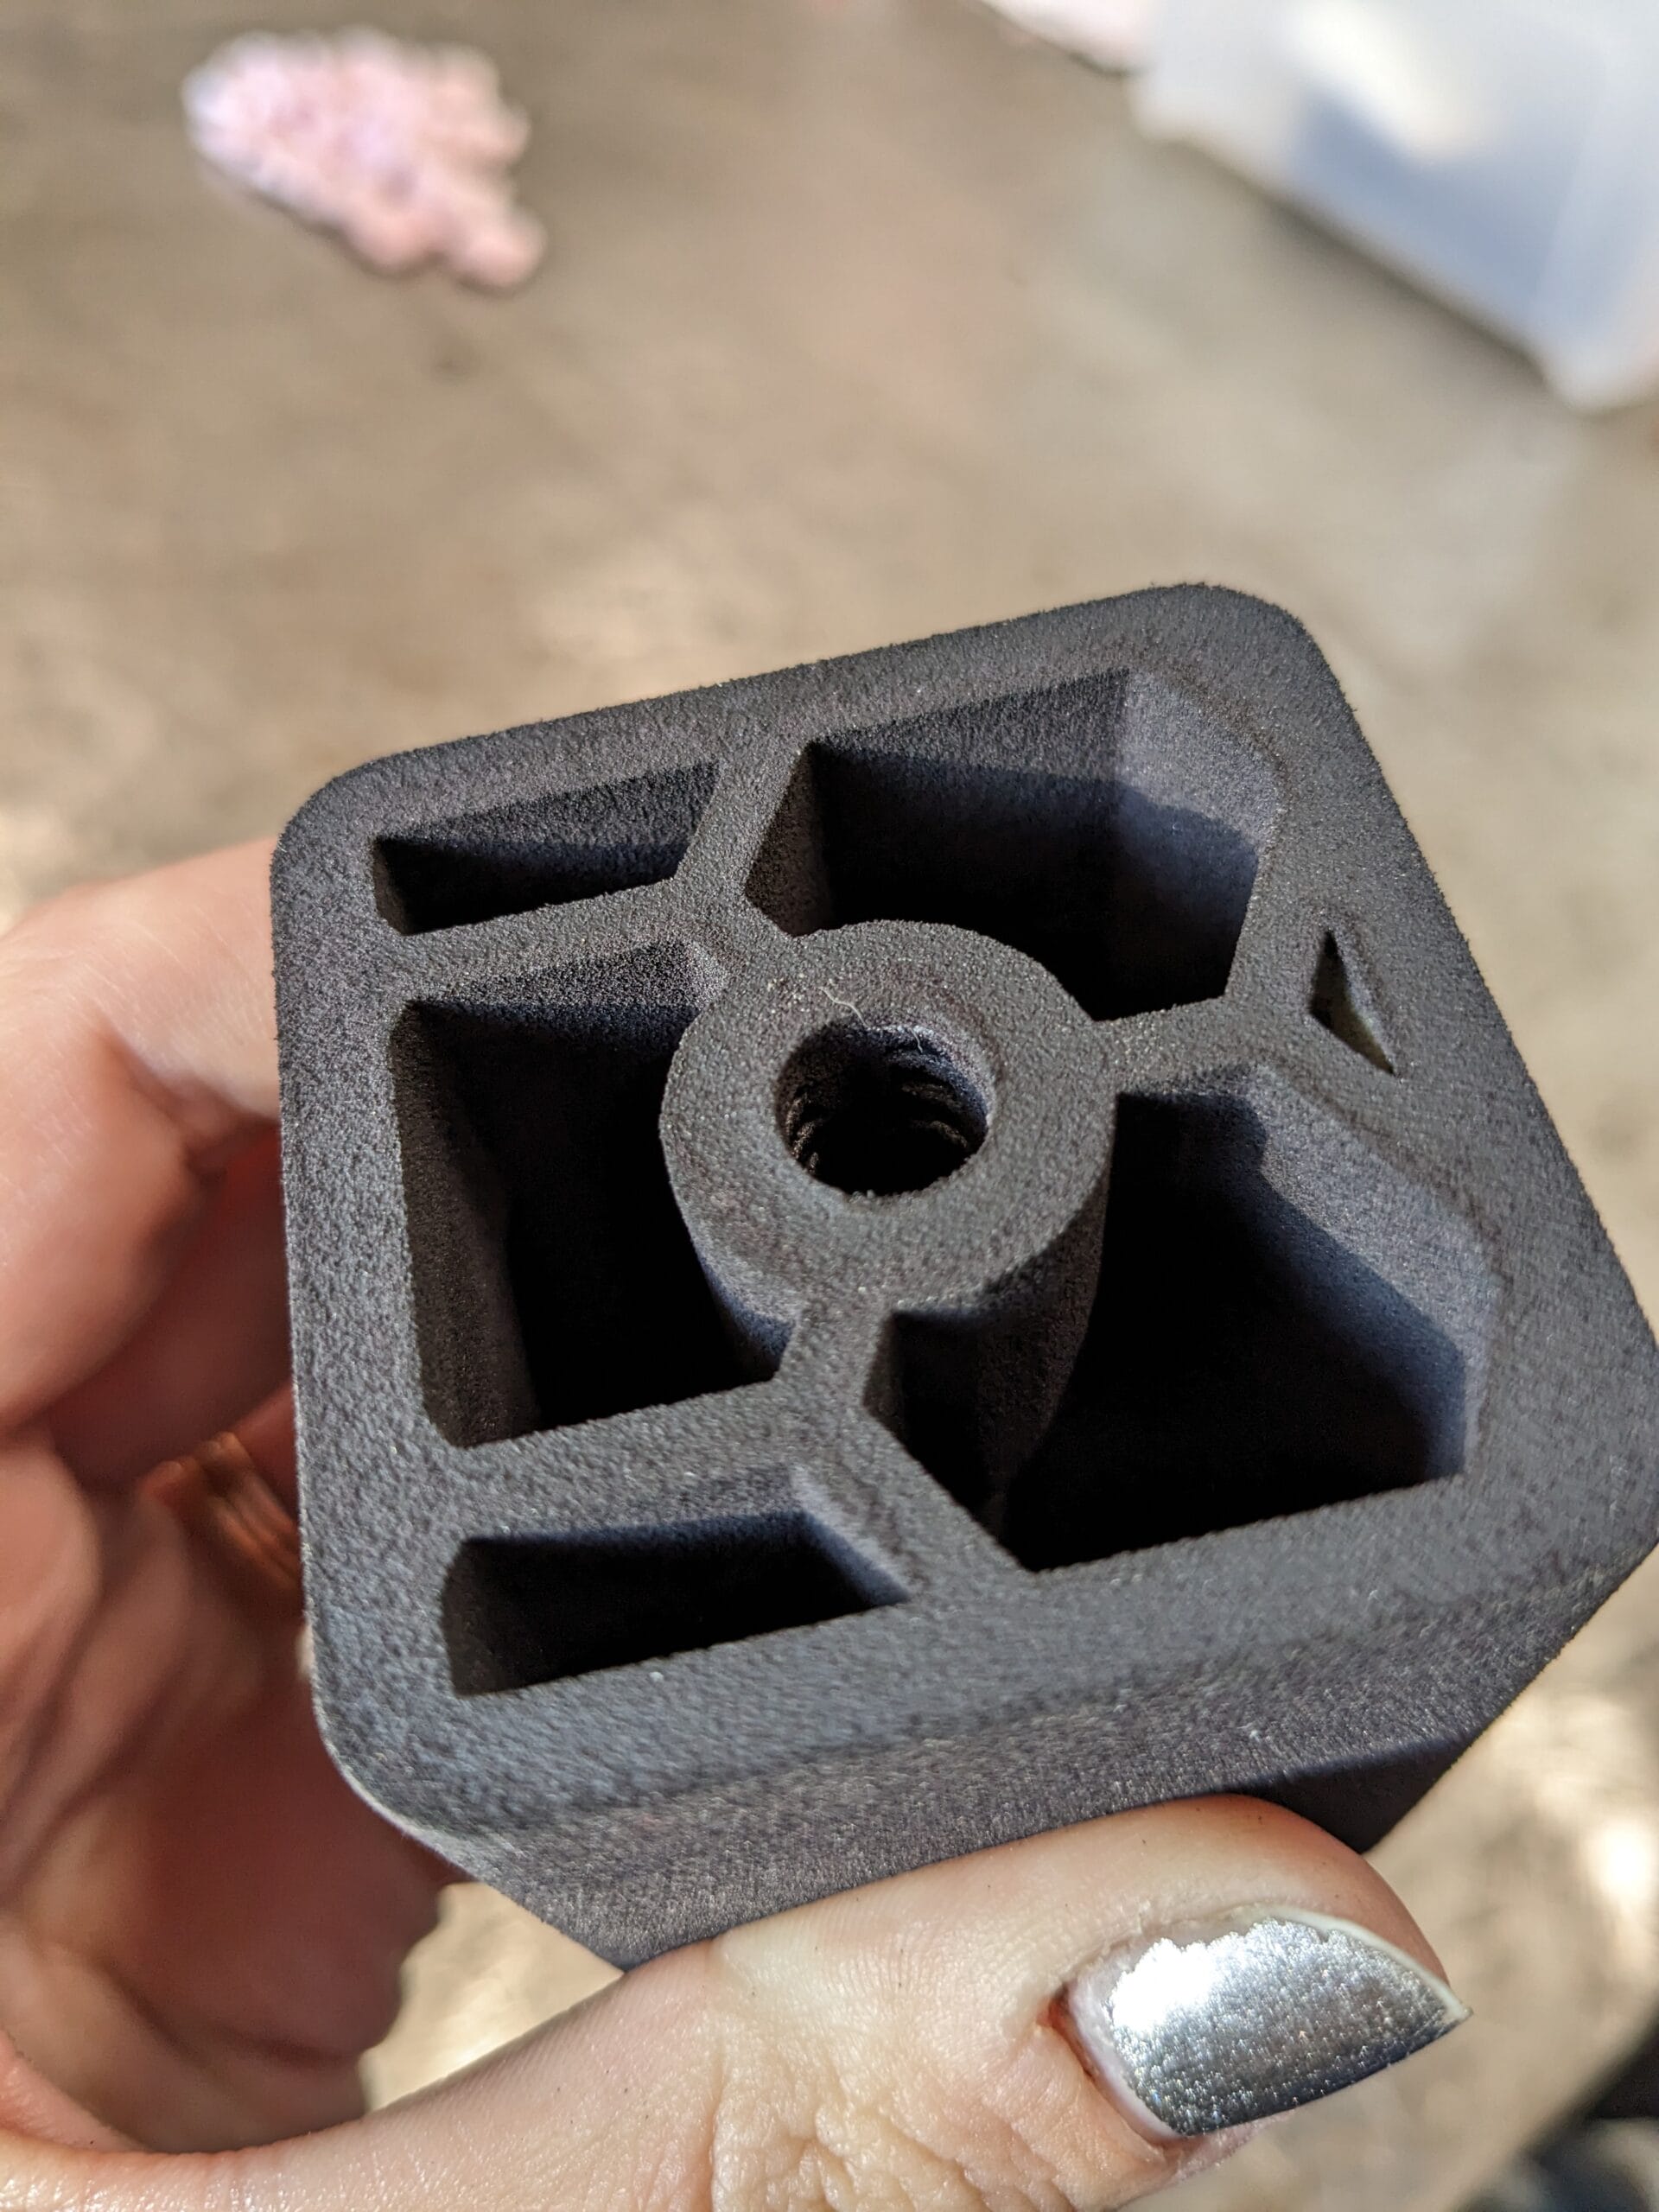
E-Z Lok Insert Hole Design Guidelines:
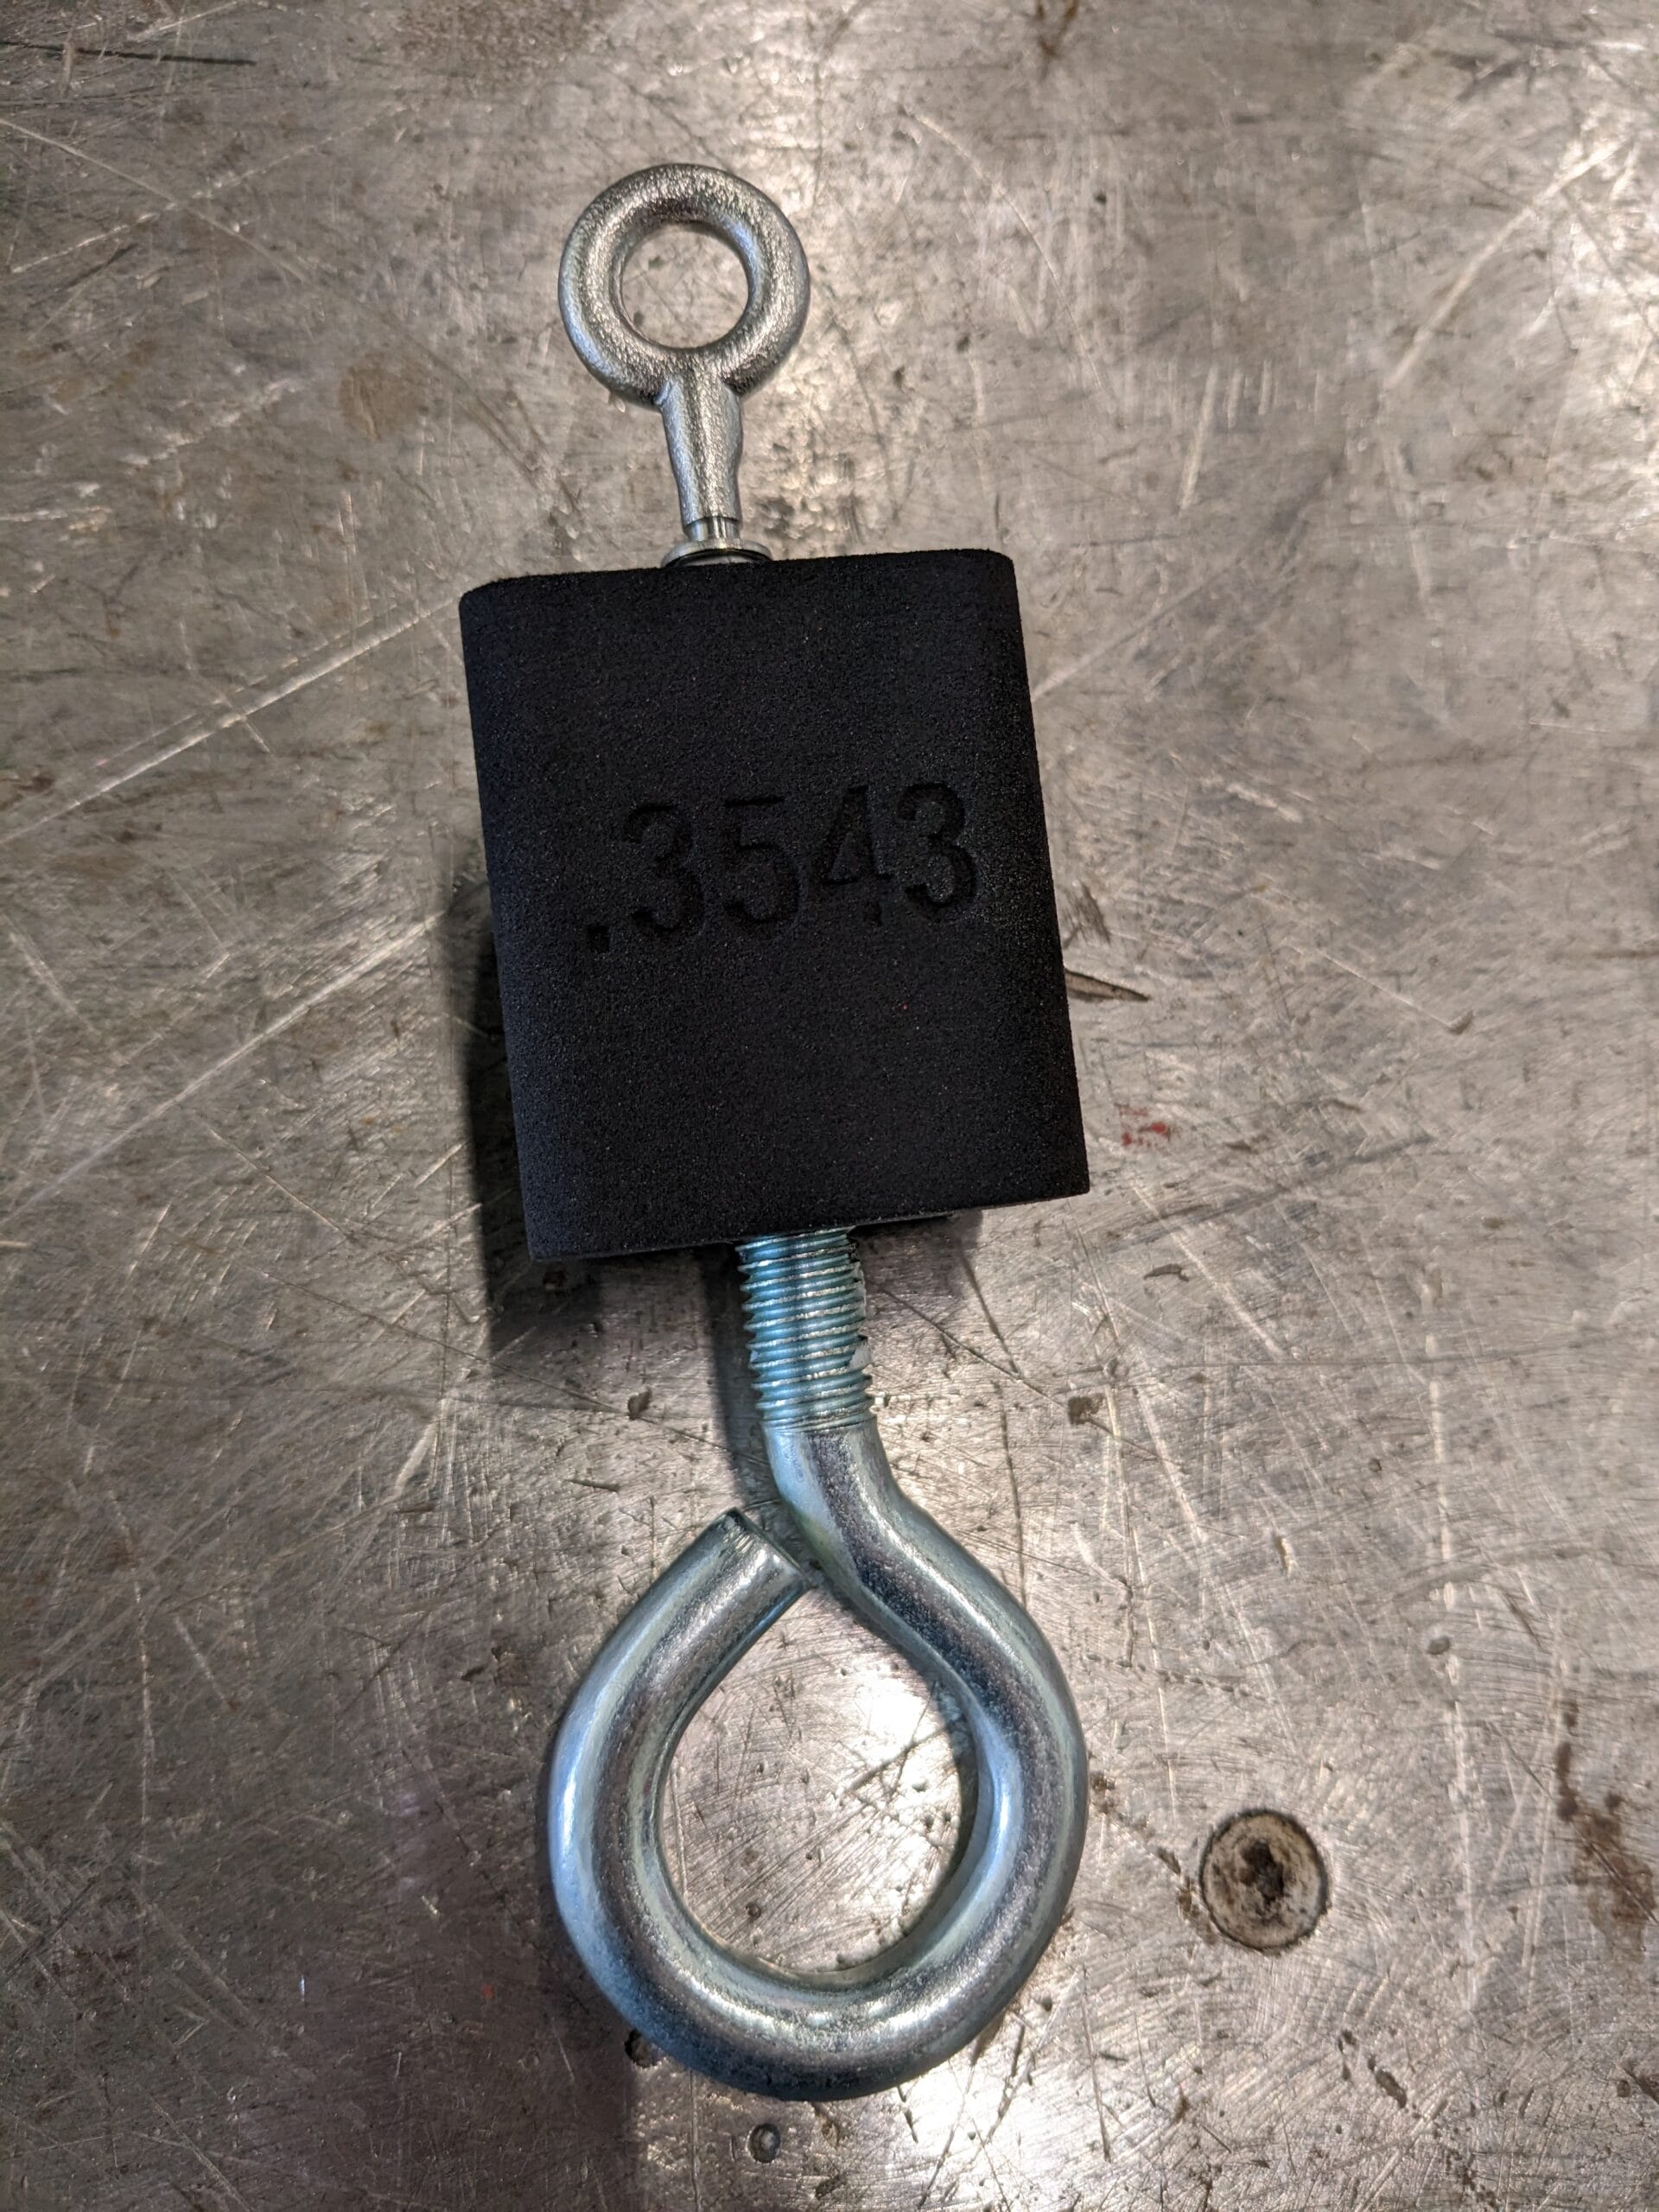
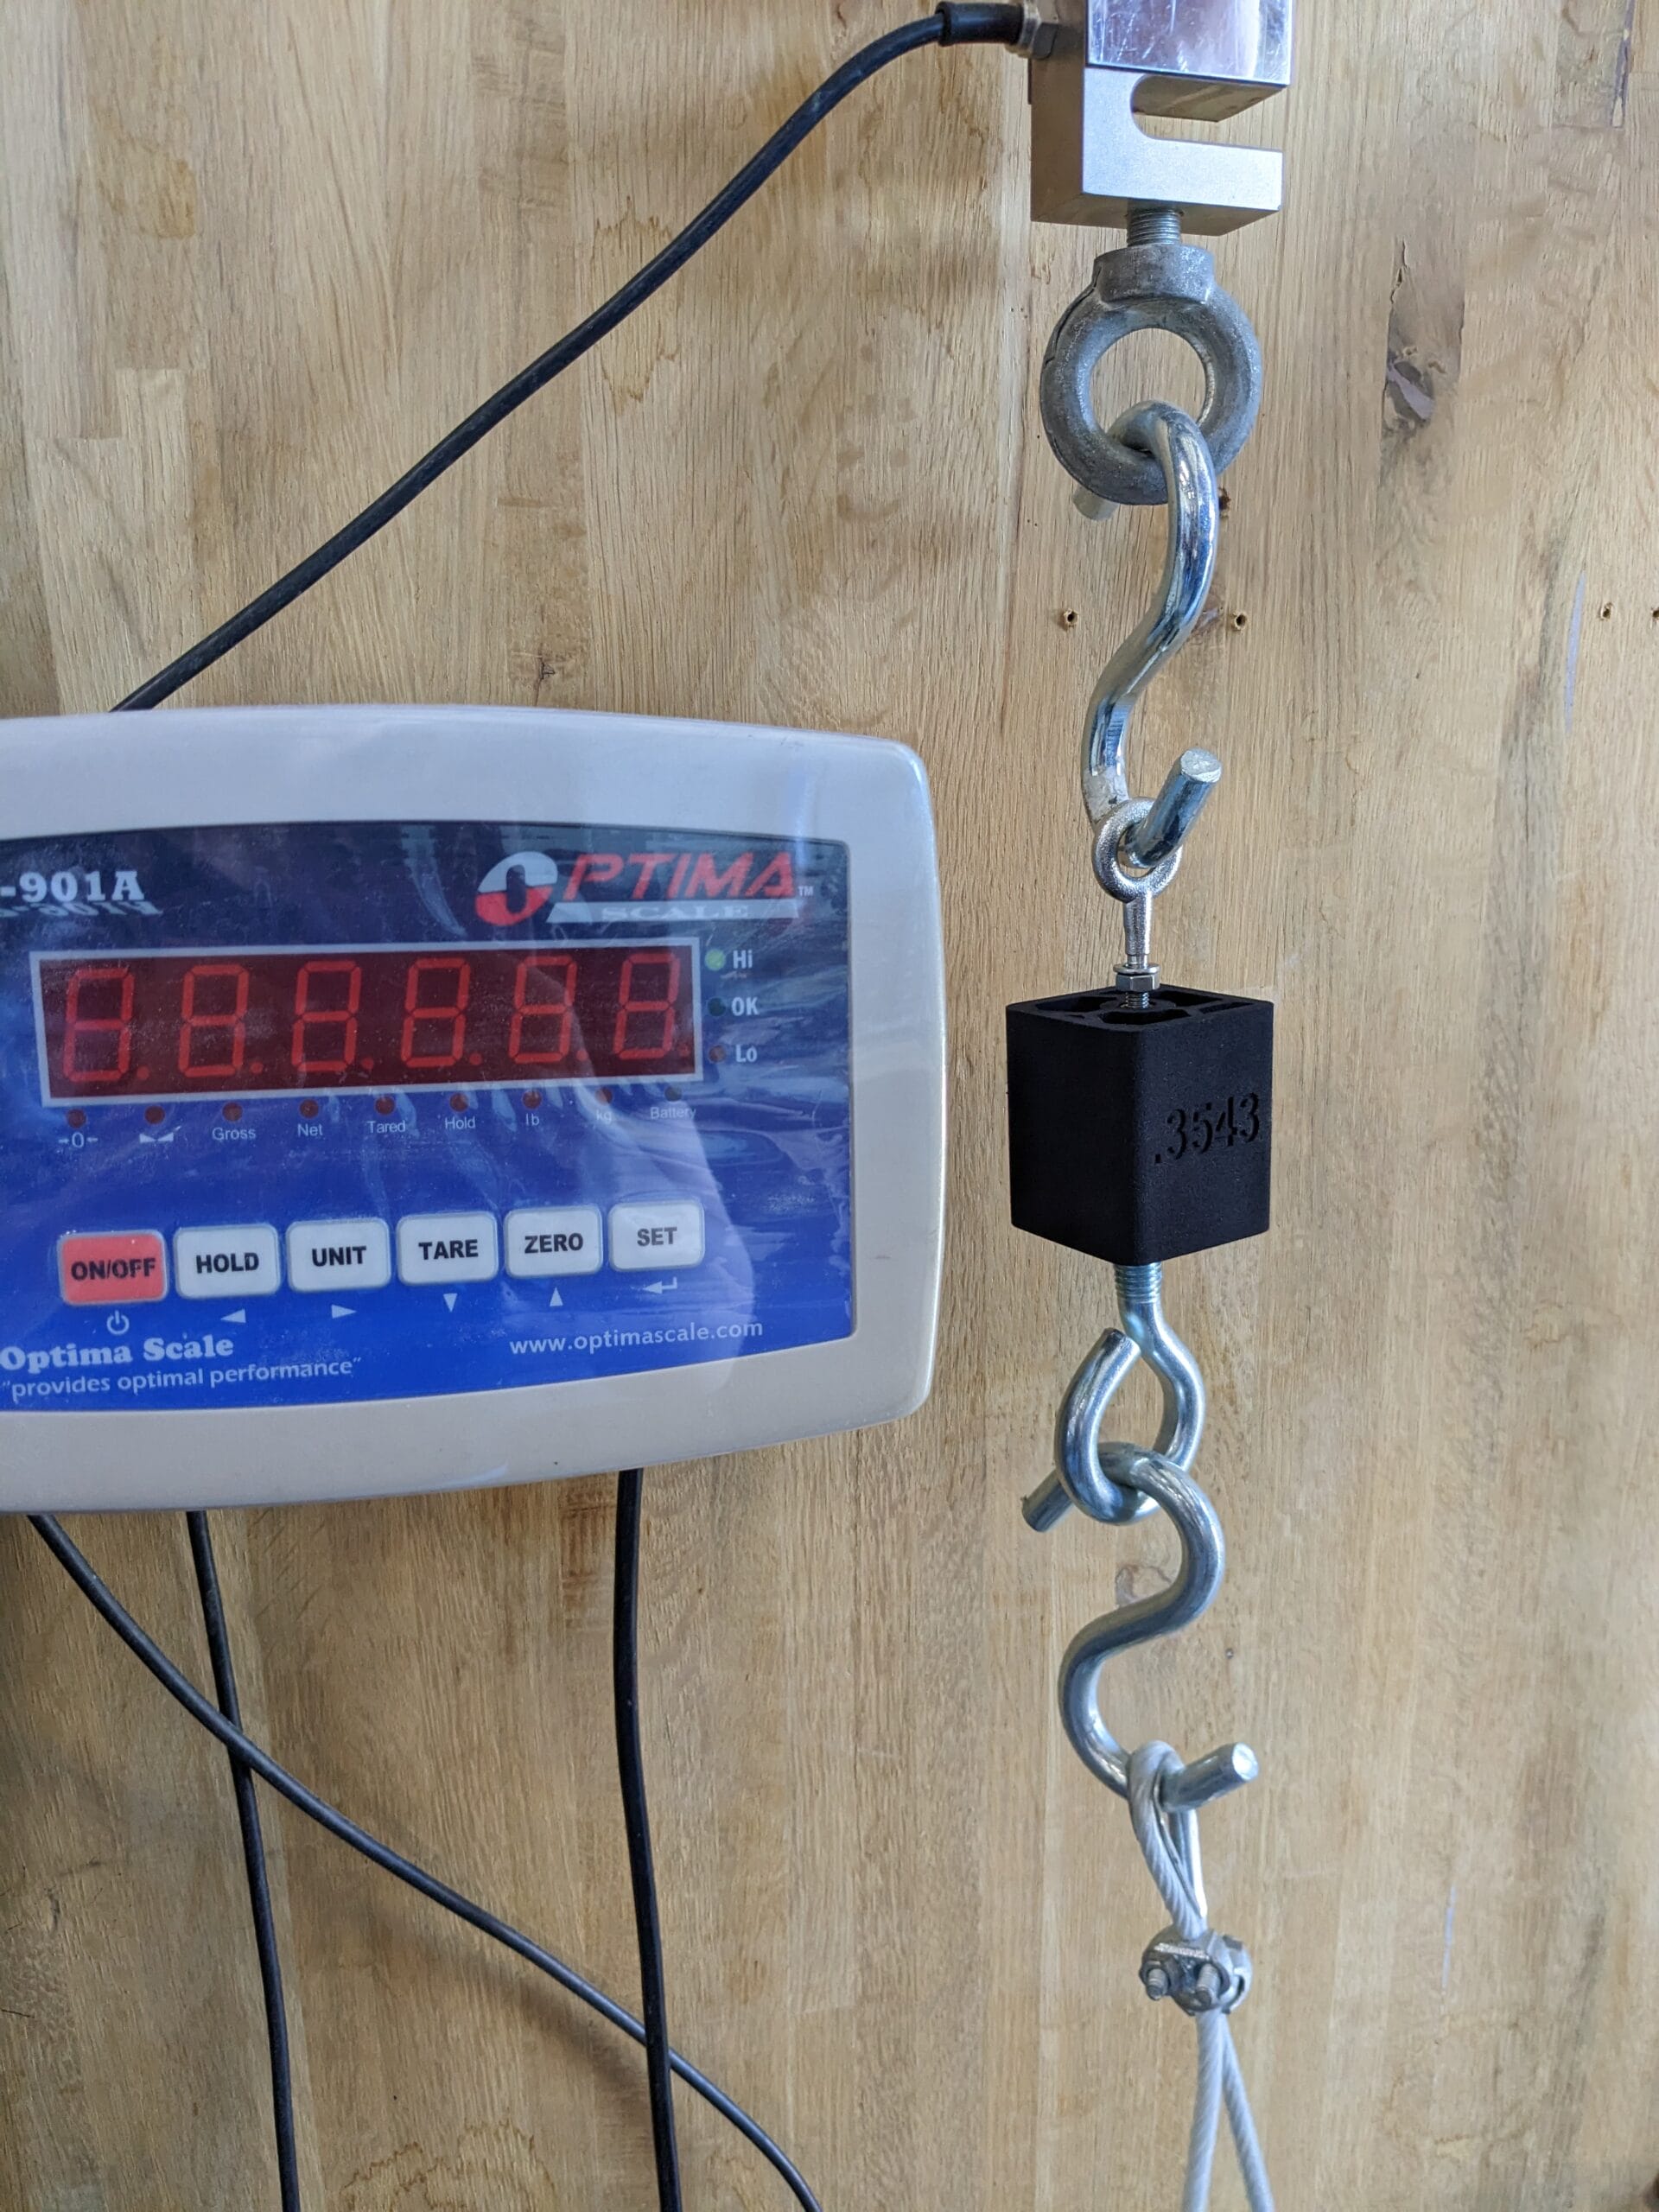
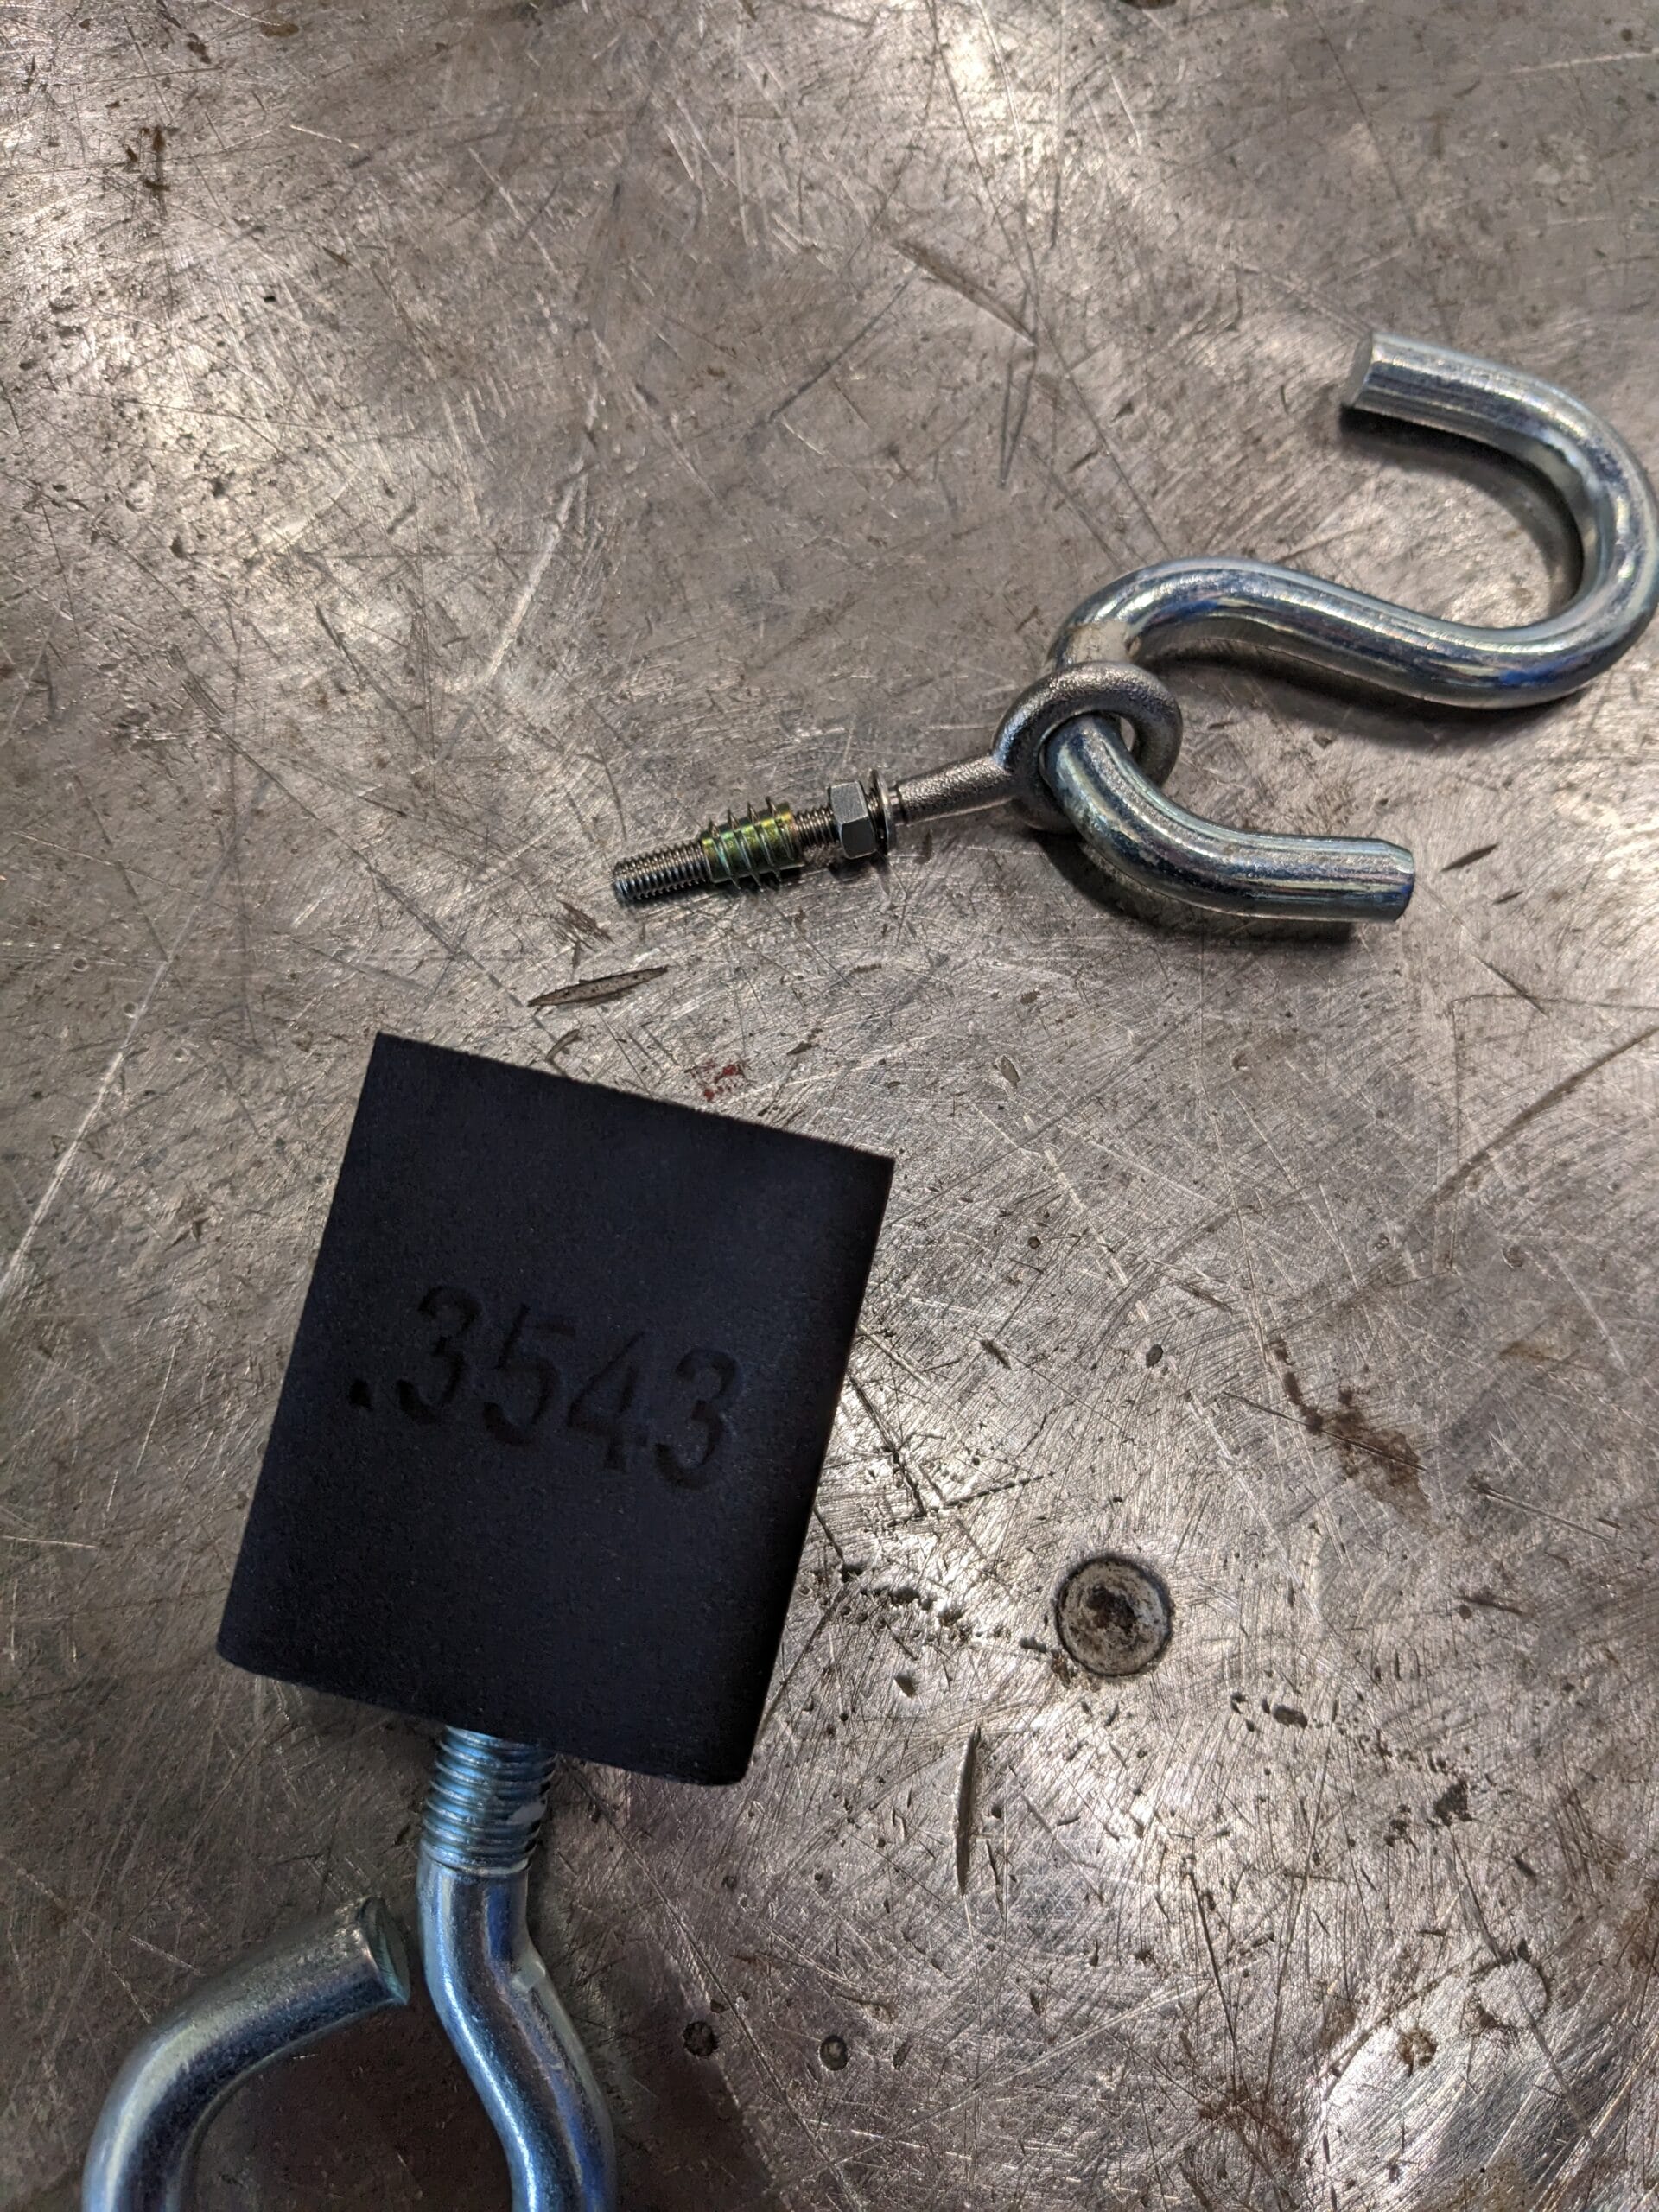
The video at the top of this page shows the testing used to establish the pull out forces in the chart below:
| Hole Dimeter | Pull Out Force | E-Z Lok Site | Buy Here | |
| M6-1.0 x 13mm | 0.3543" | 338 LBS | LINK | LINK |
| M8-1.25 x 13mm | 0.4331" | 370 LBS | LINK | LINK |
| 10-24 x 13mm | 0.3012" | 174 LBS | LINK | LINK |
| 1/4-20 x 13mm | 0.3593" | 120 LBS | LINK | LINK |
| 5/16-18 x 13mm | 0.4575" | 272 LBS | LINK | LINK |
| 3/8-16 x 13mm | 0.4887" | 420 LBS | LINK | LINK |
Comparison Between Printed In Threads & E-Z Lok Inserts:
Want a second set of eyes to check over your design or have a question? We offer free Design for Additive Manufacturing (DFAM) consulting for our customers: