


Applying various finishes to 3D Printed parts has always been an important side of the services offered here at F3DP, but as more and more end use parts are now being manufactured using 3D printing and Additive manufacturing it has taken even more importance. We have worked to stay at the forefront as new finishing techniques have become available and have even blazed a few trails of our own by being the first 3D Printing company in the United States to offer Cerakote finishes as an inhouse service to our customers.
The following is an overview of the secondary finishing services we offer. If you have questions or are not sure what is right for your project feel free to send a message to one of our knowledgeable Sales Engineers and we can help you figure out what is the best option for your specific project.
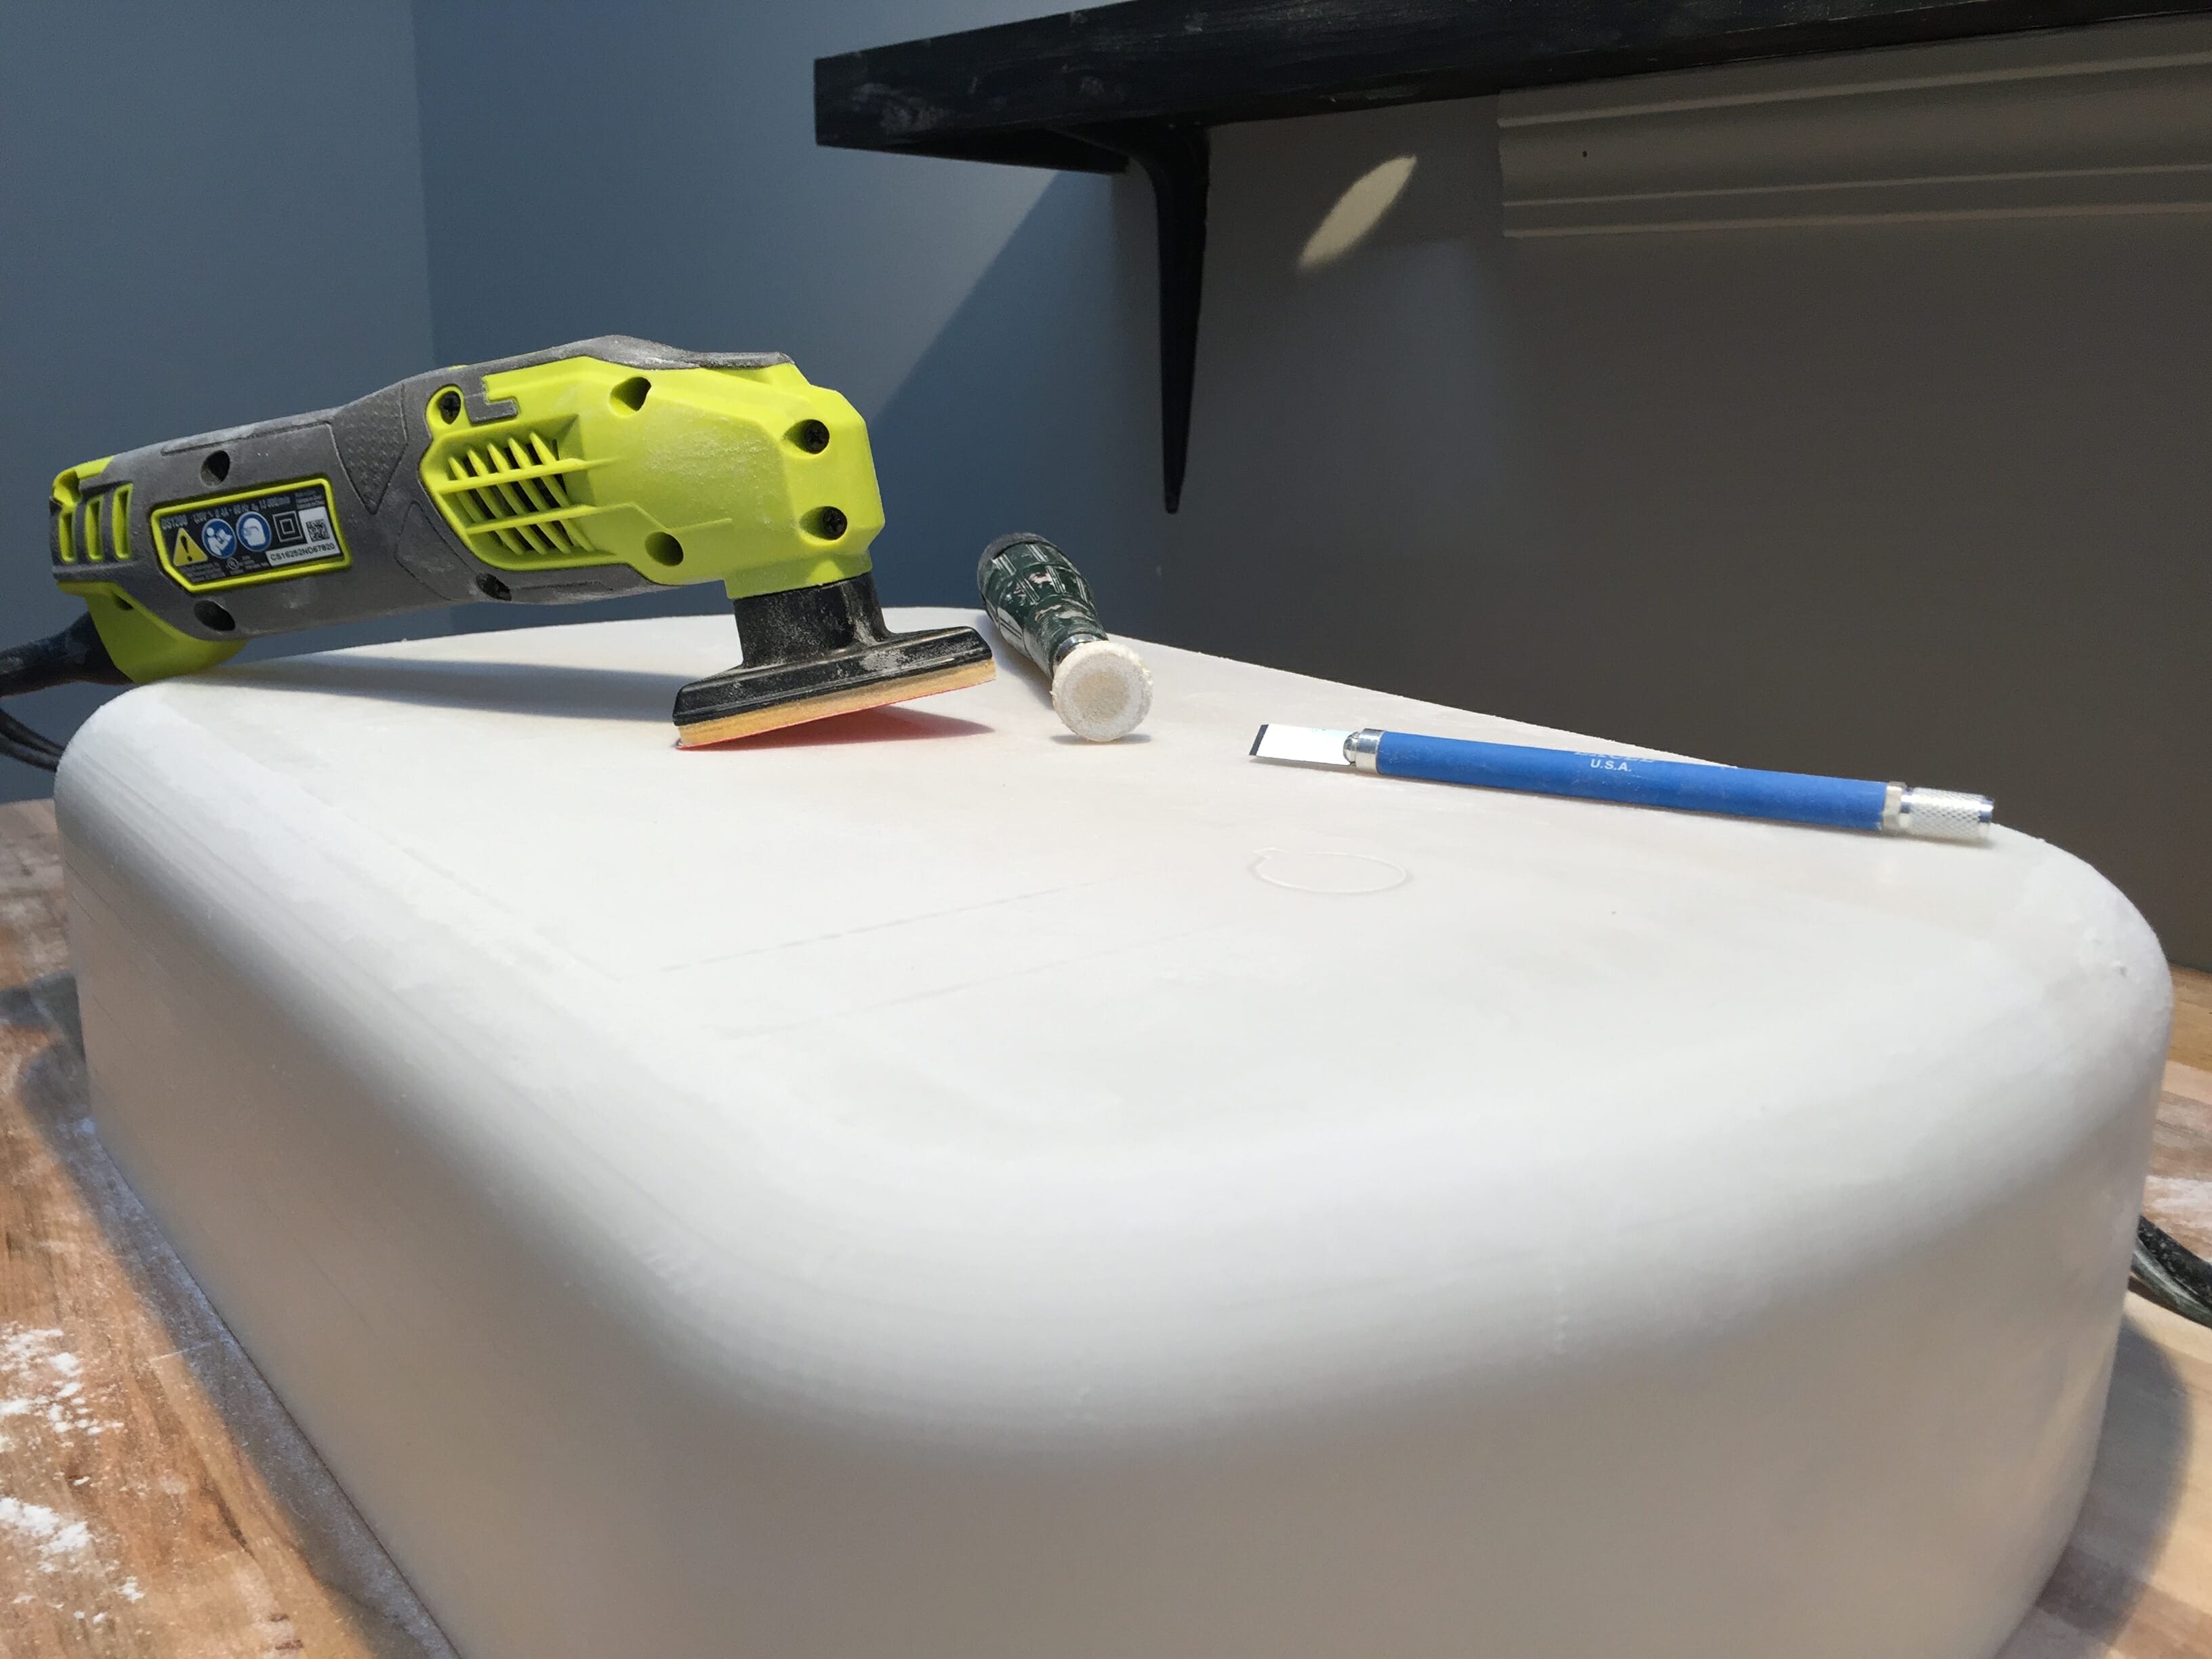
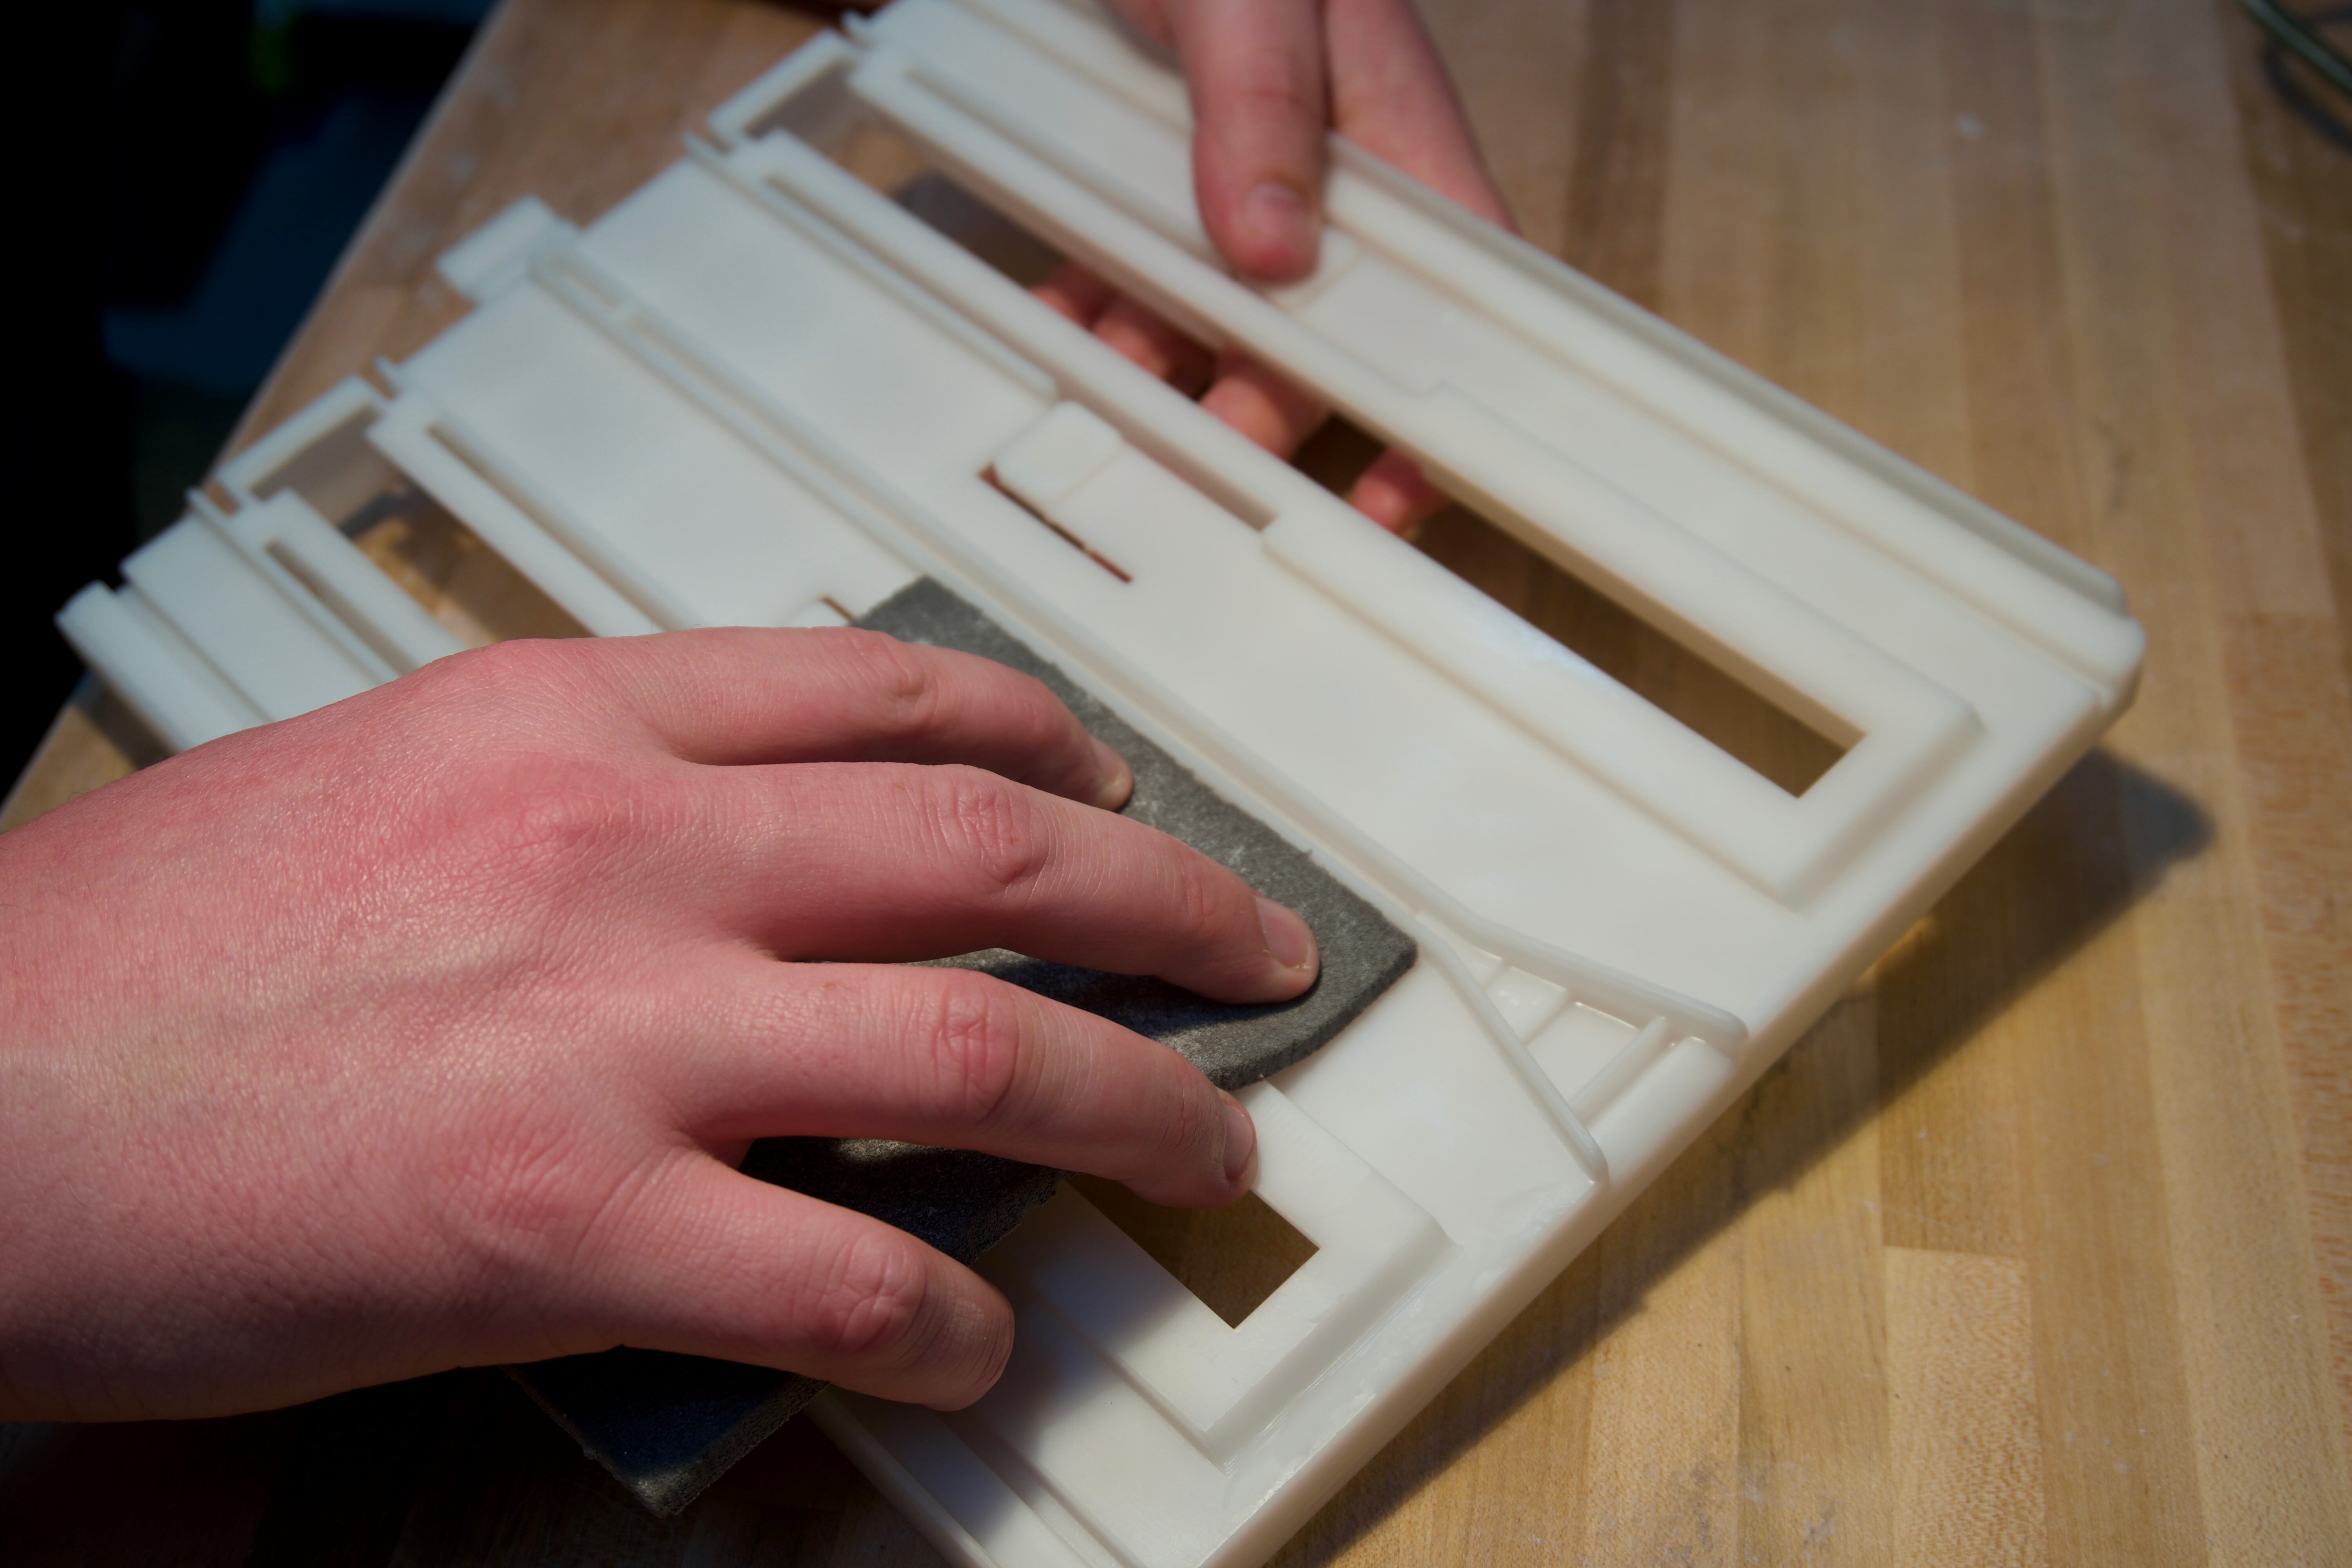
Part Sanding:
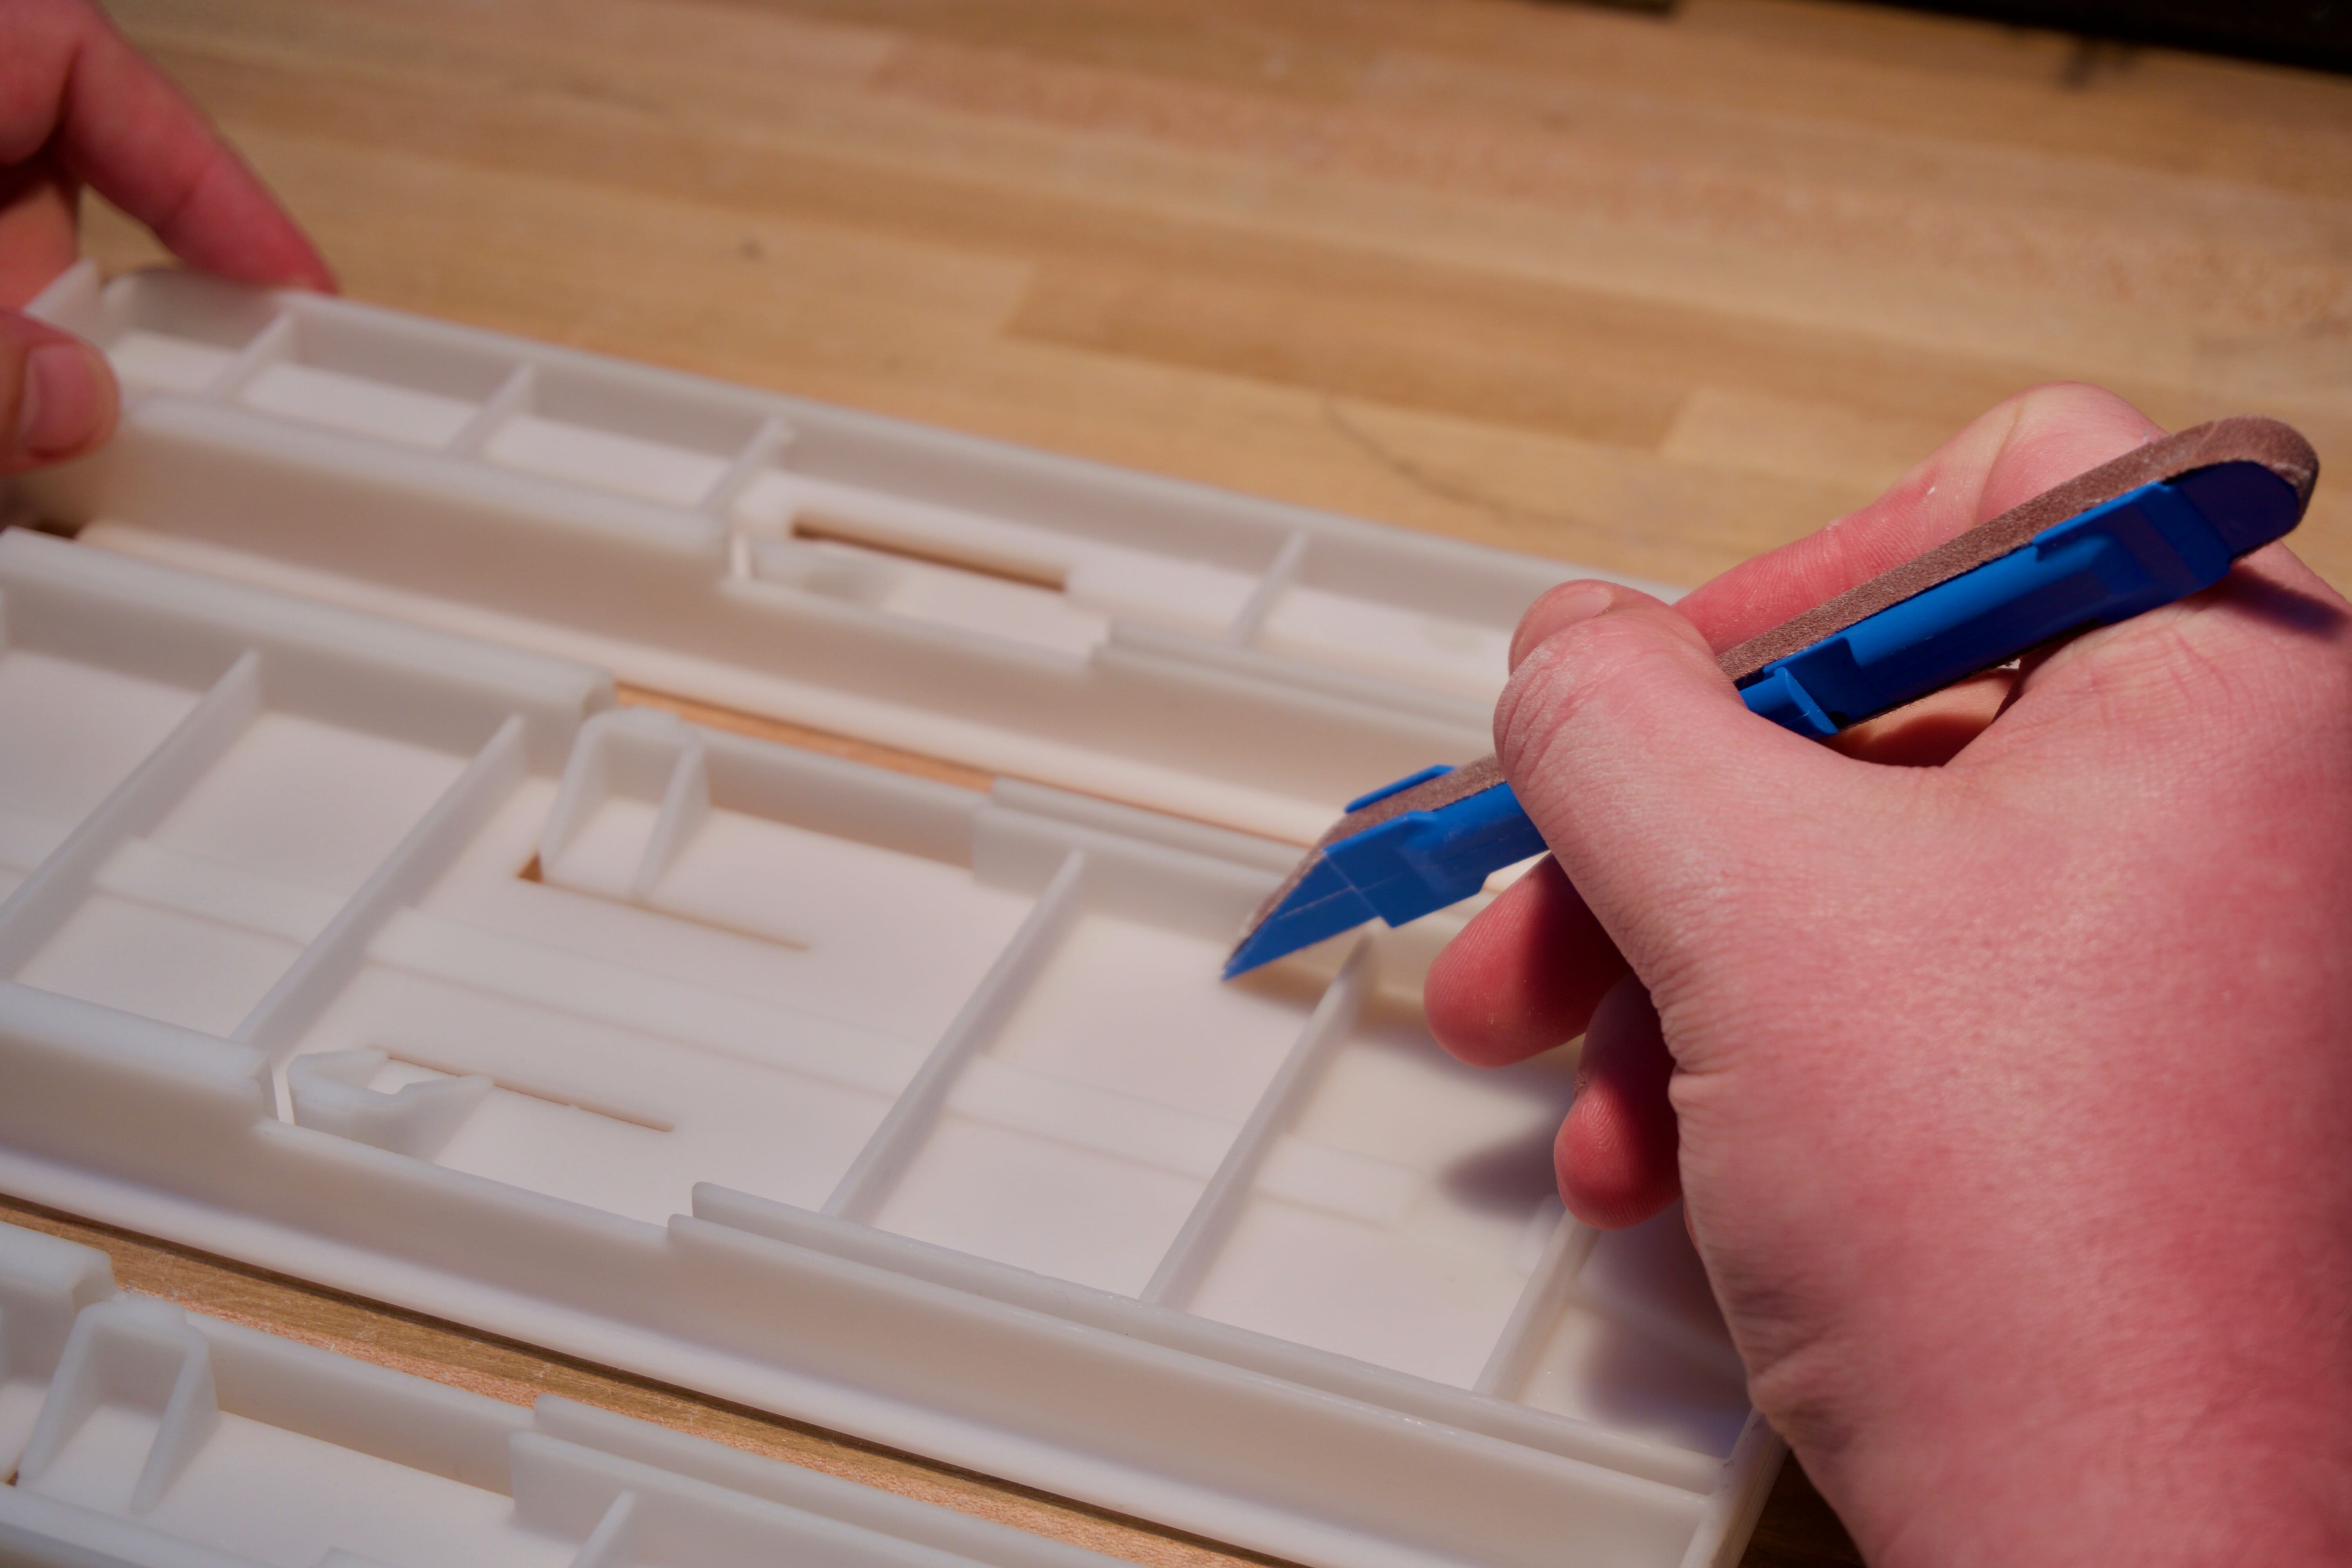
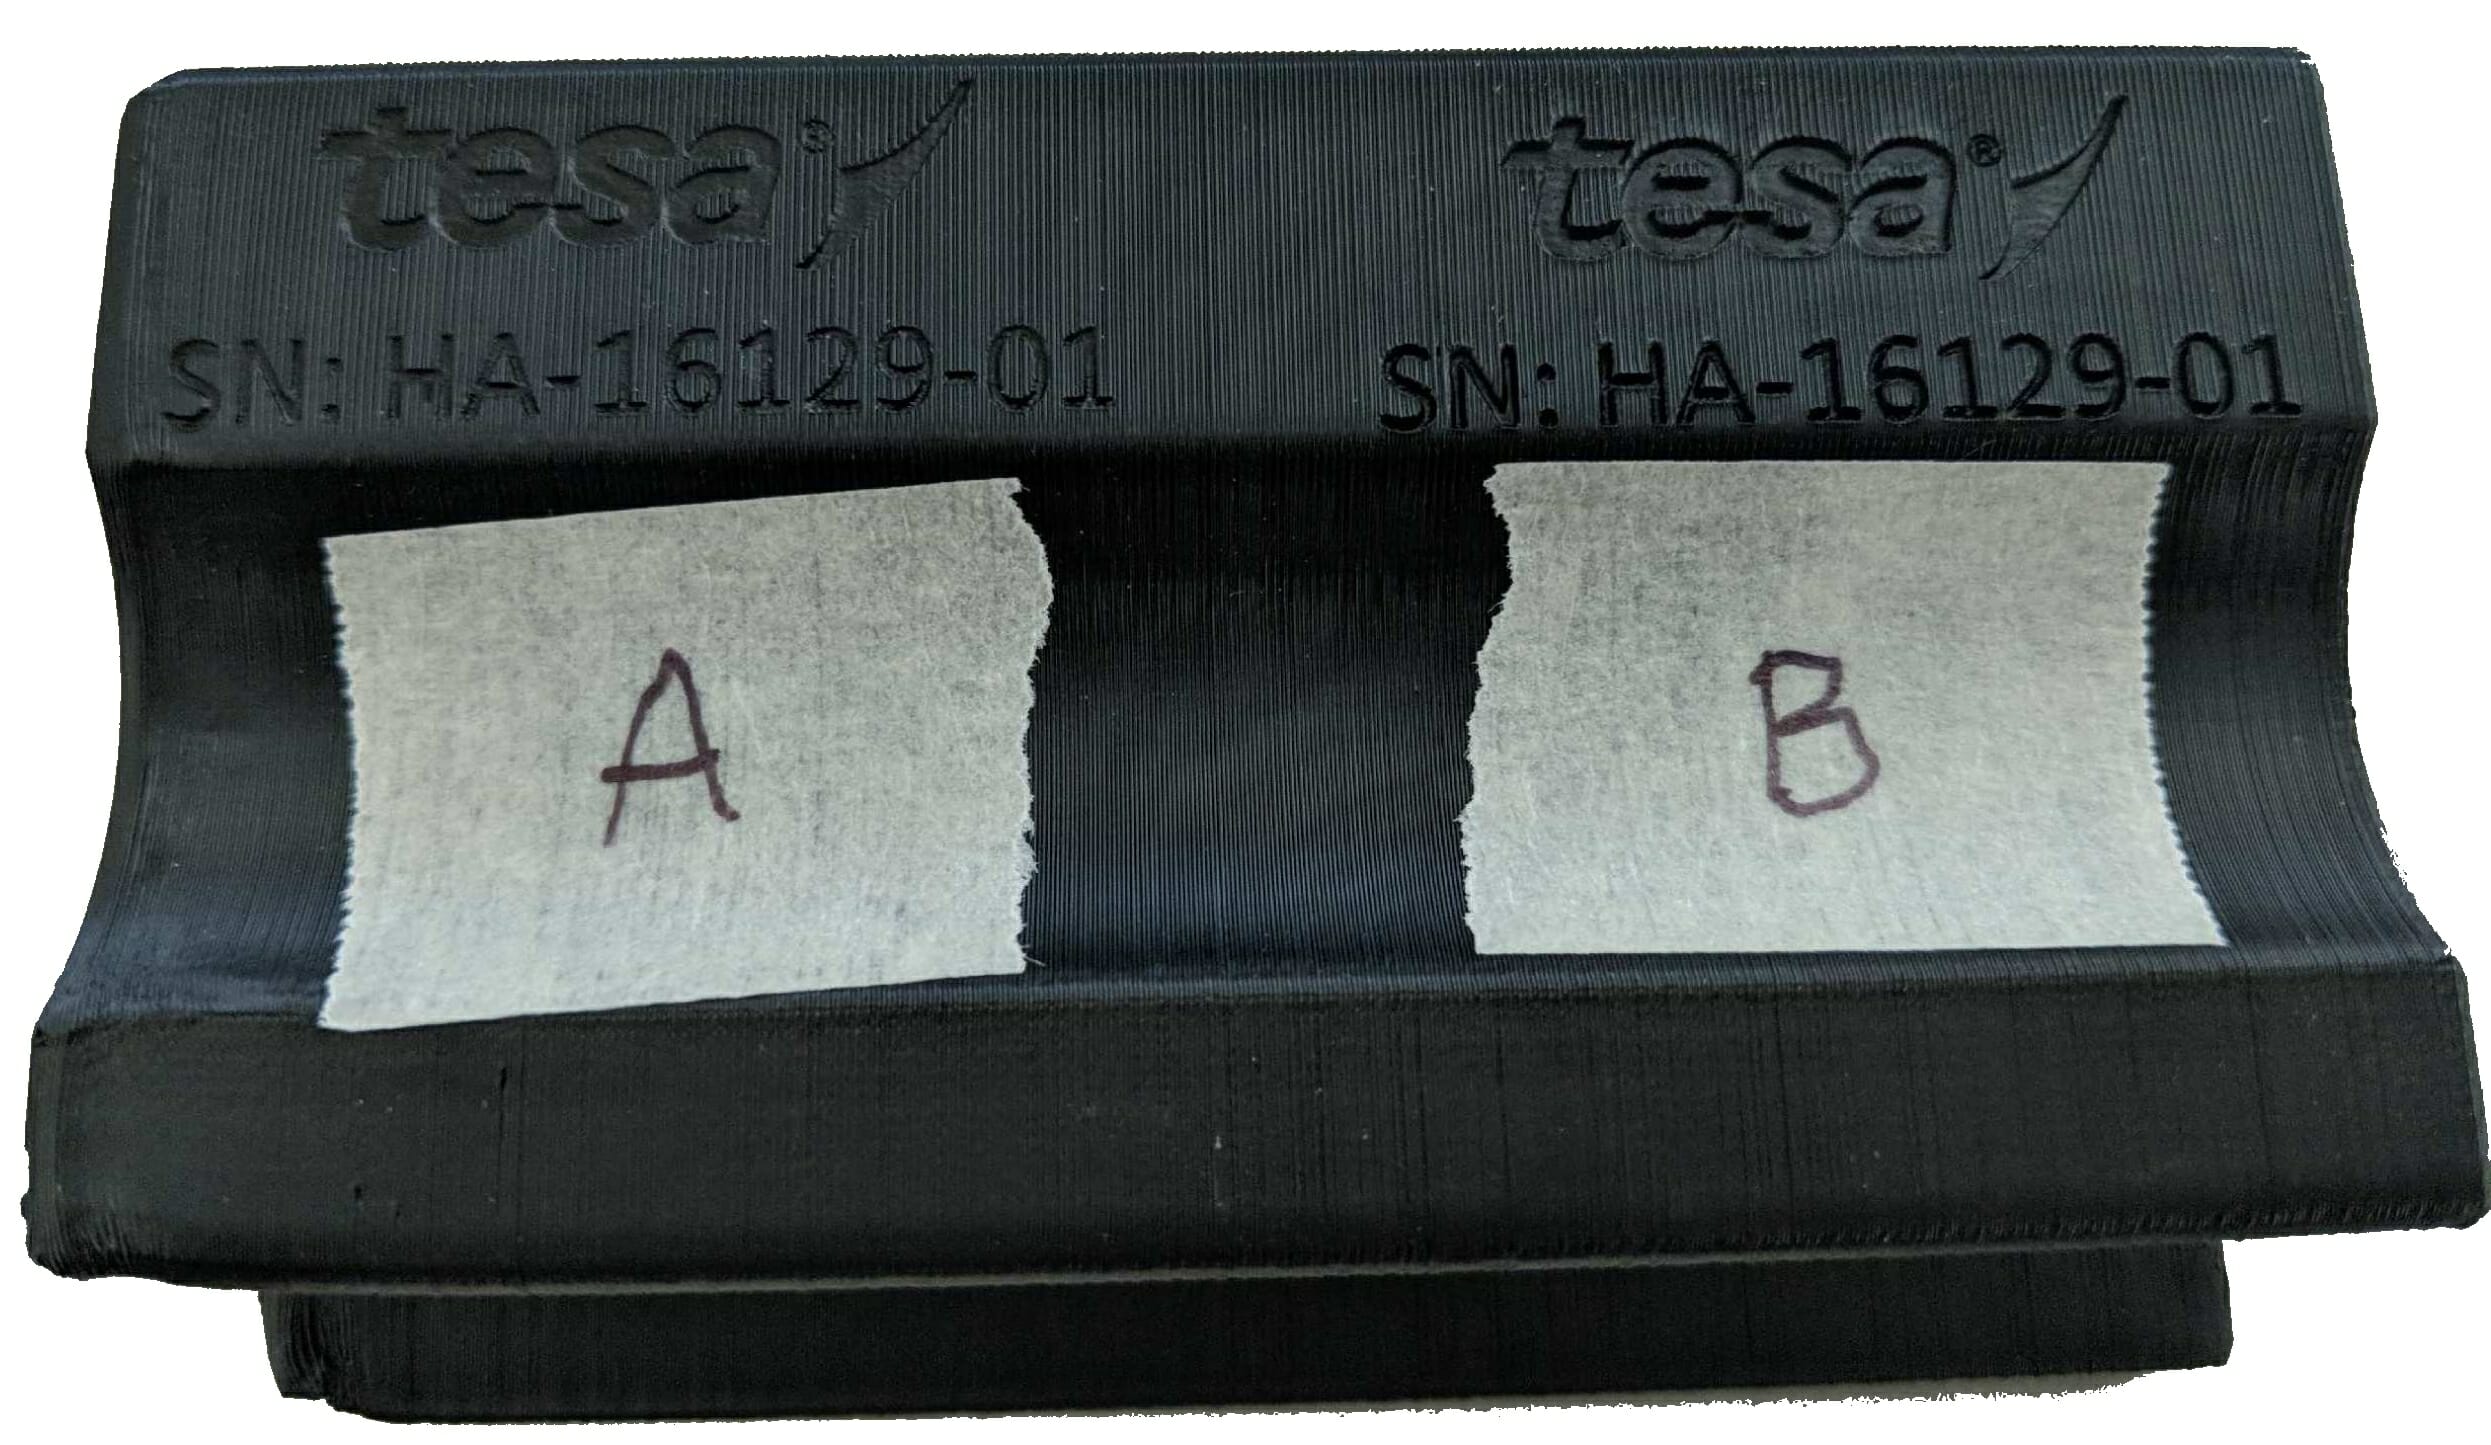
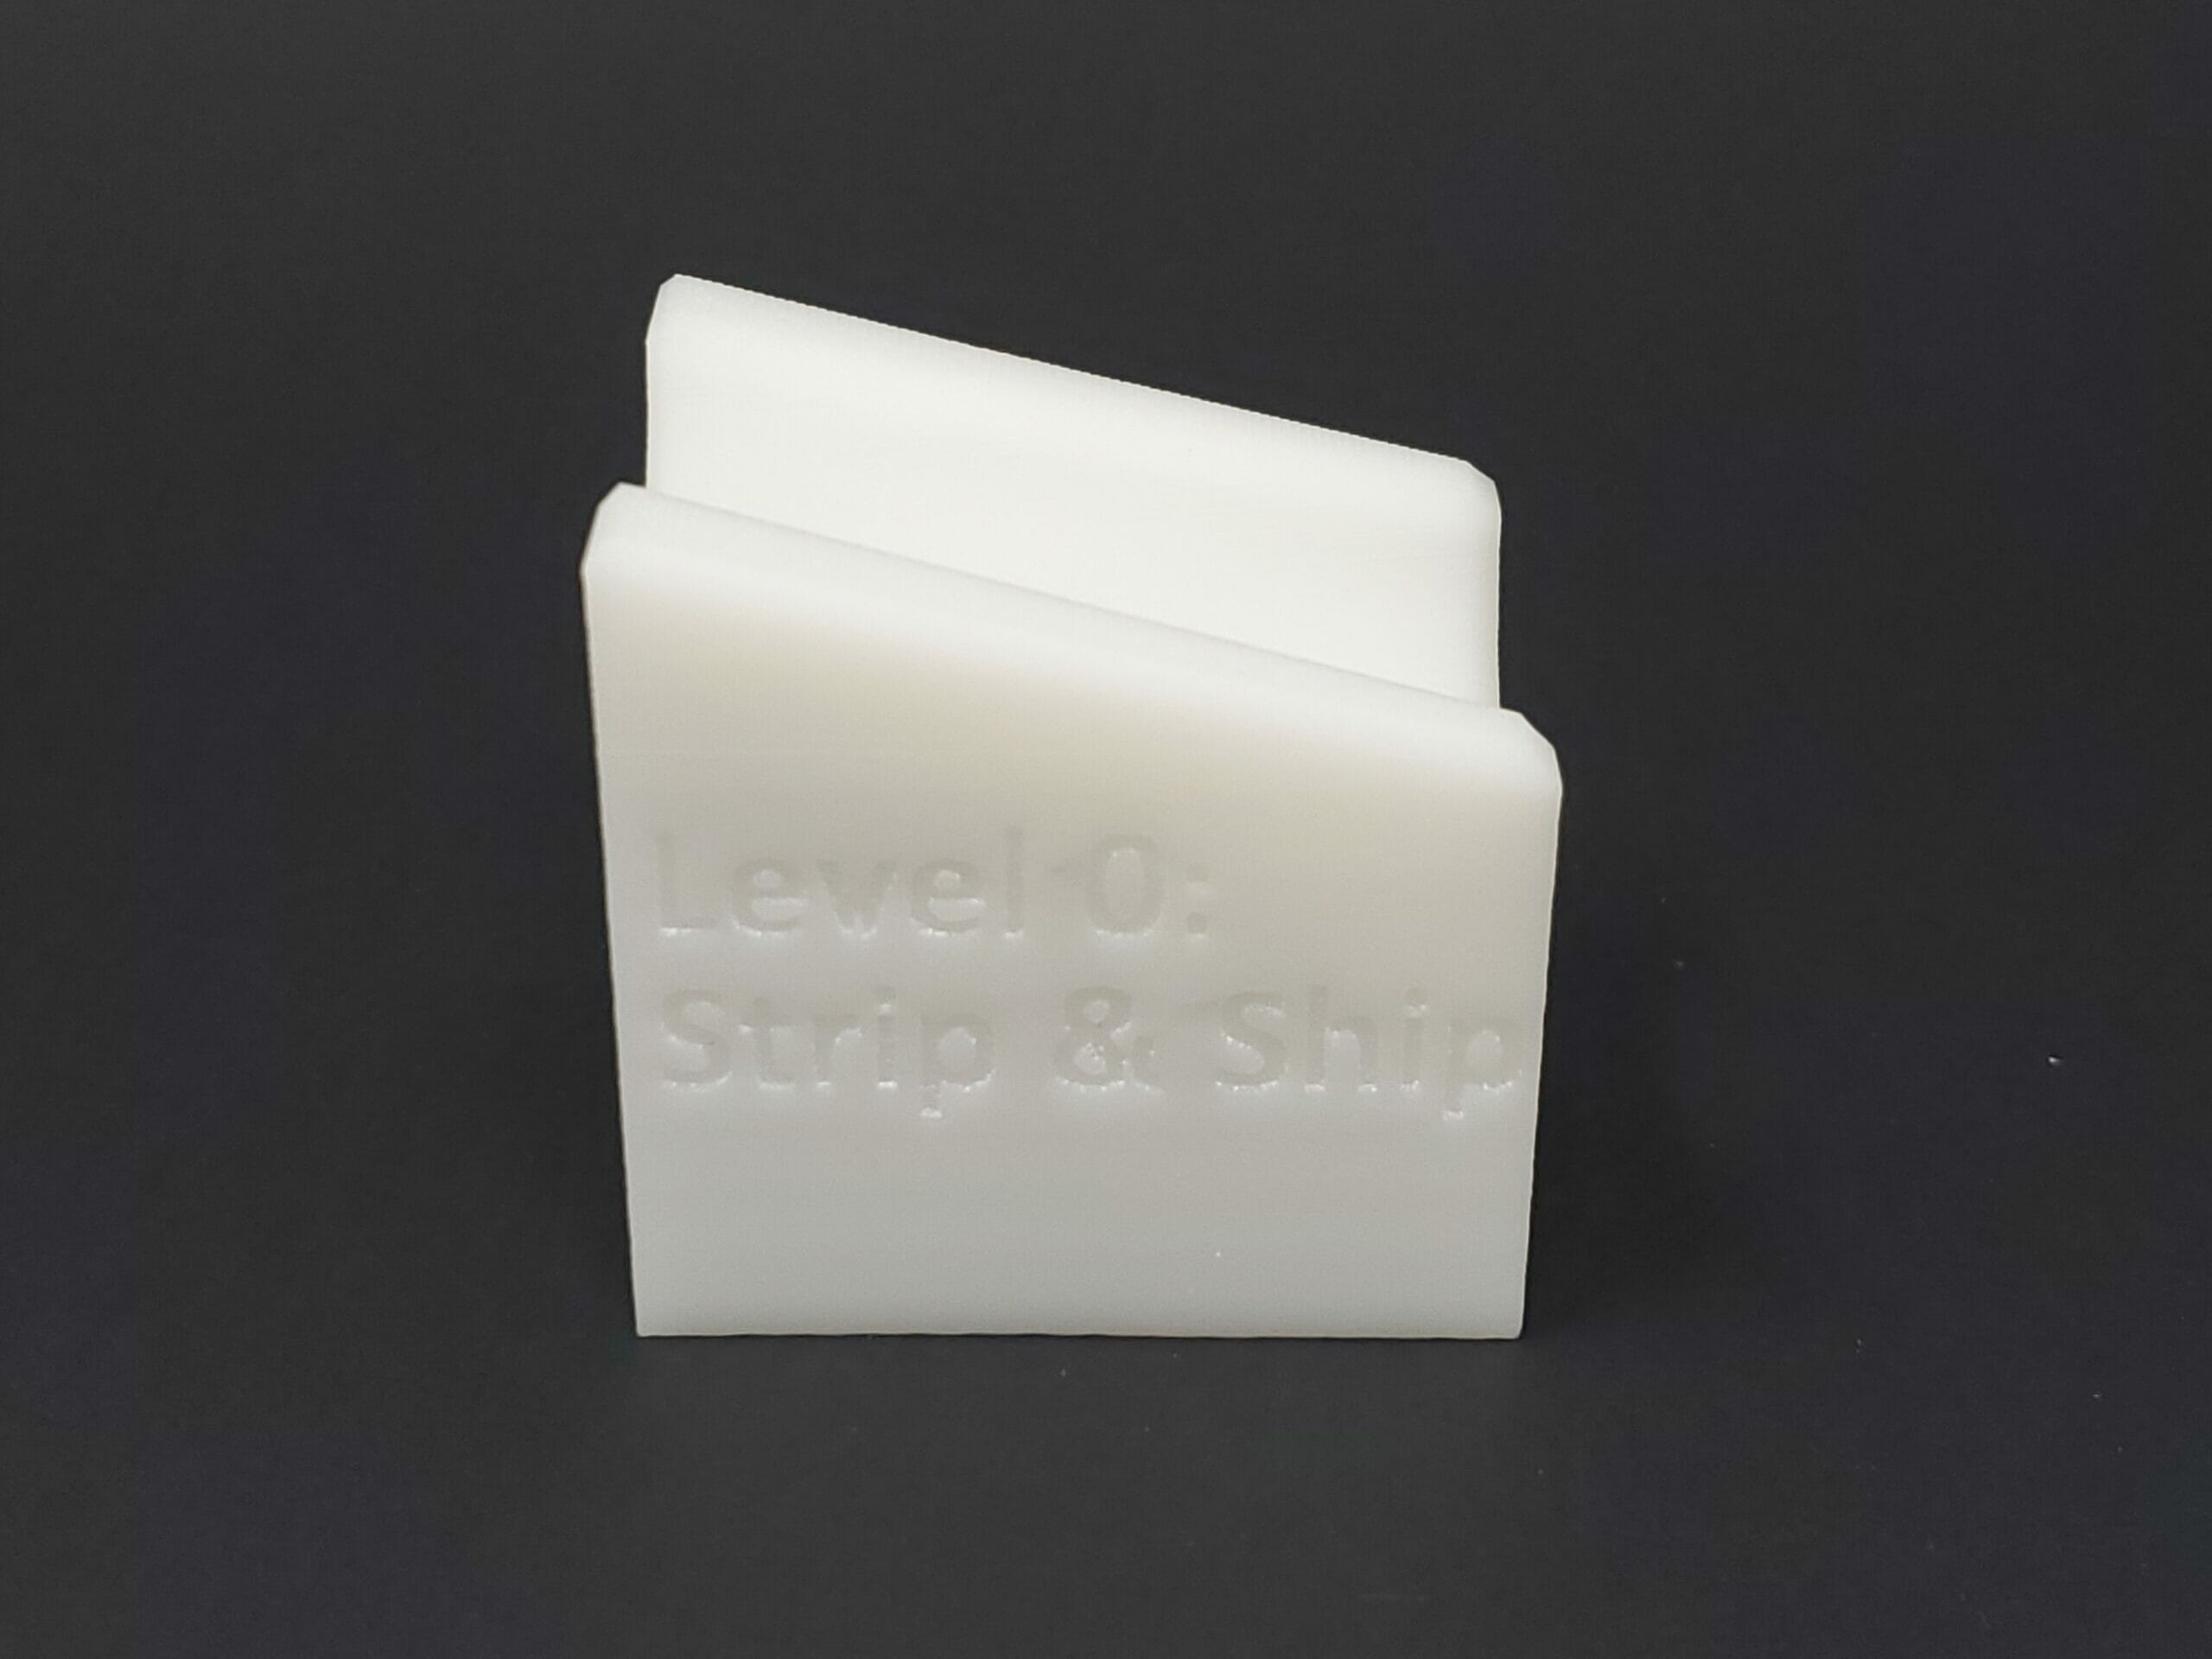
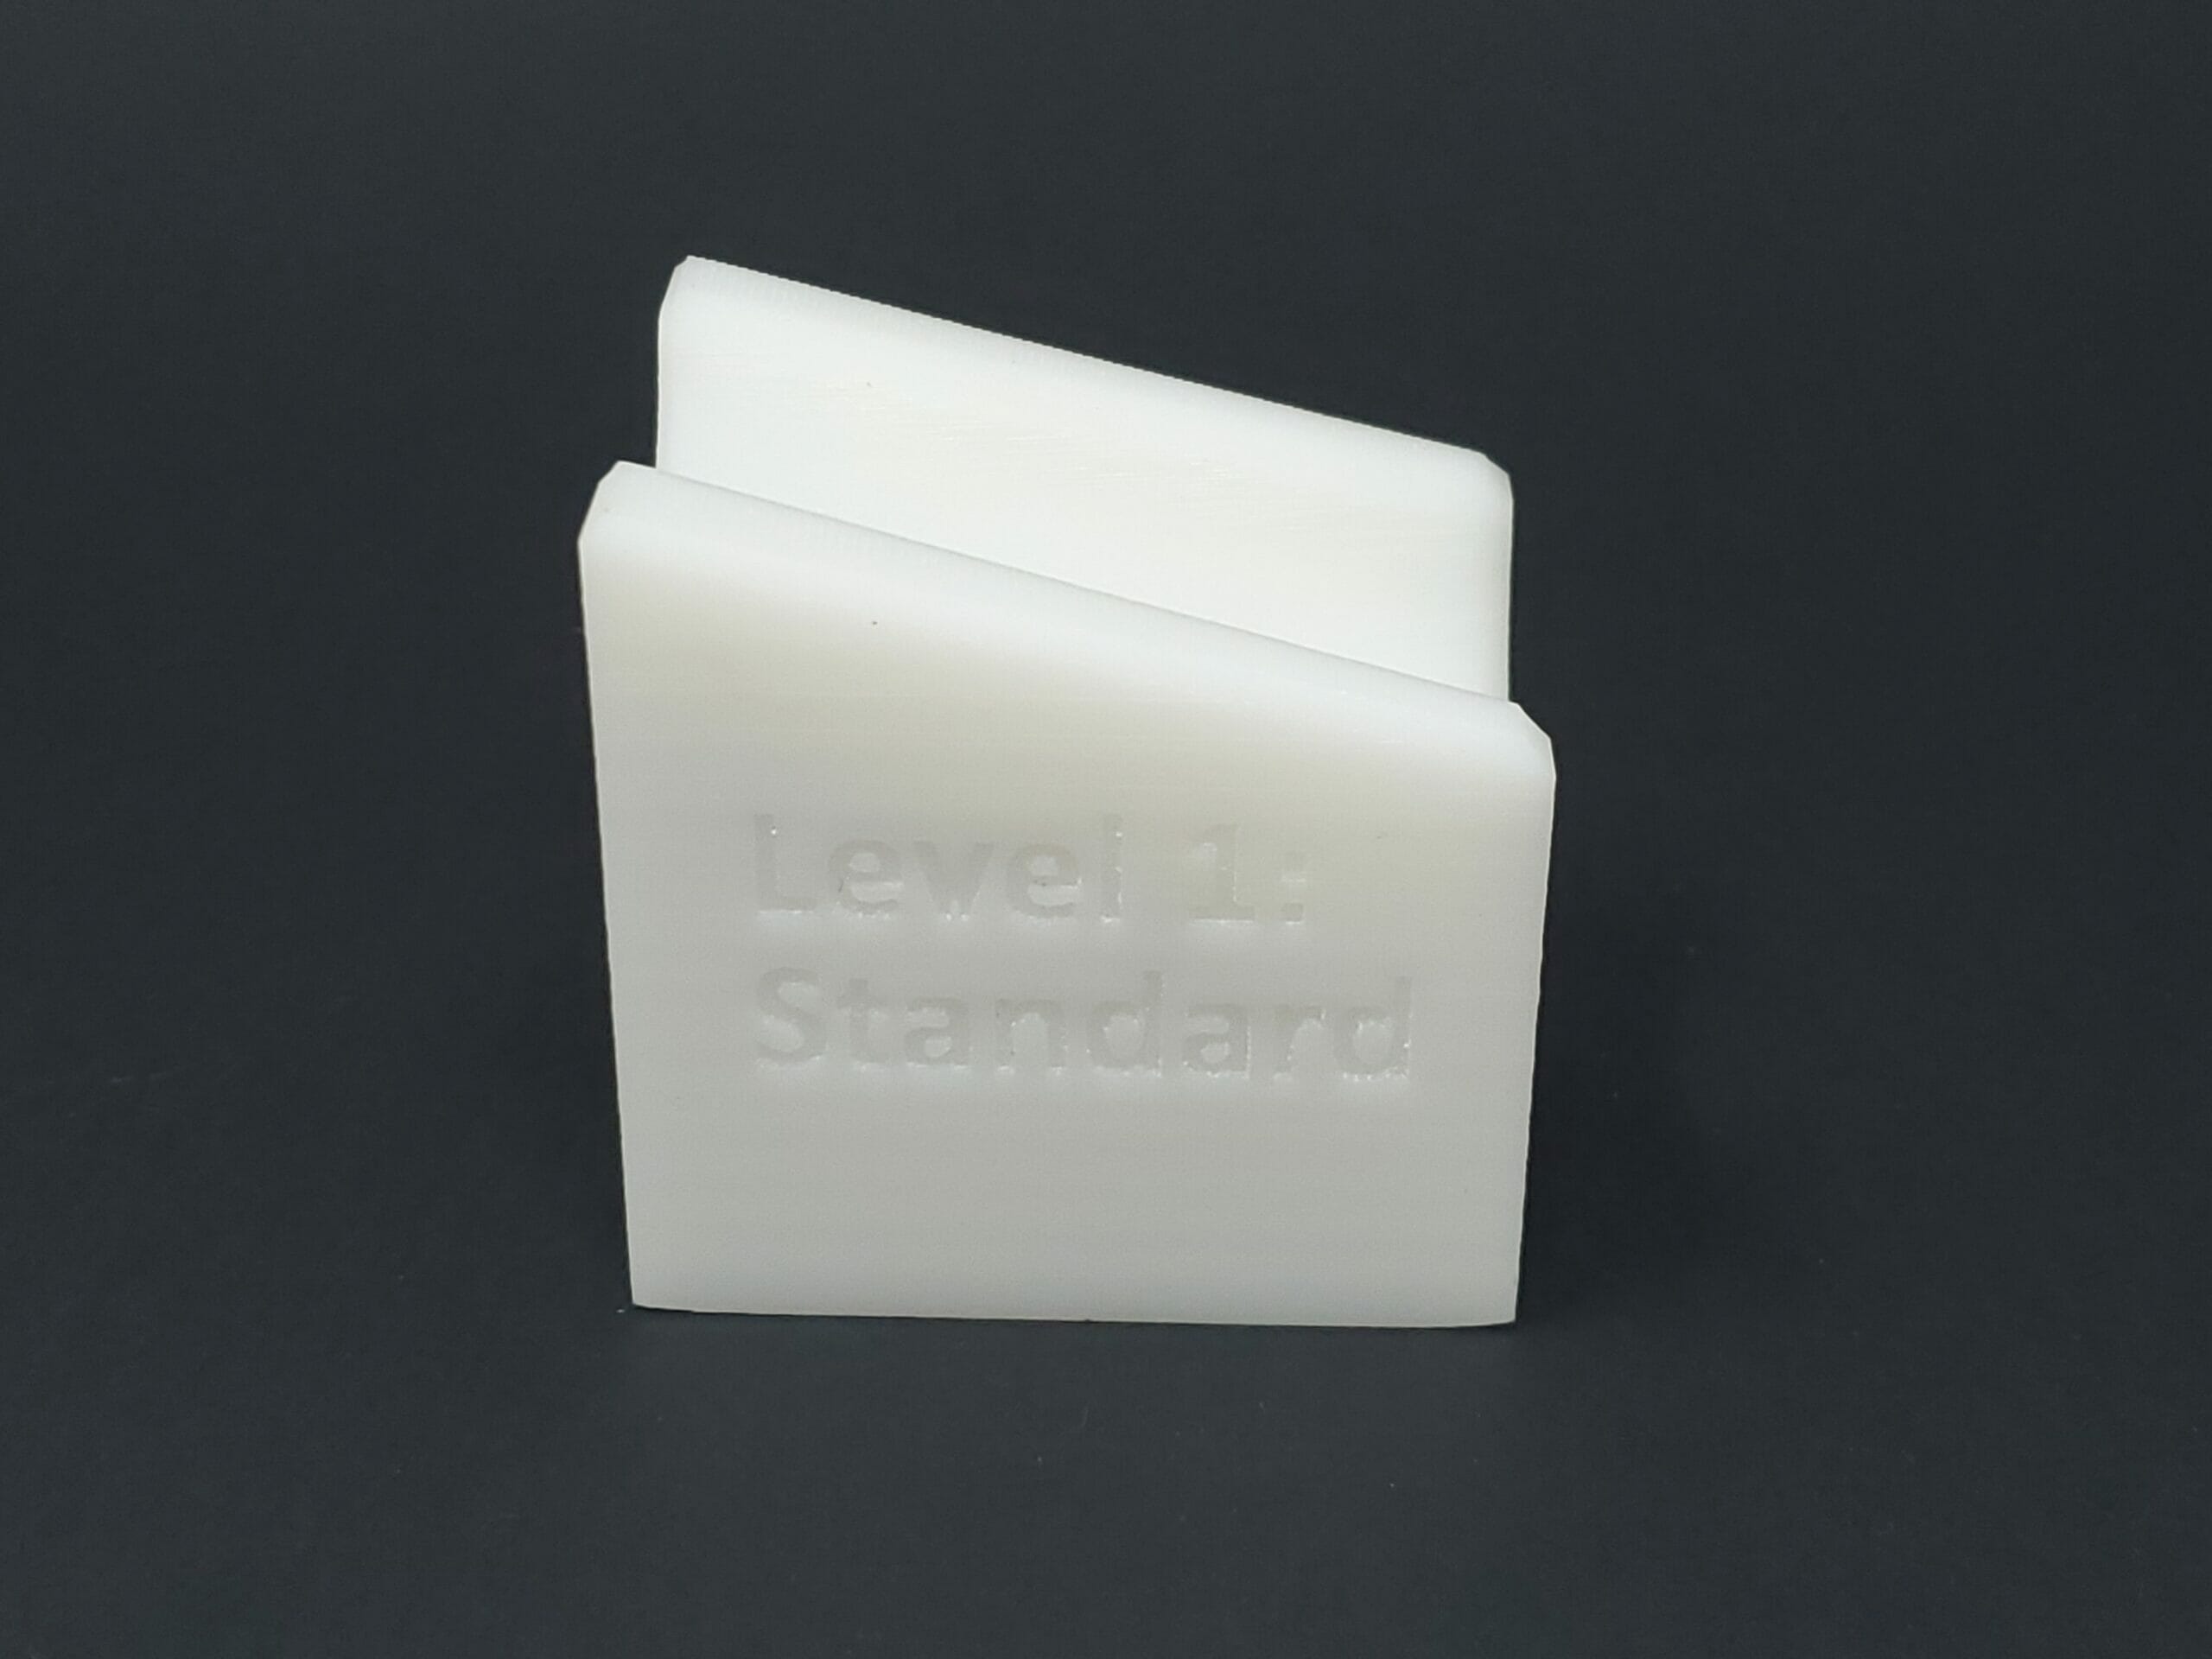
Everything from just a rough pass to remove support stubble all the way to wet sanding with 600 grit sand paper with specialized hand tools to remove all layer lines.
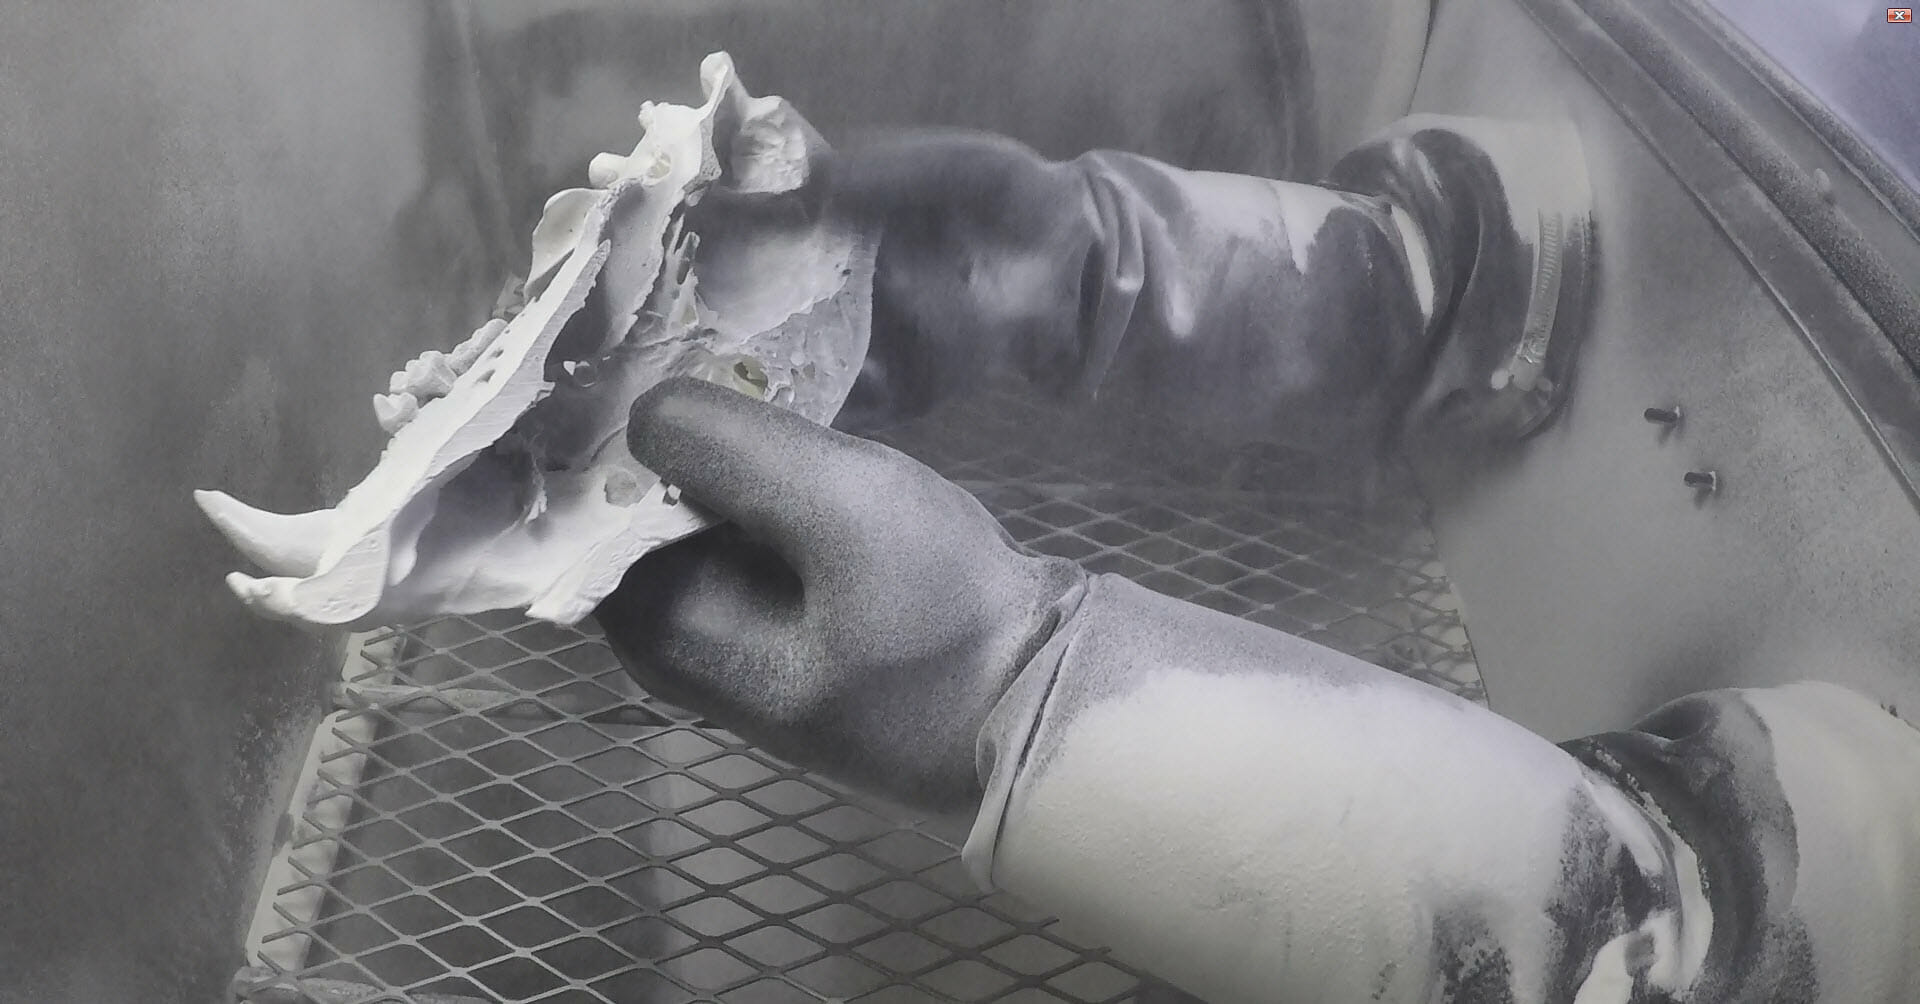
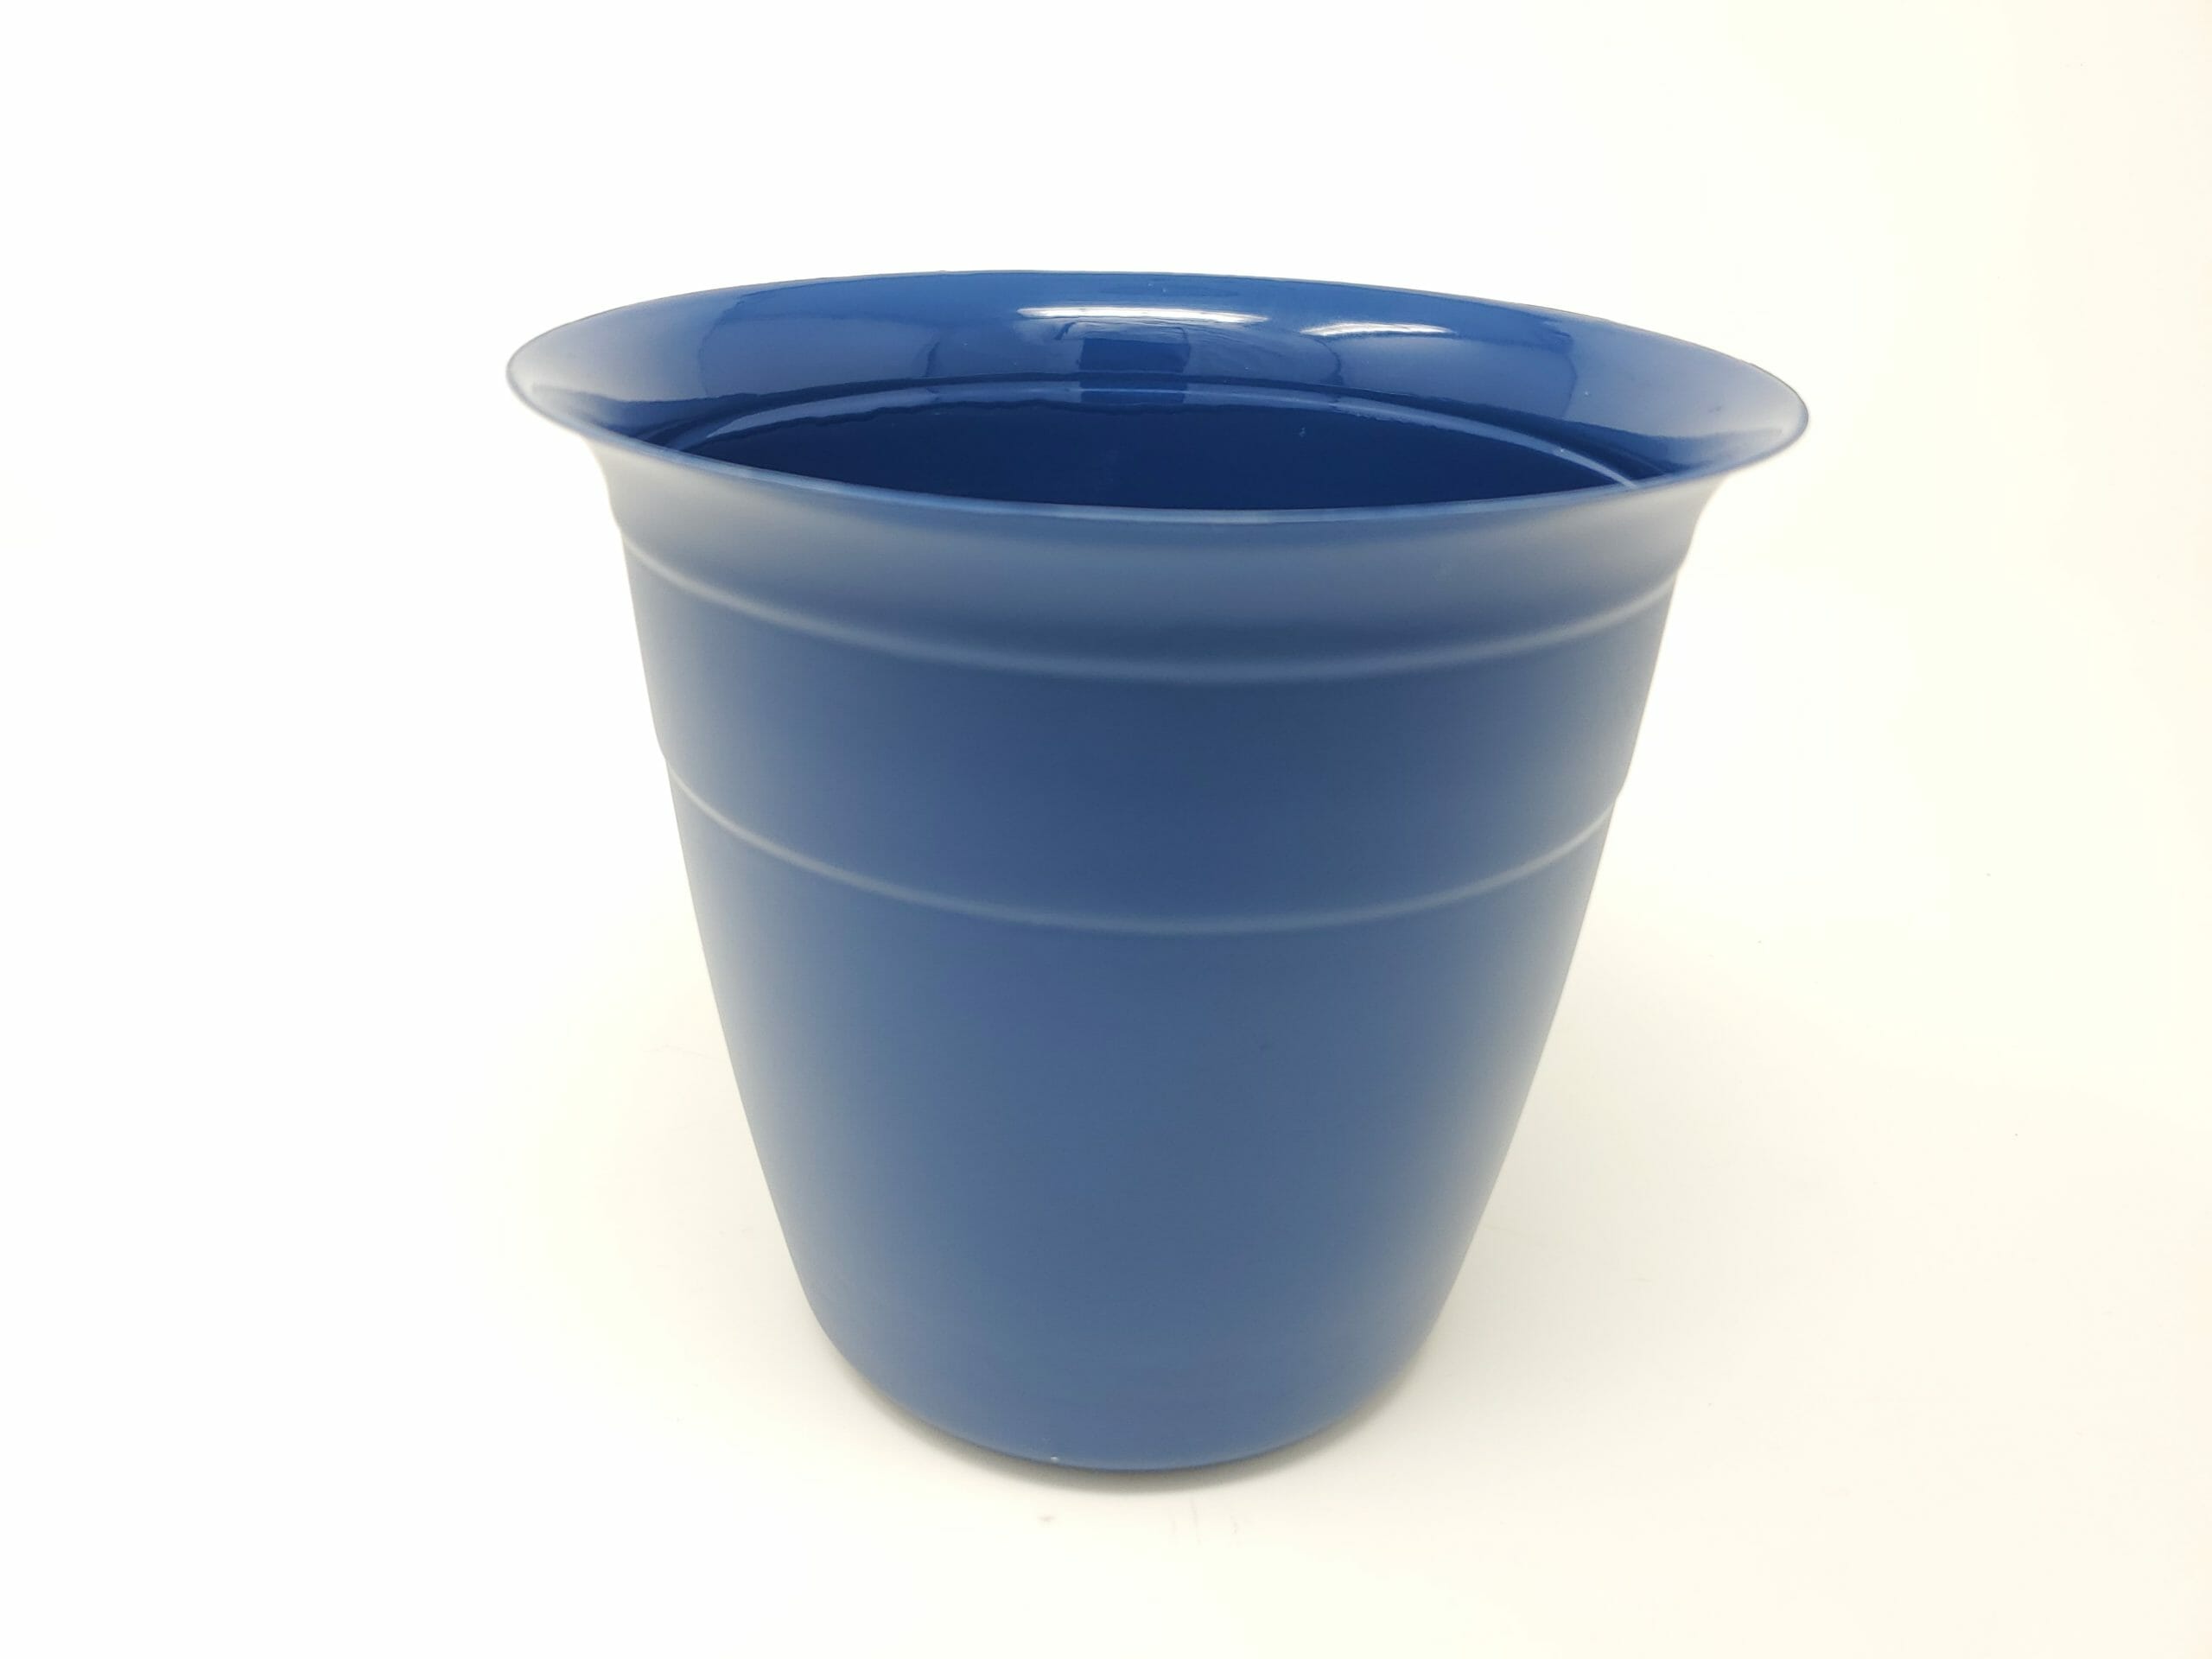
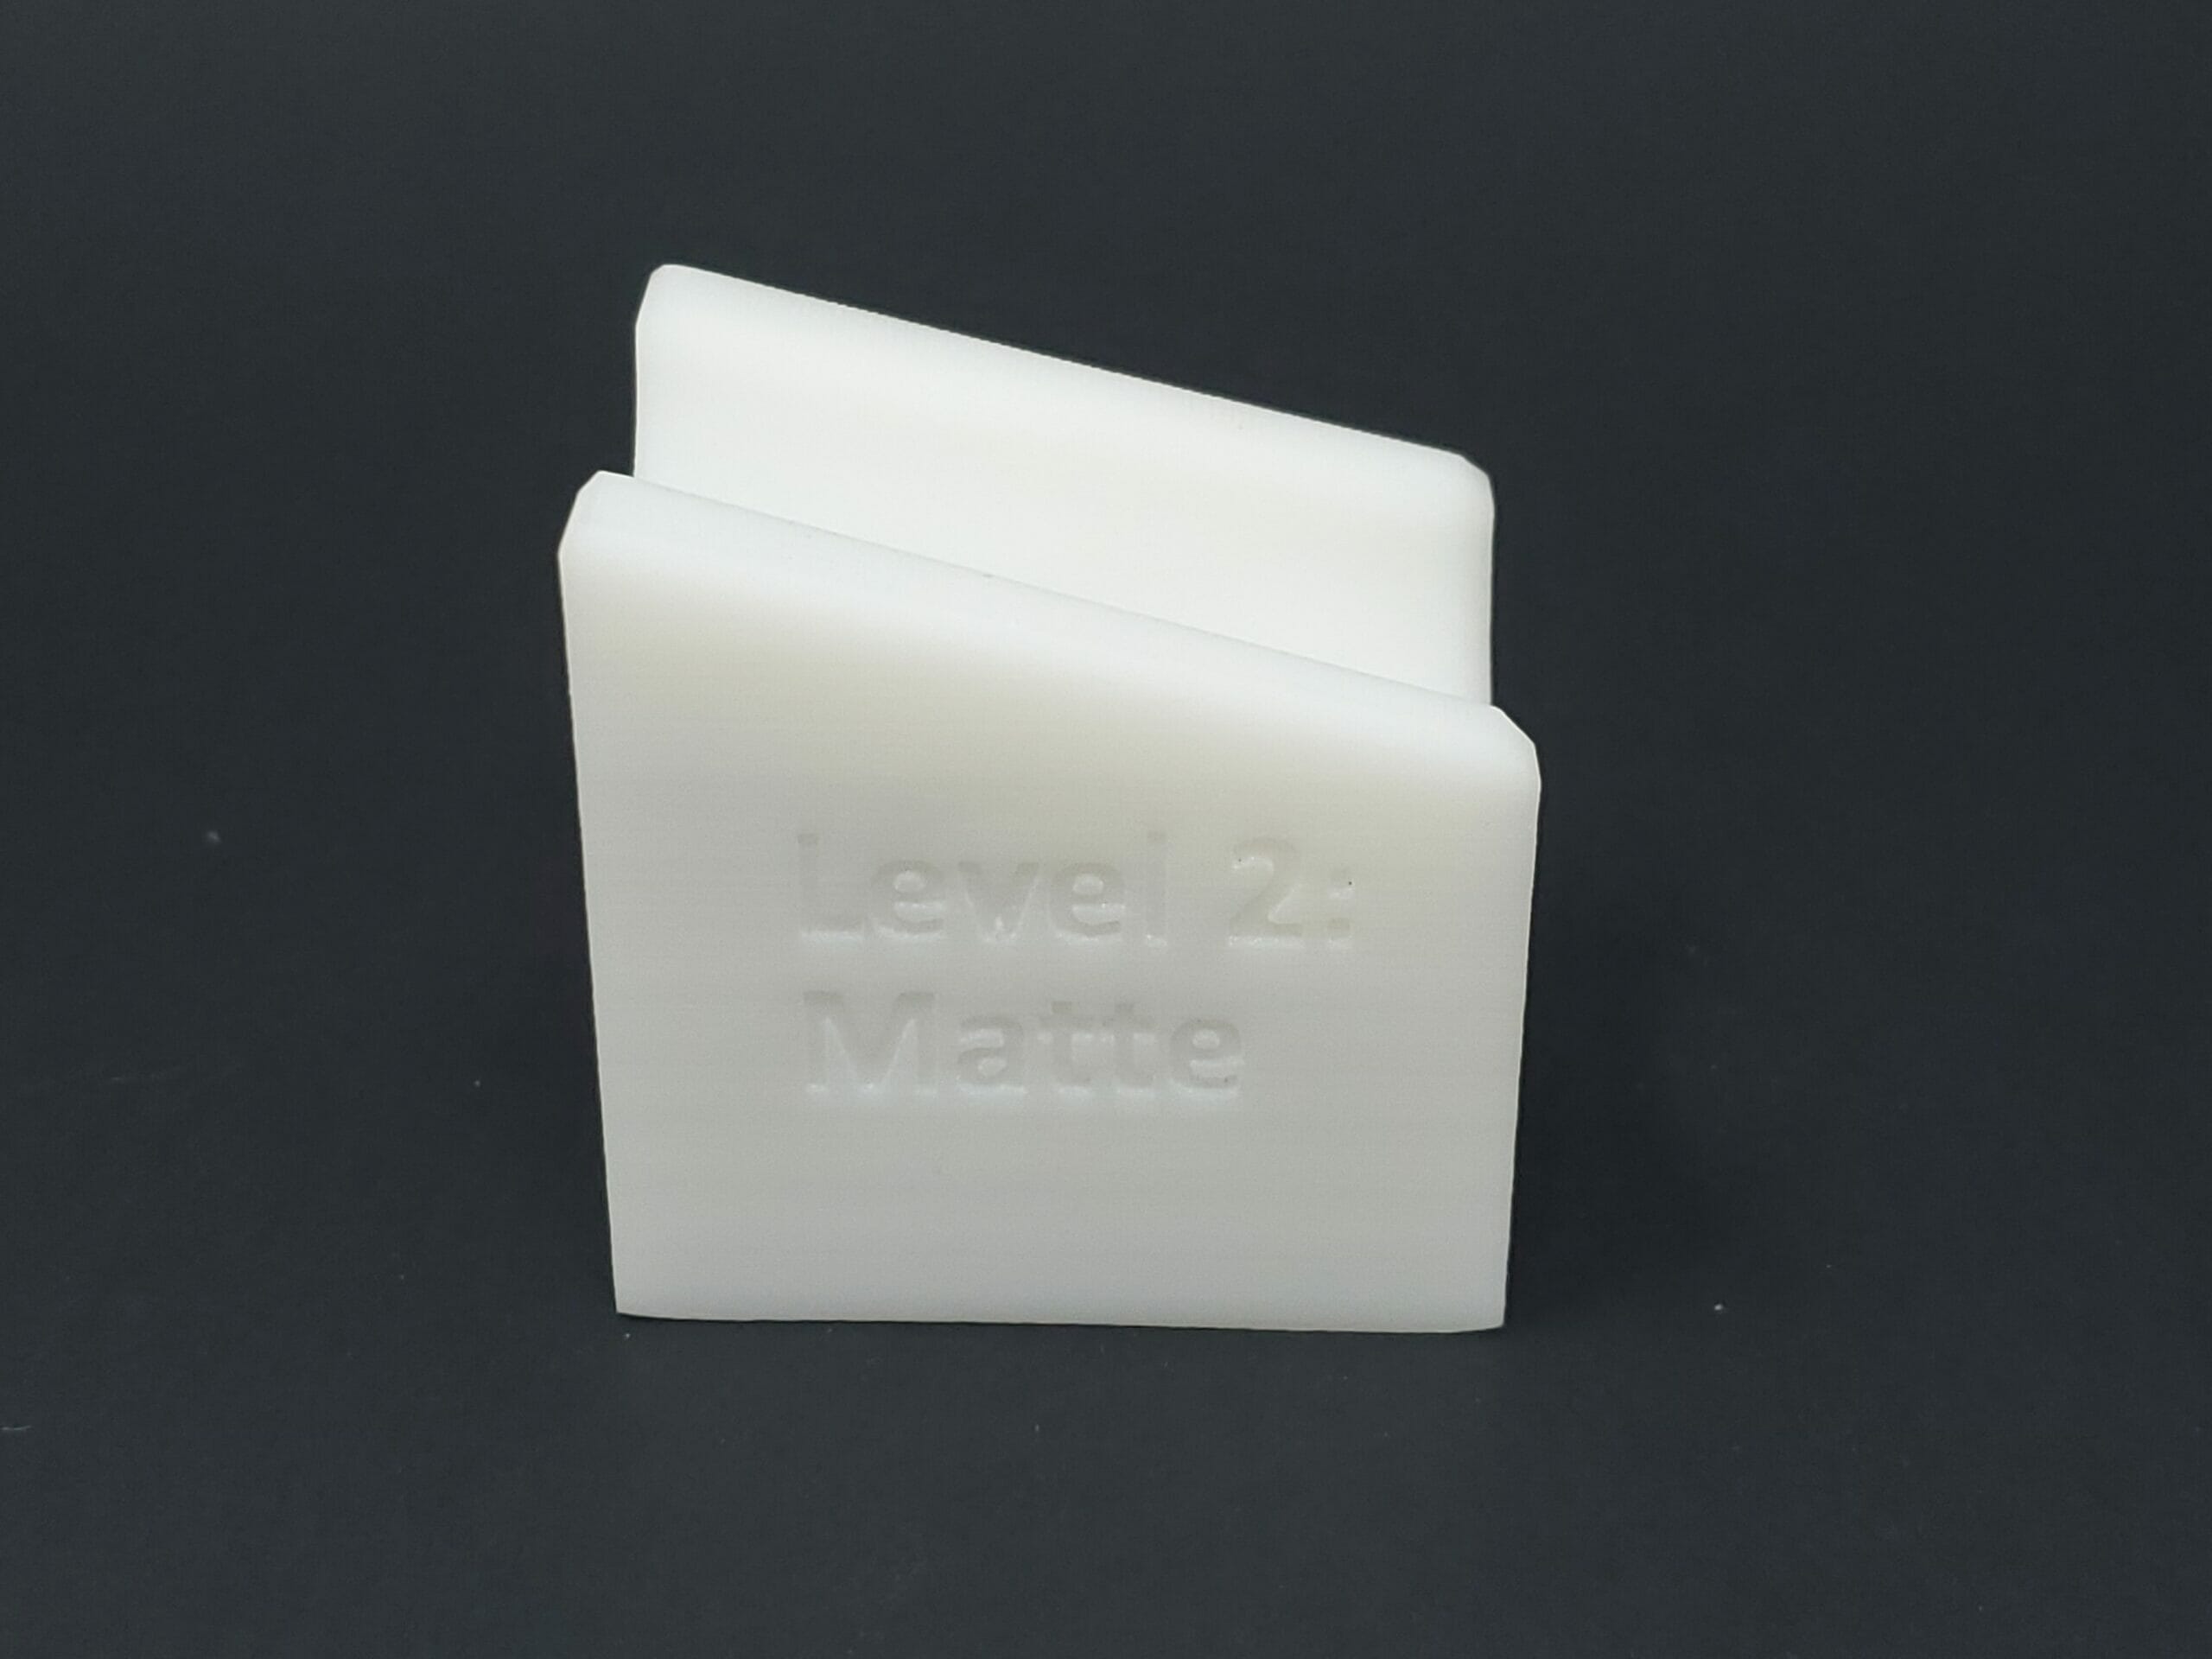
Media Blasting Part Finish: Parts can be blasted to give them a matte finish (similar to a plastic milk jug in appearance and texture) this is our most cost effective finishing option. Vapor Smooth Part Finish: Dyed Part Finish:
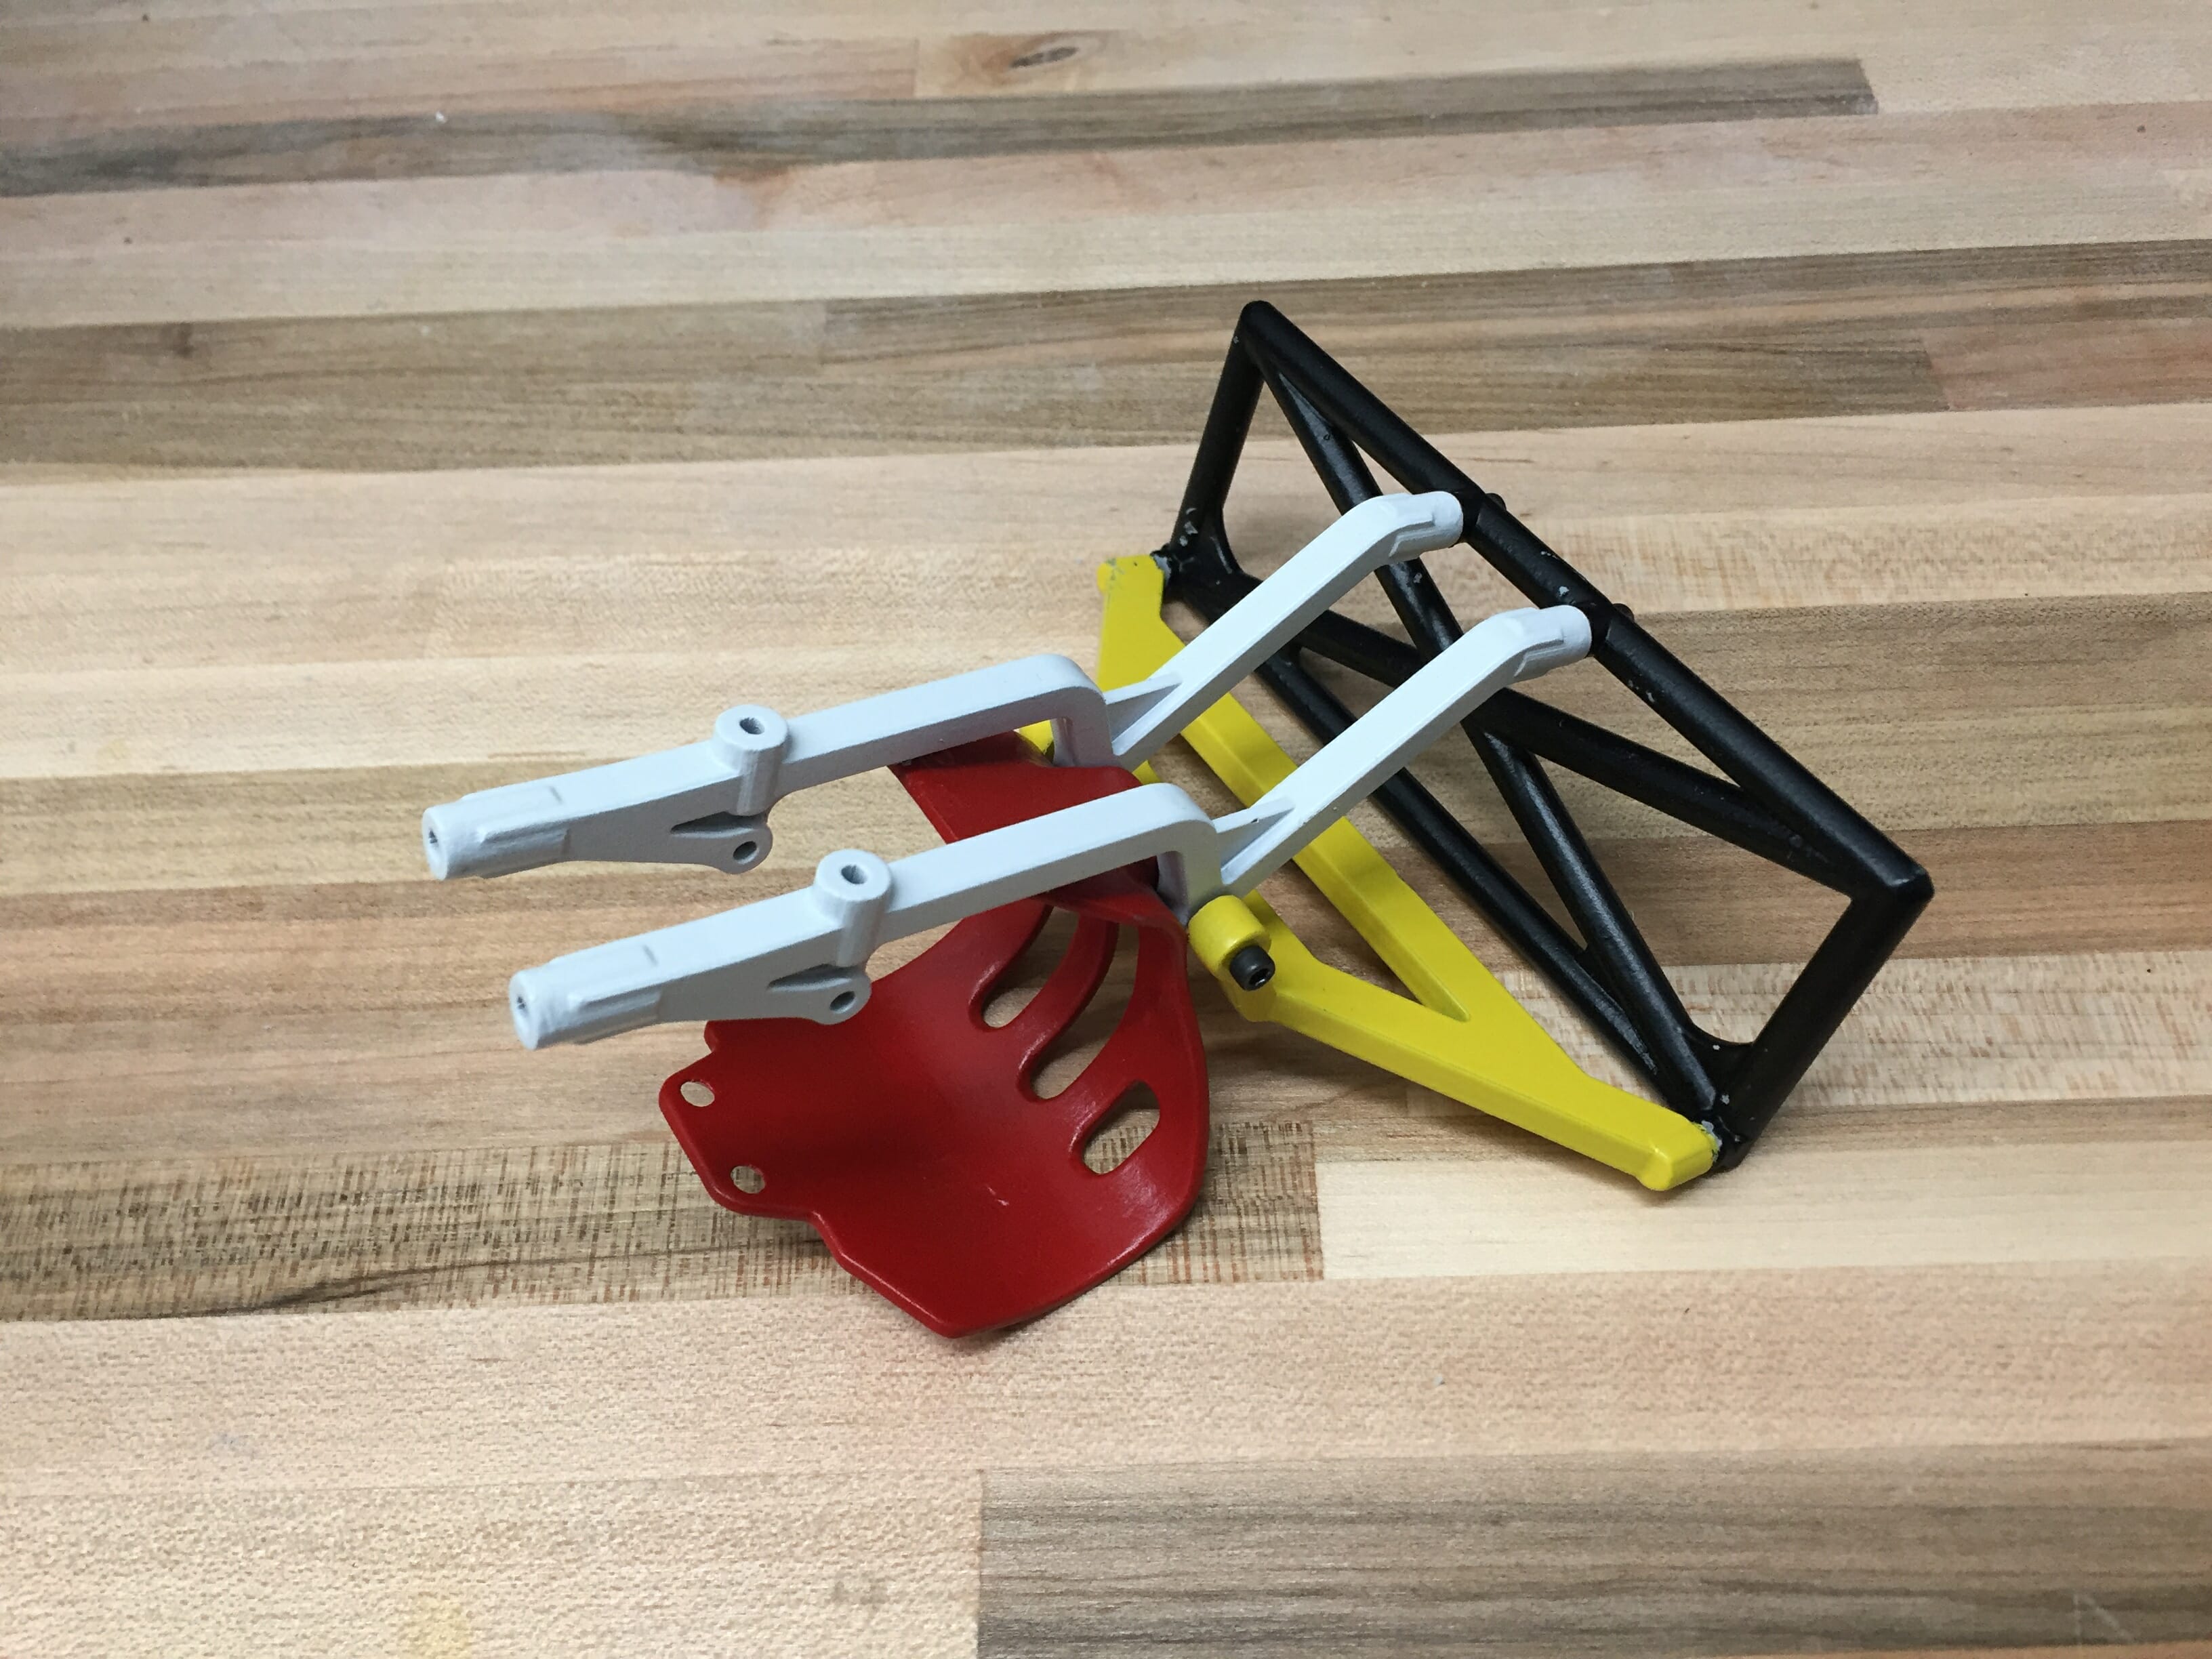
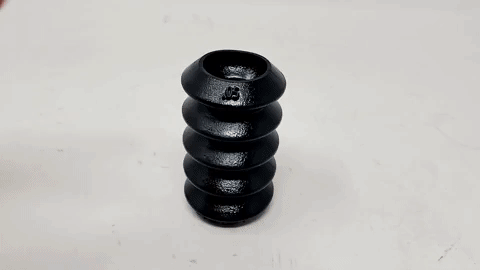
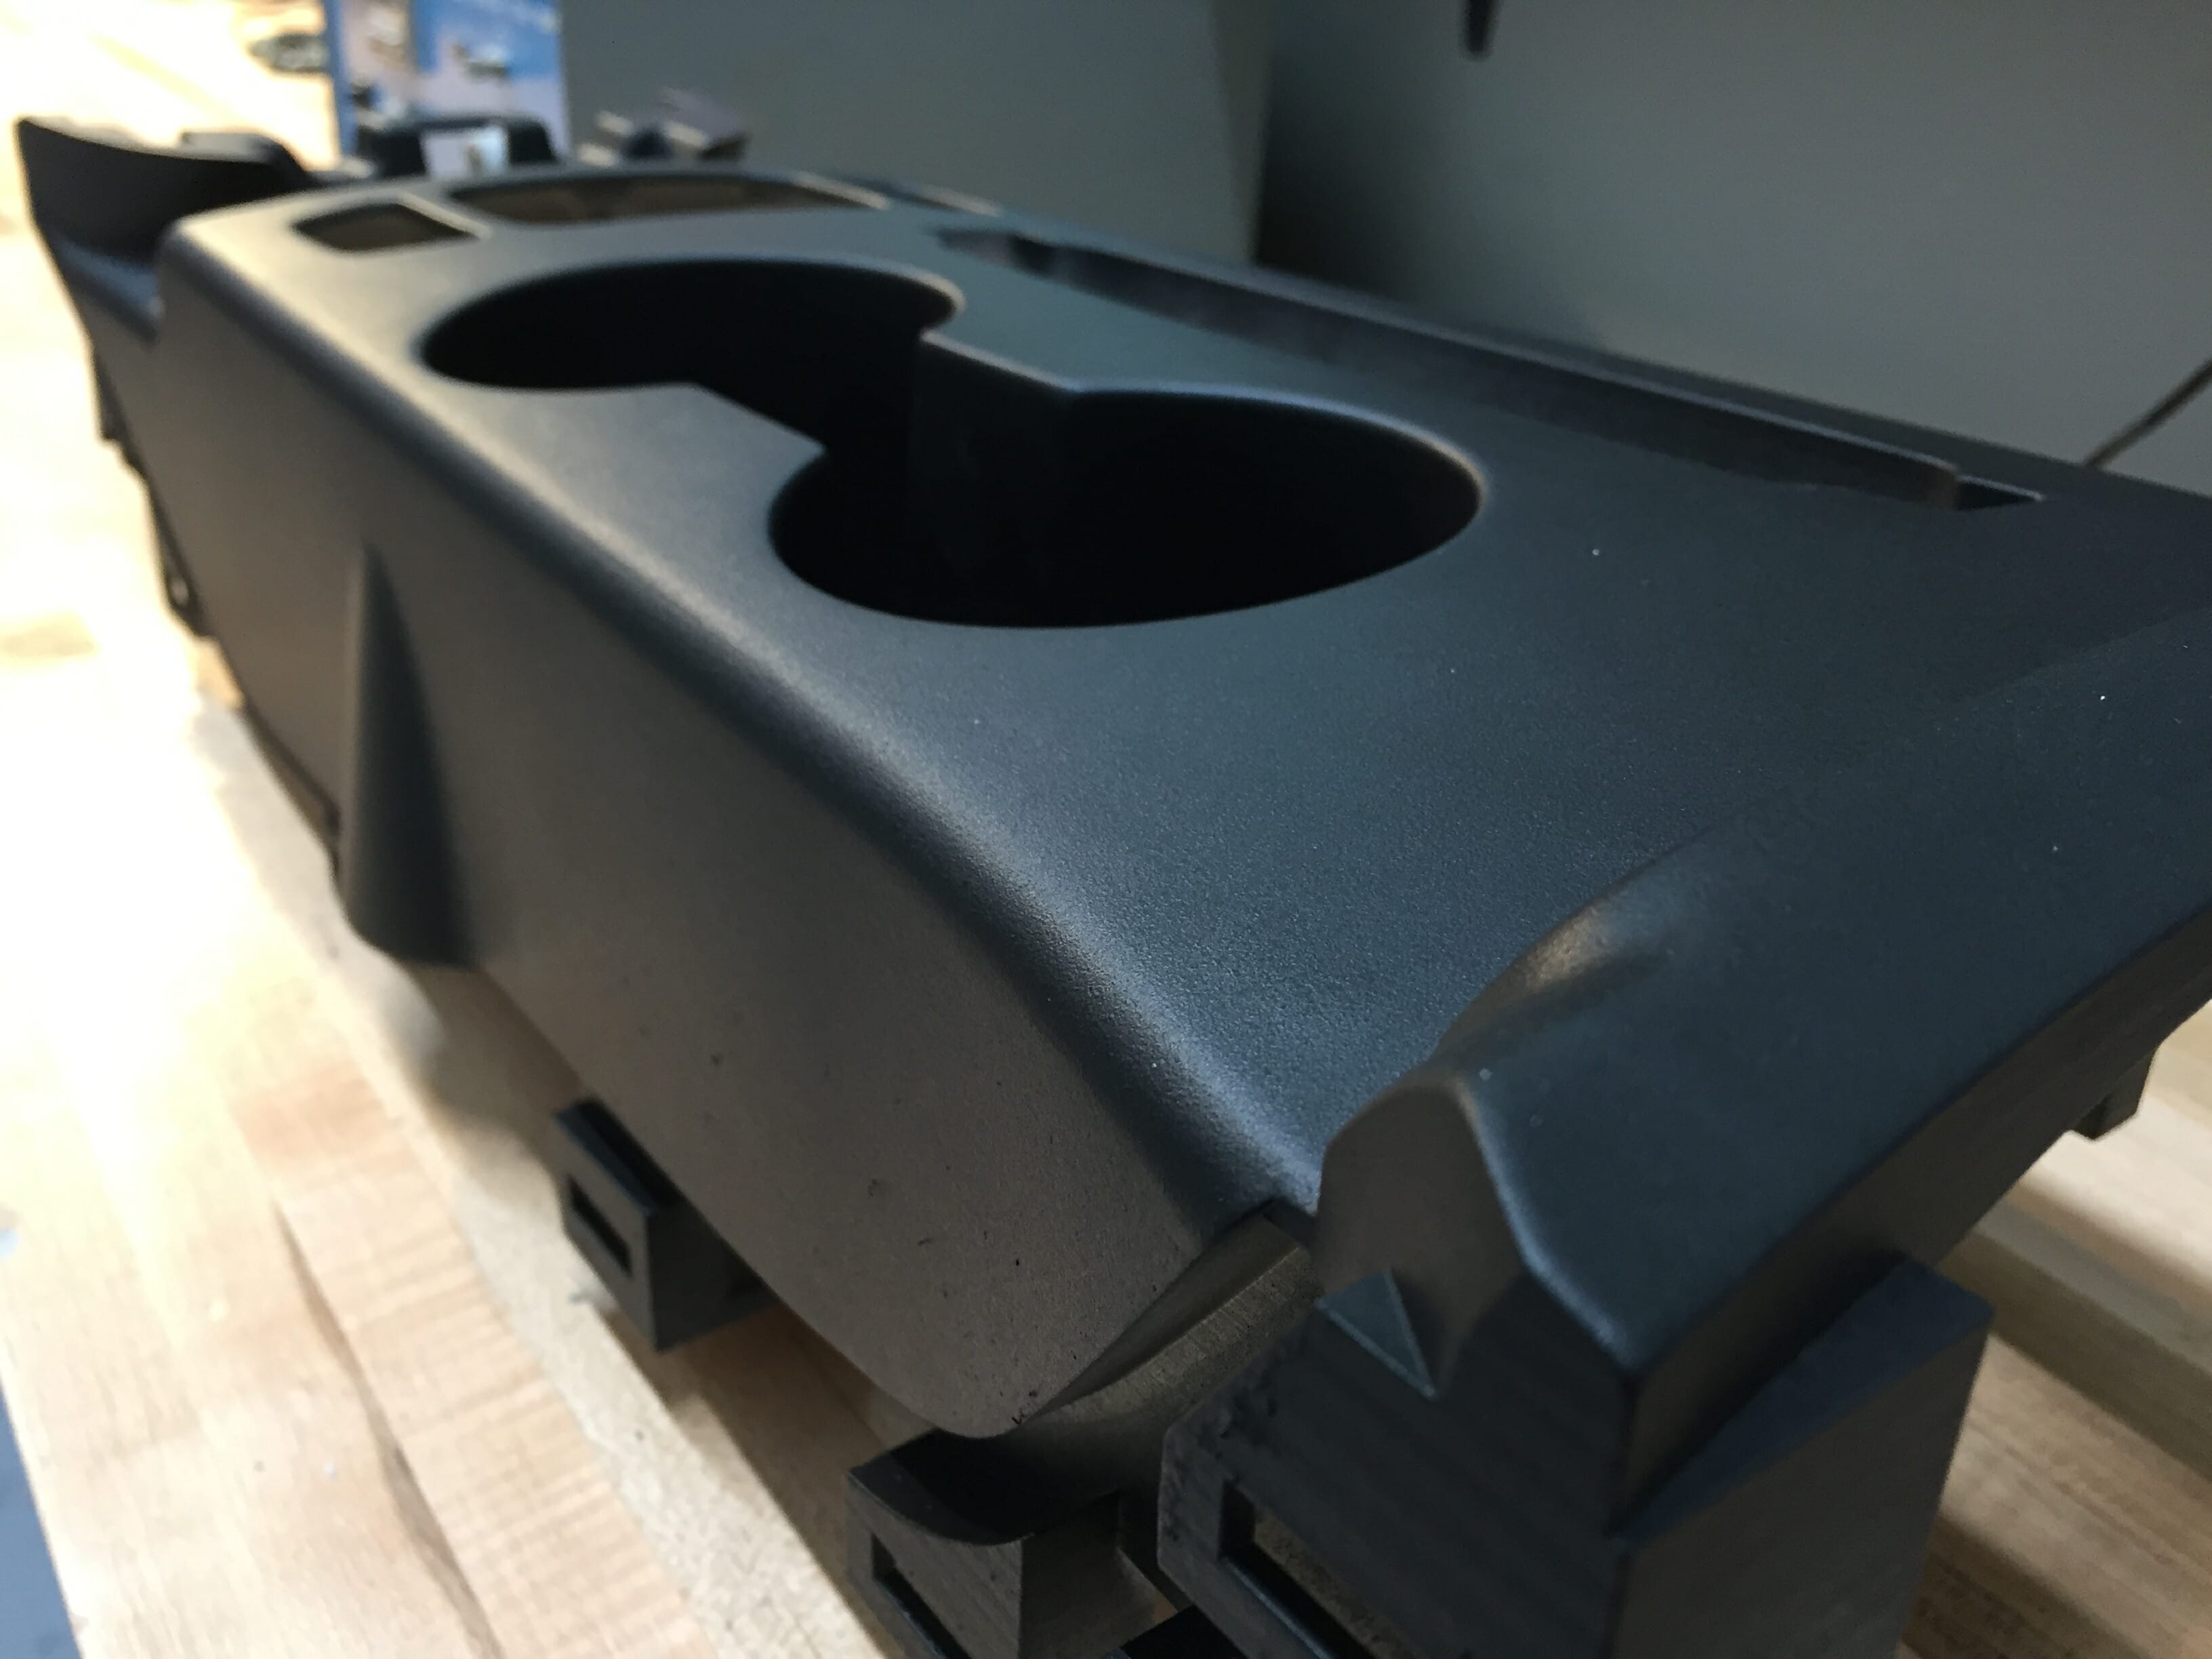
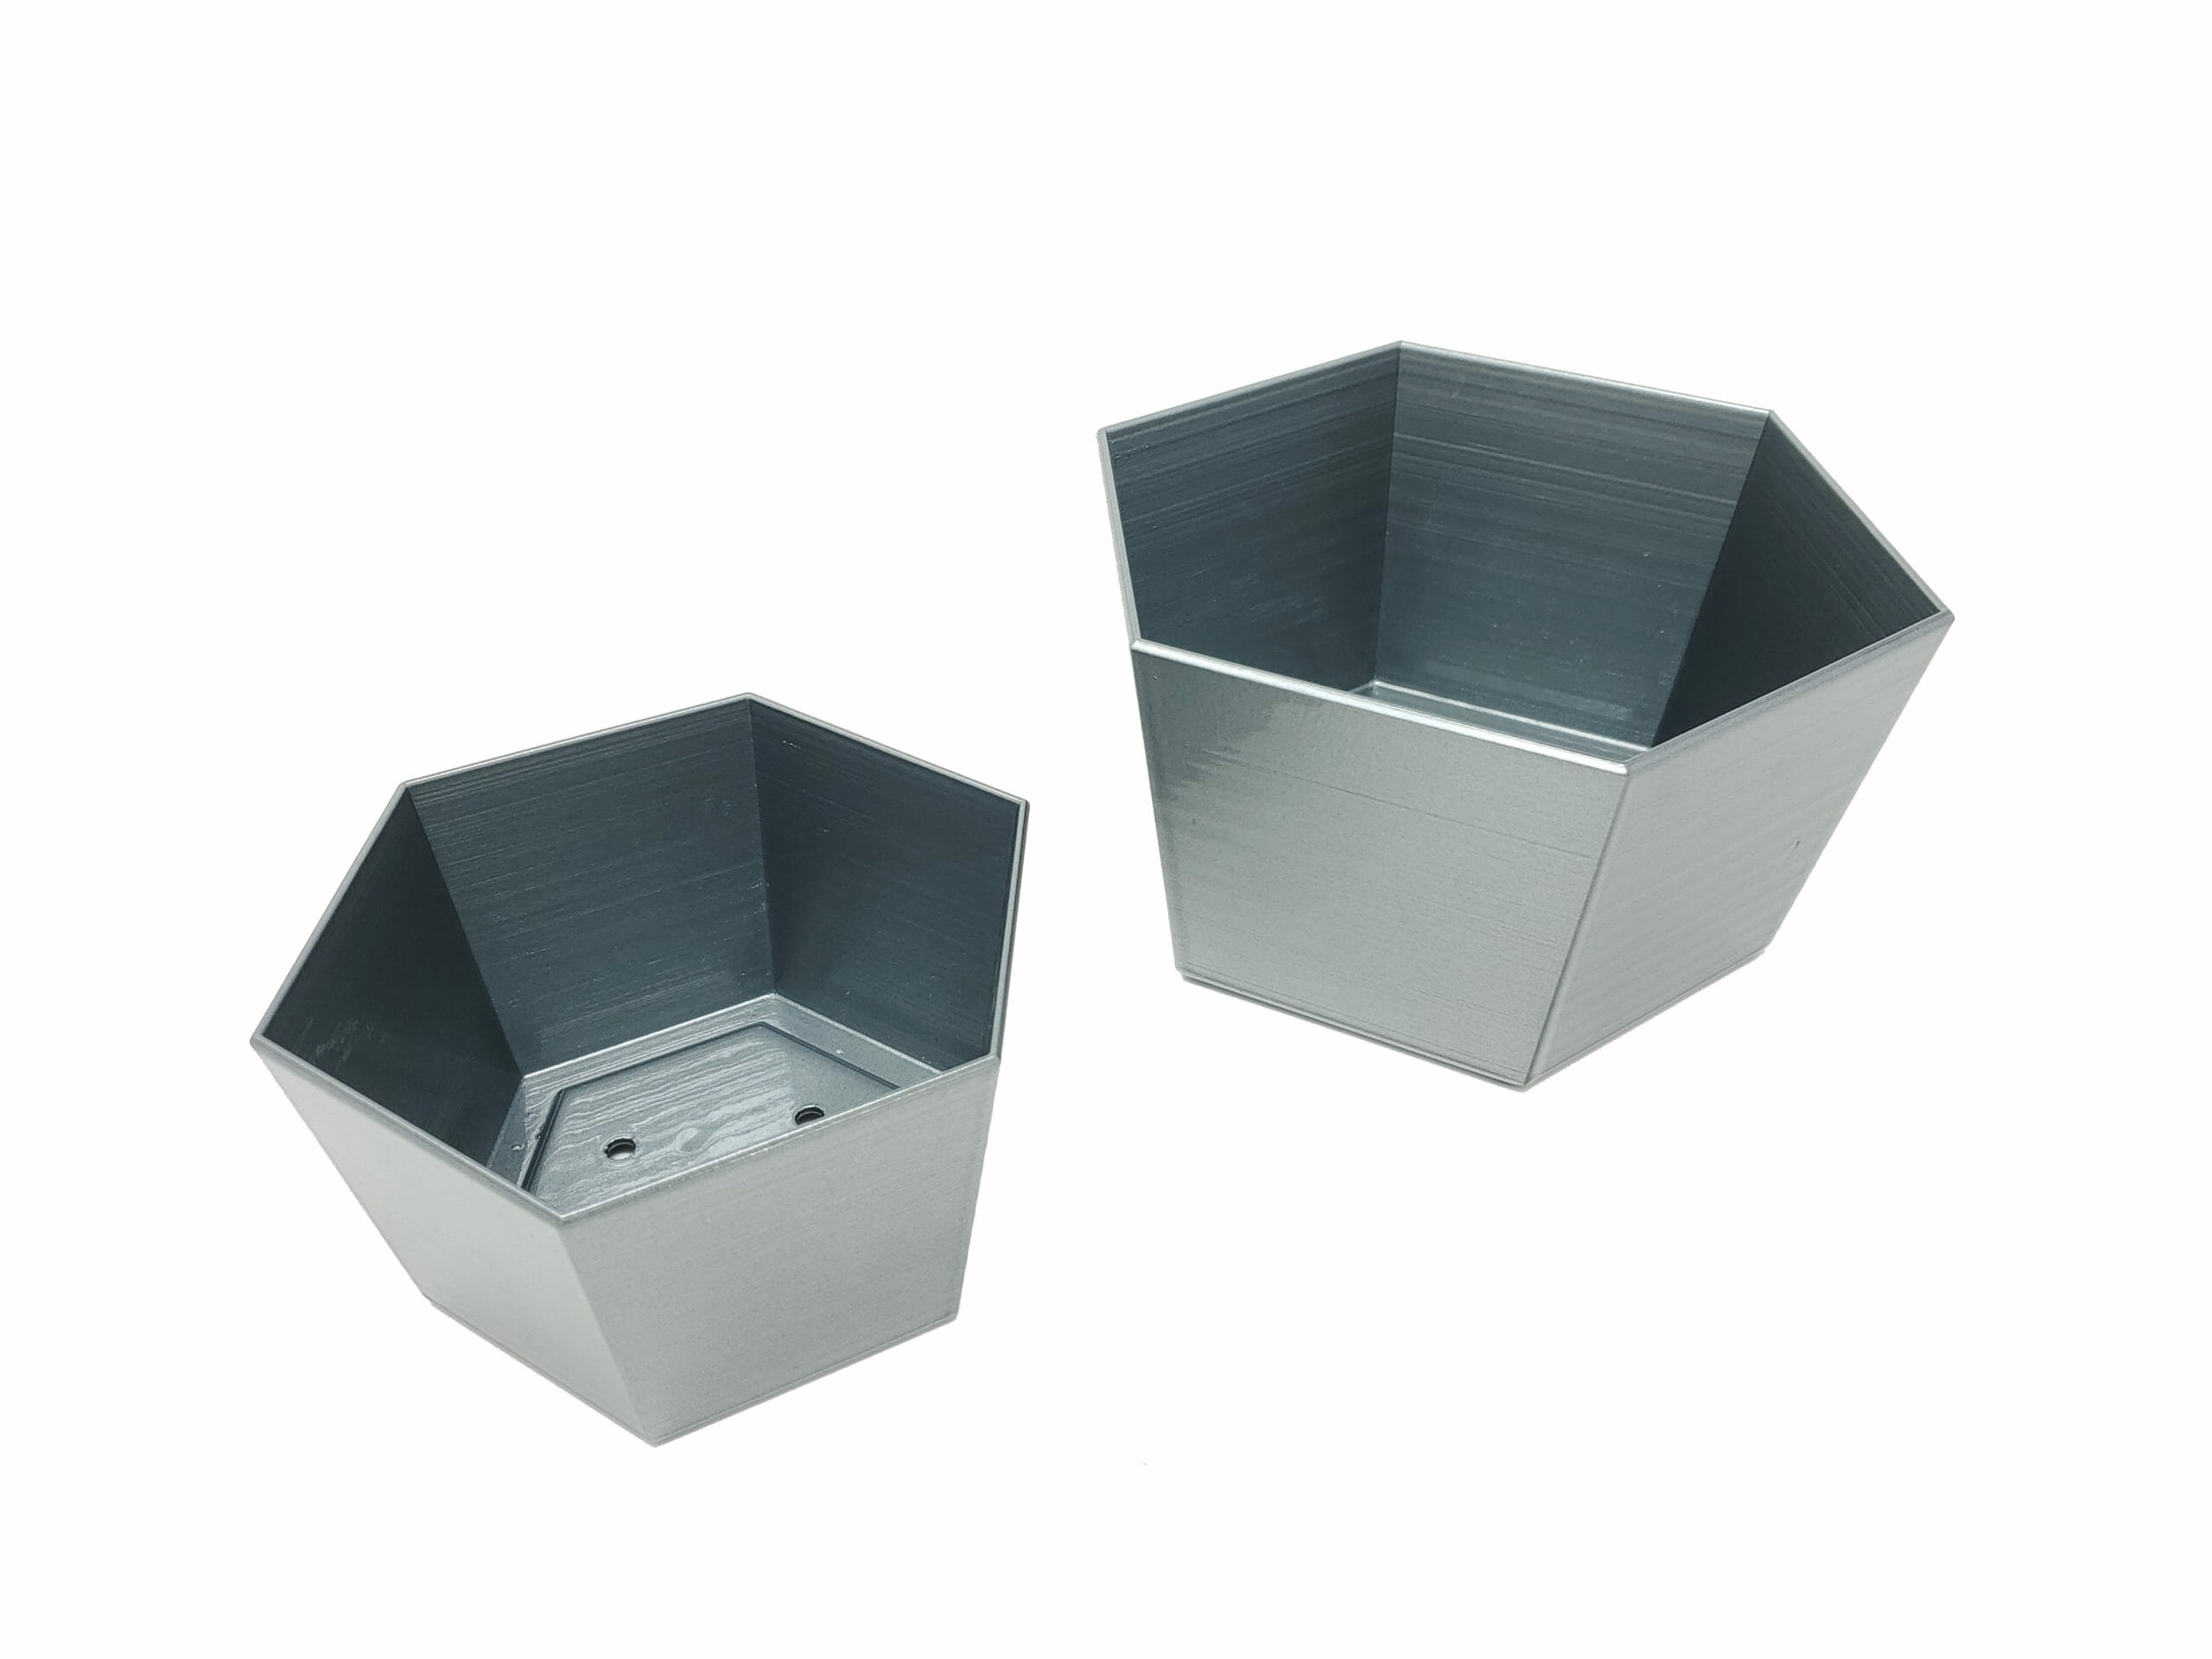
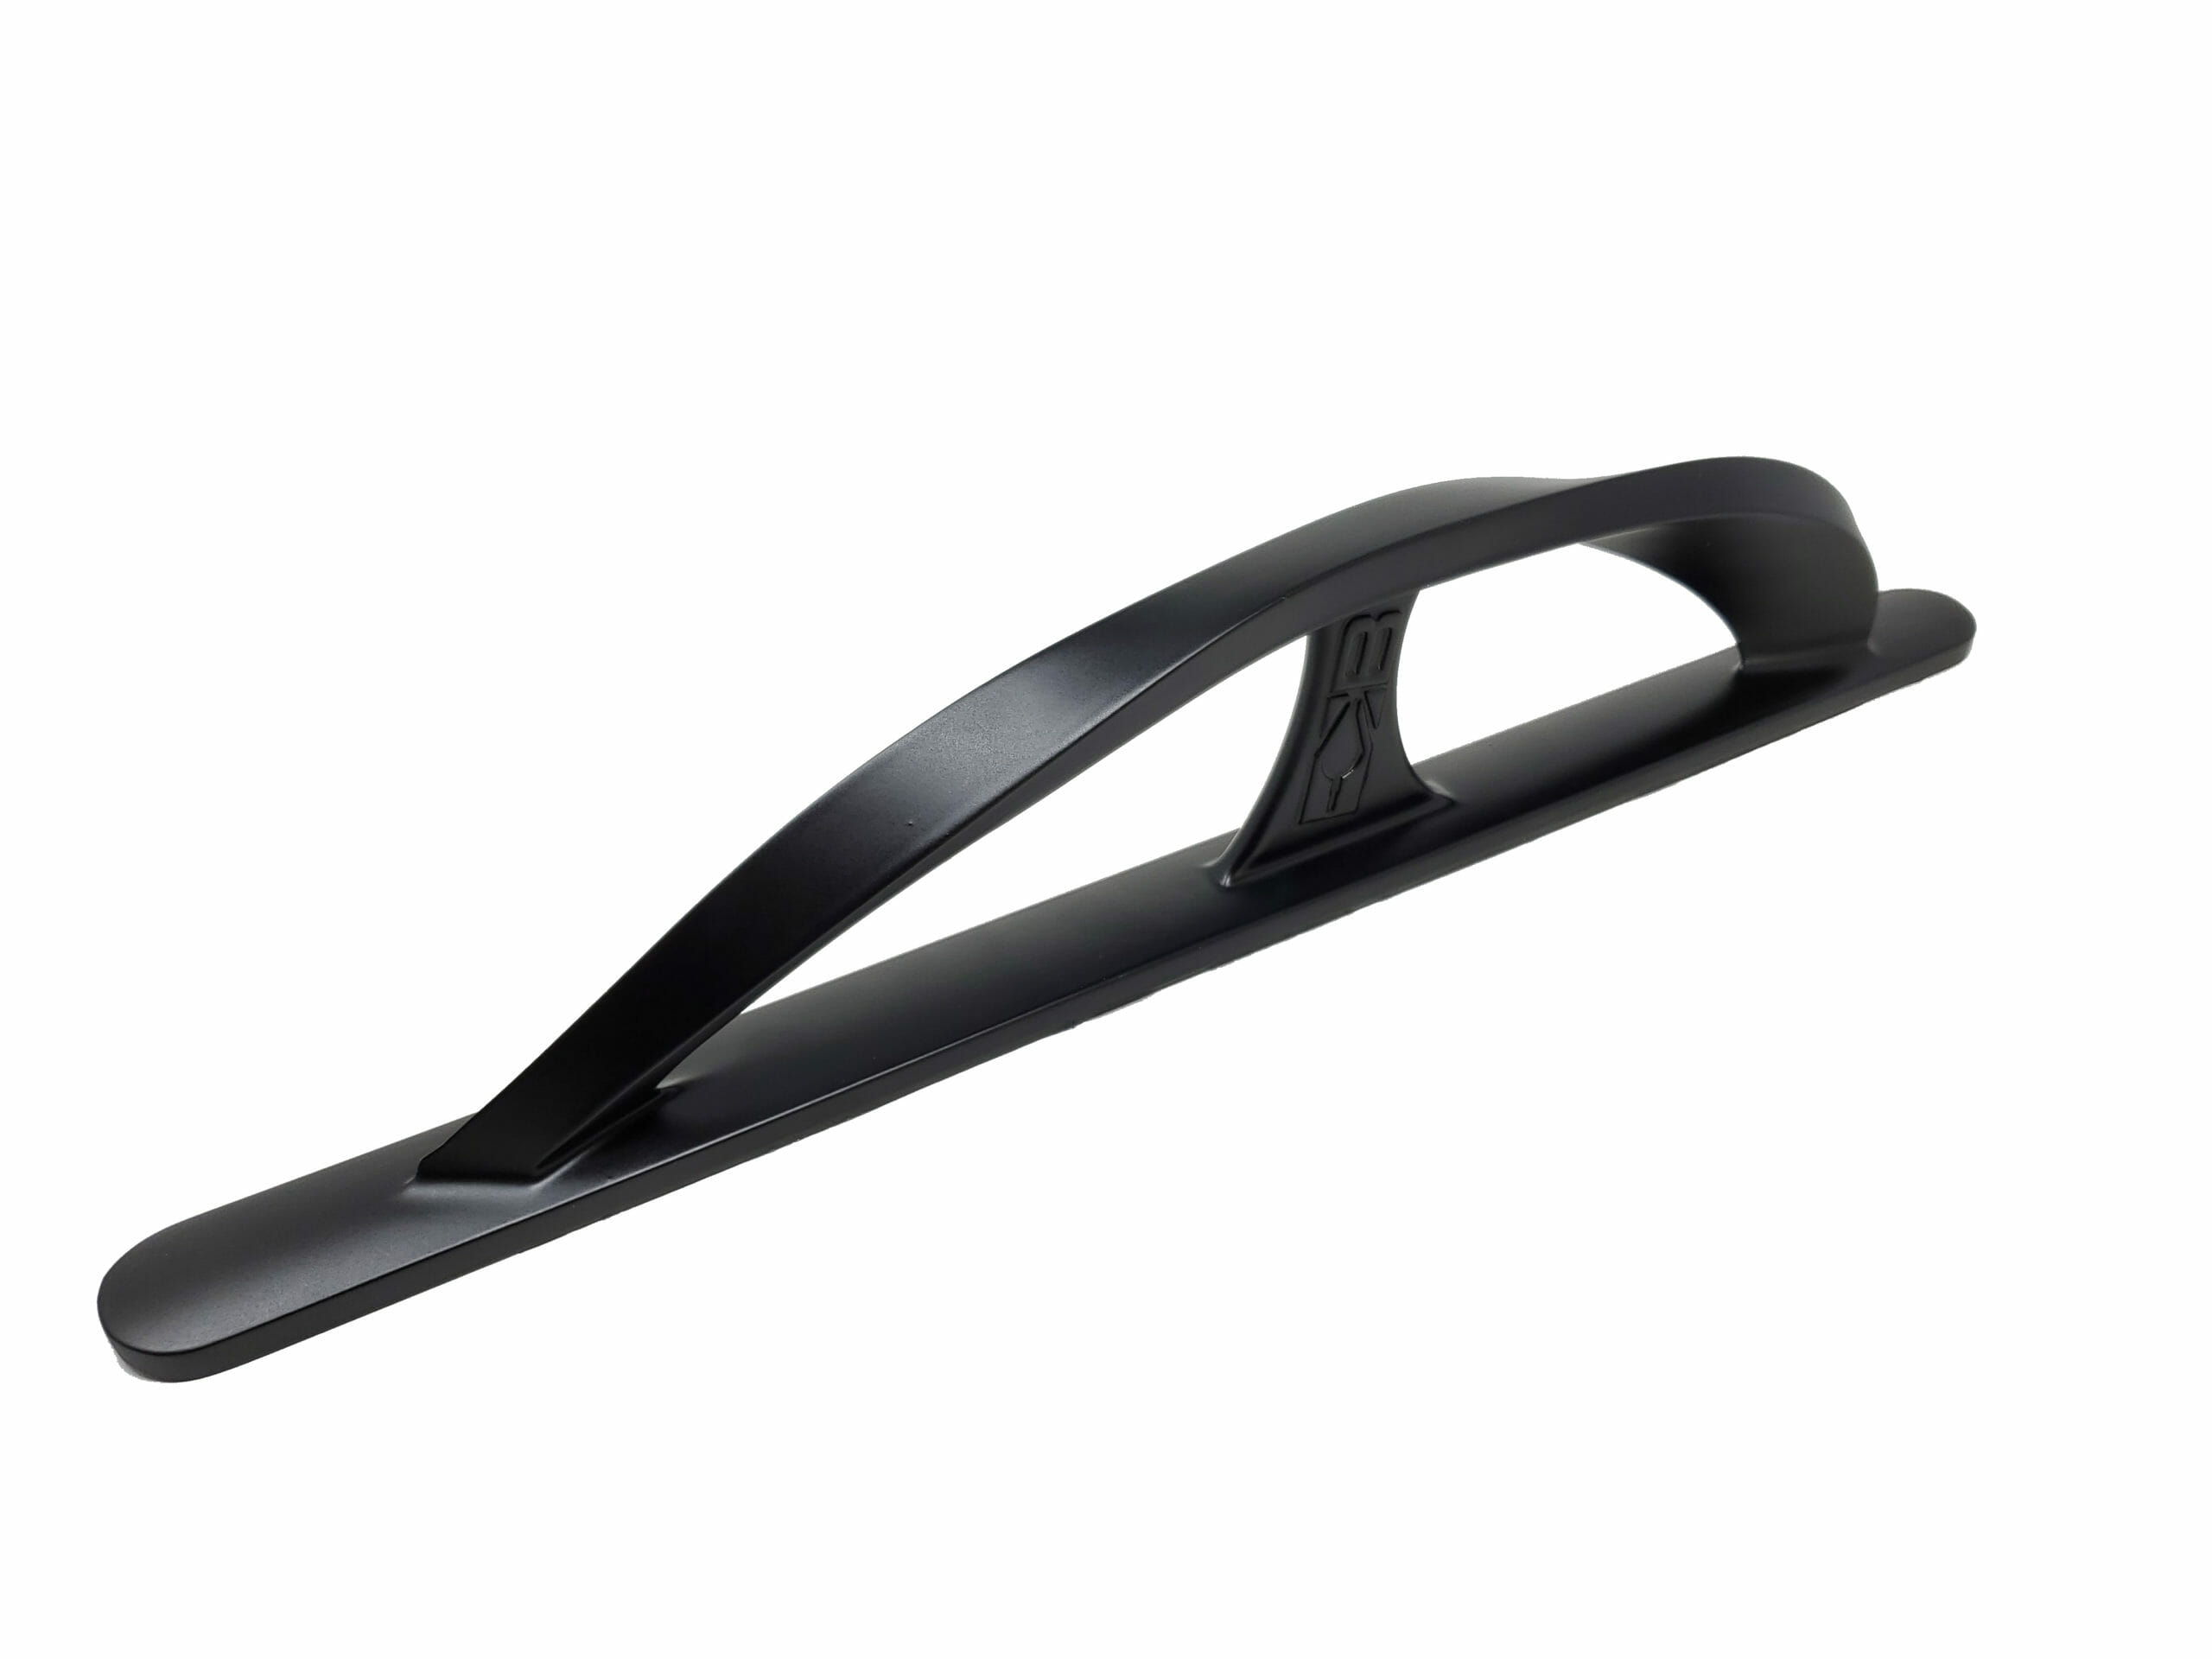
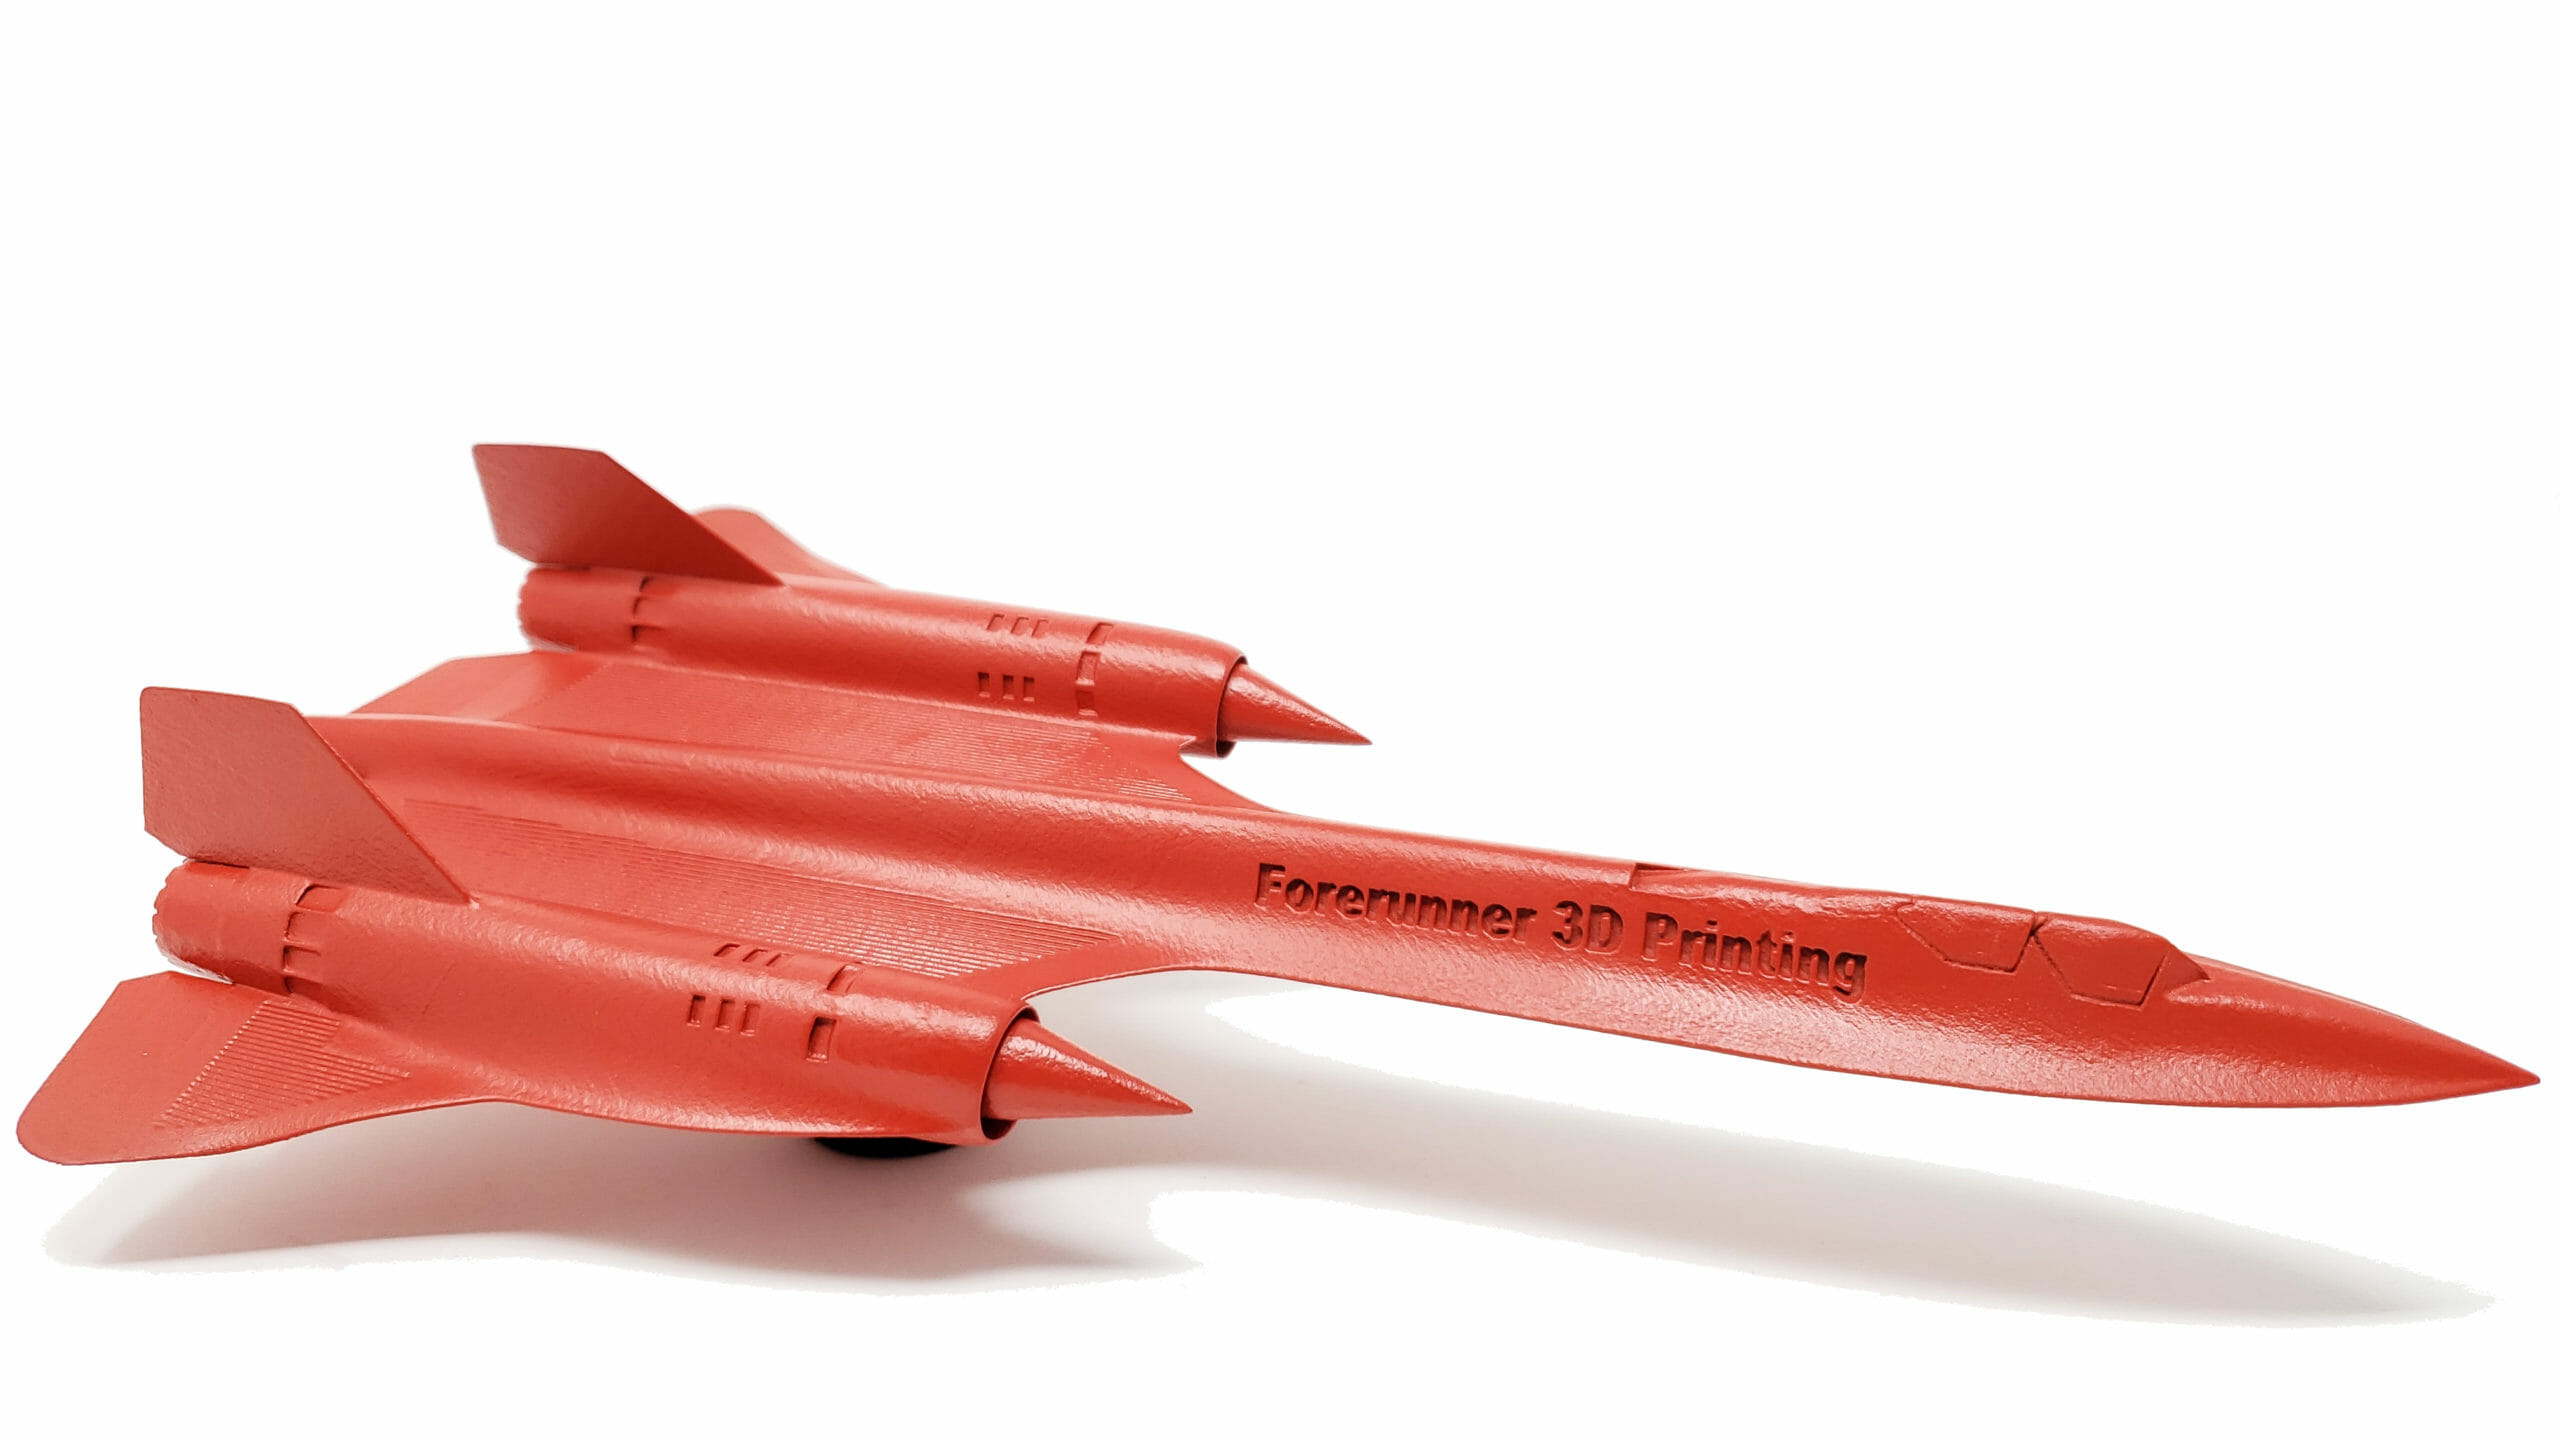
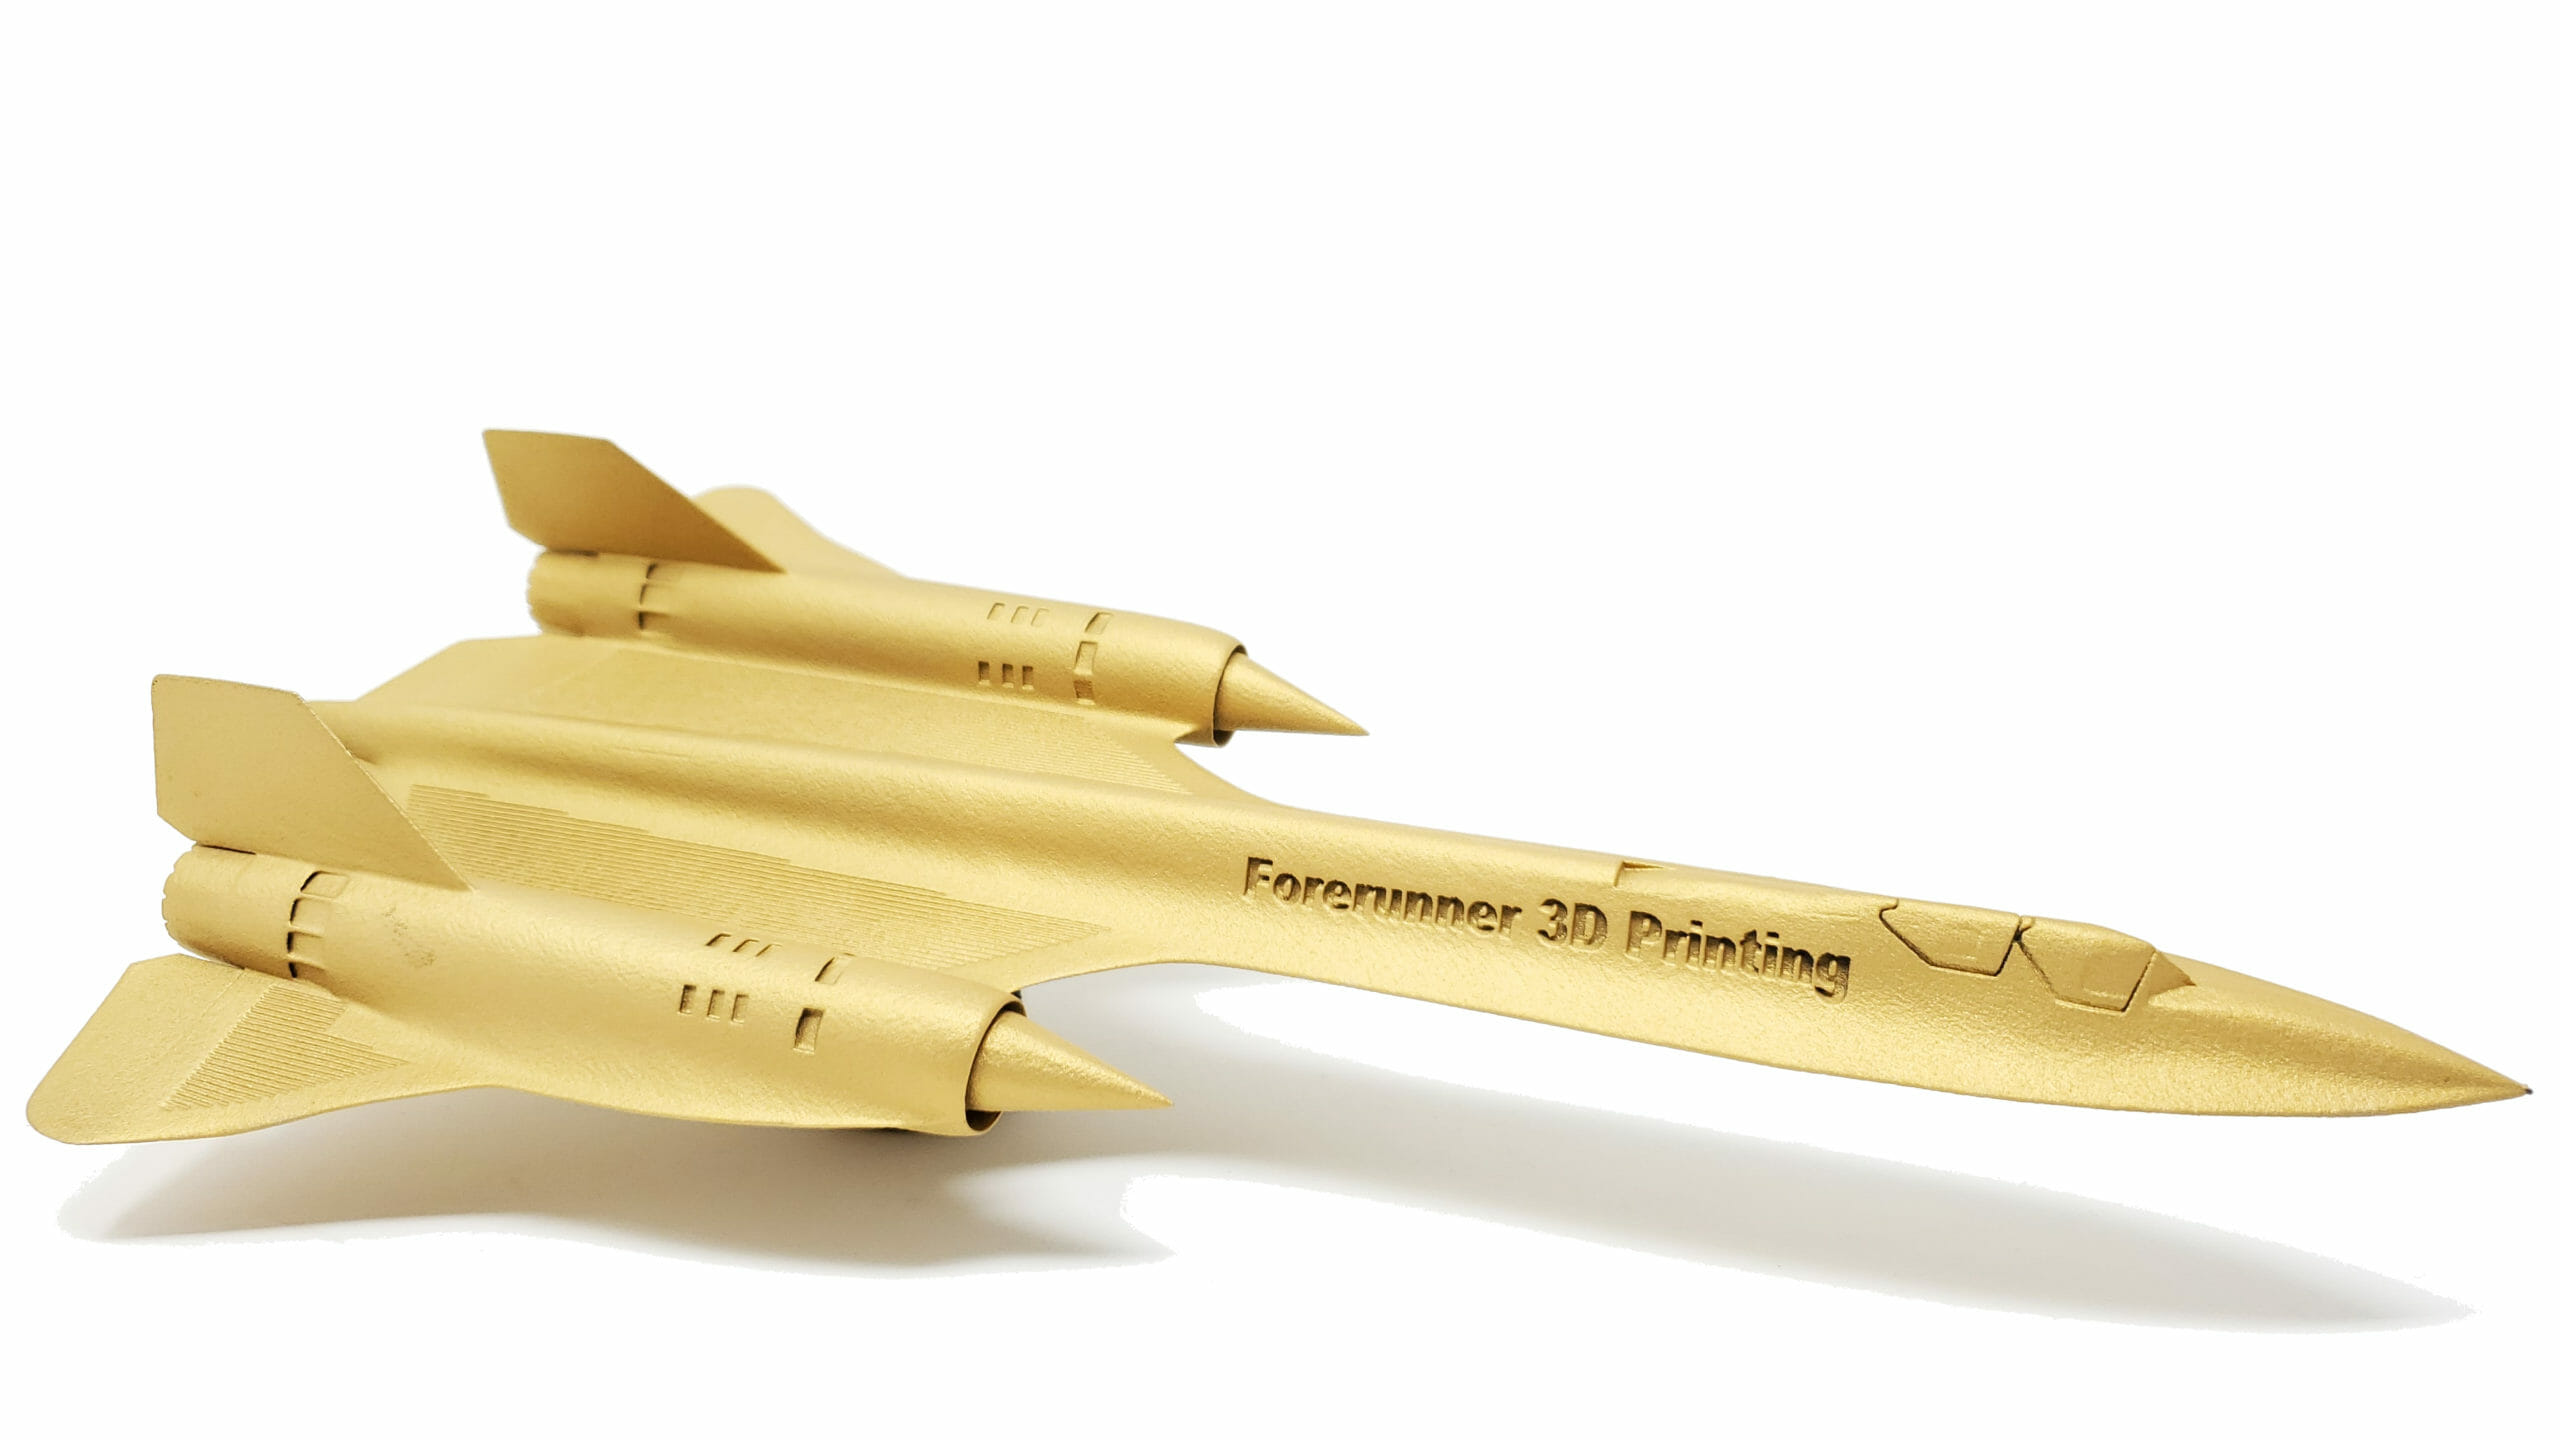
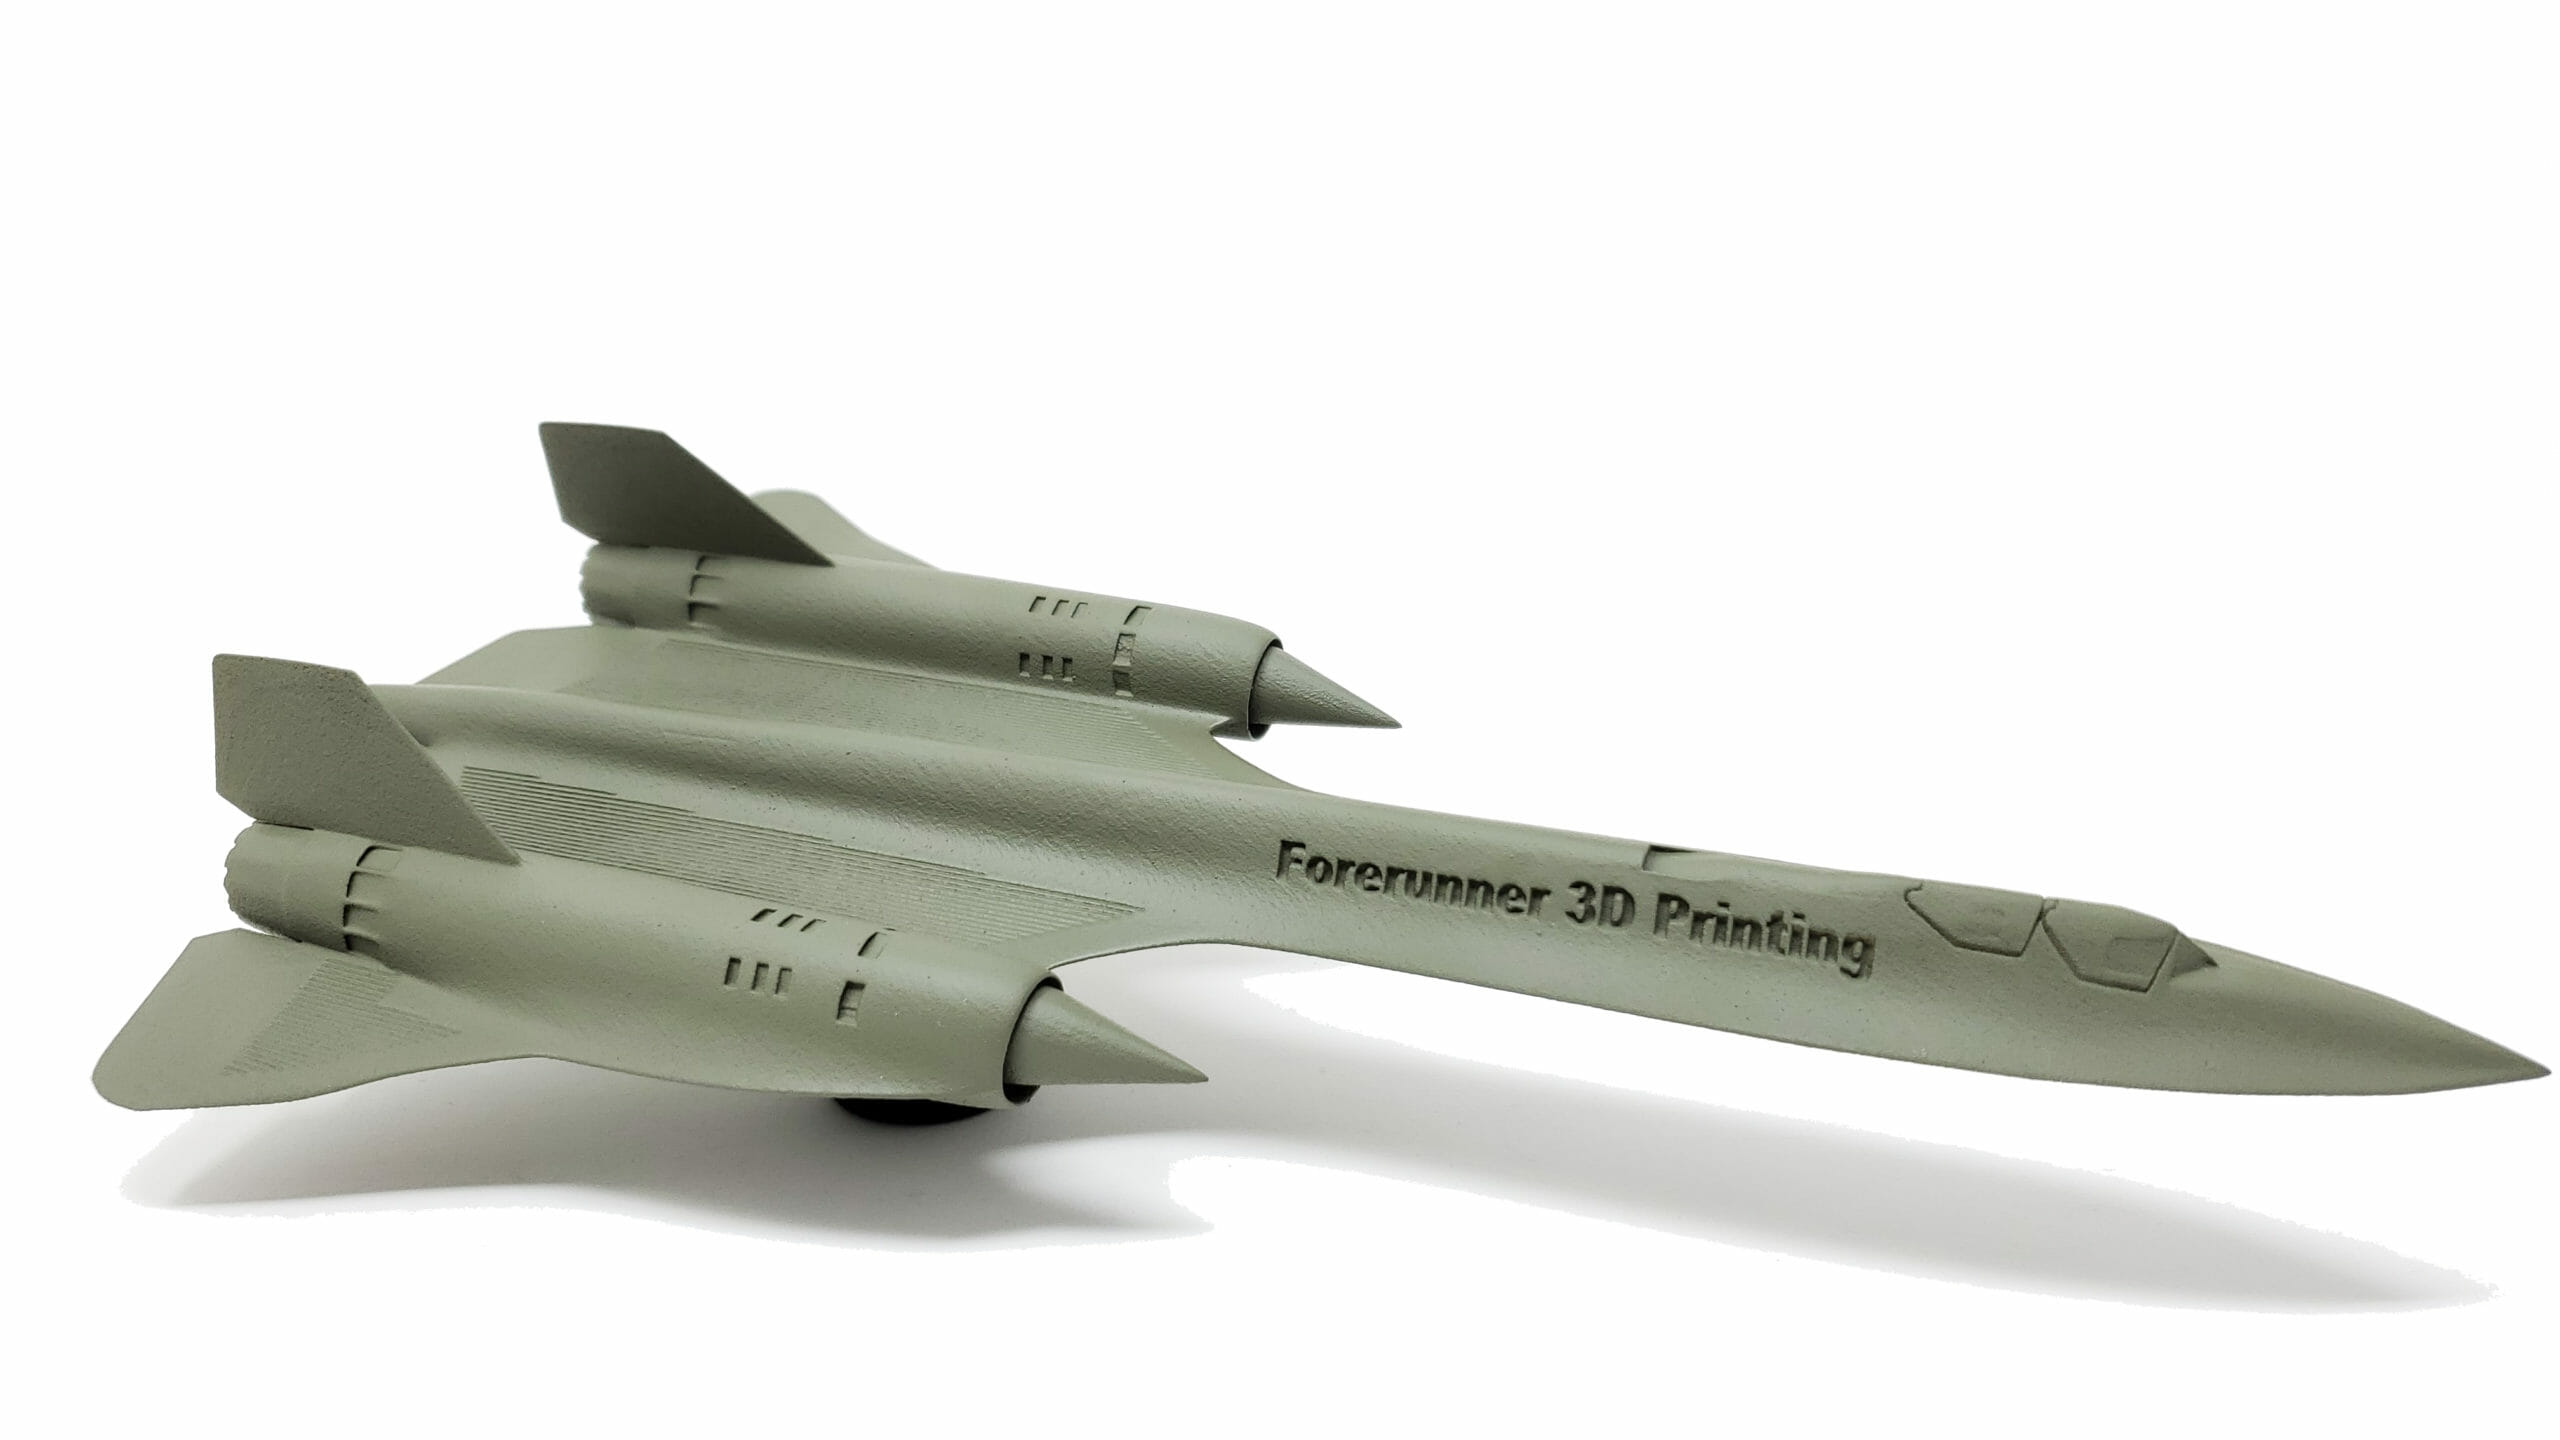
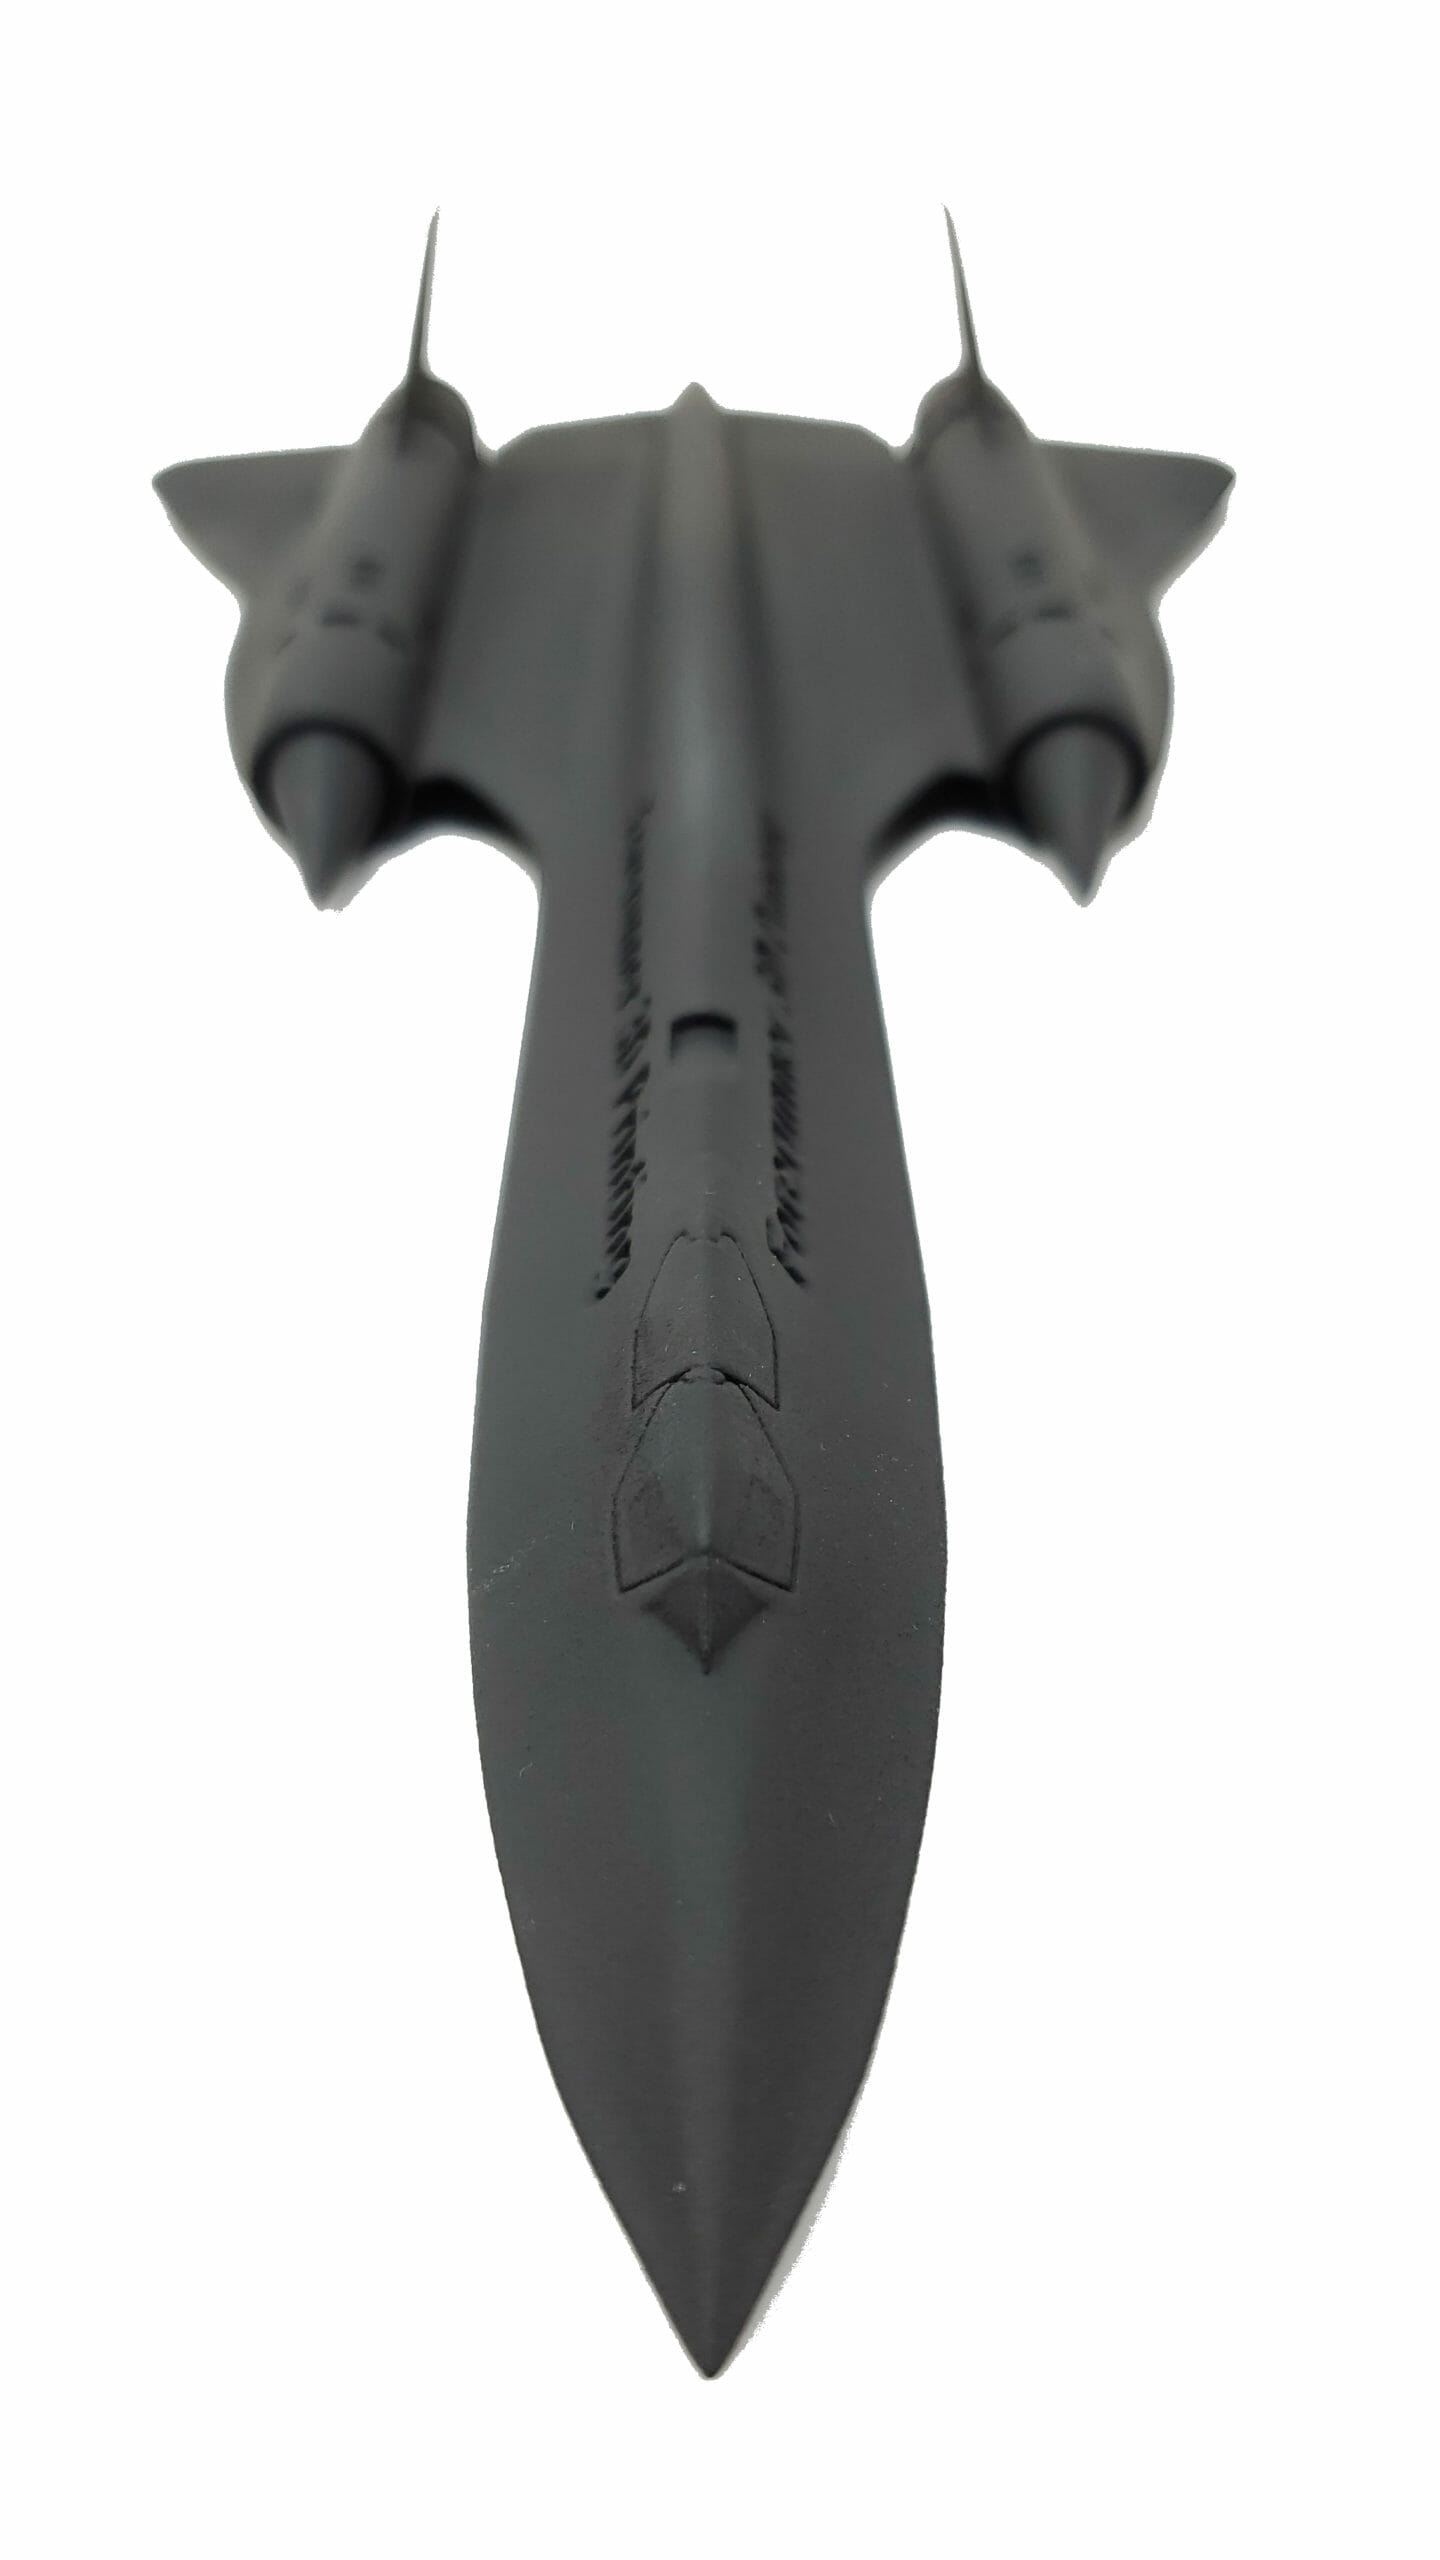
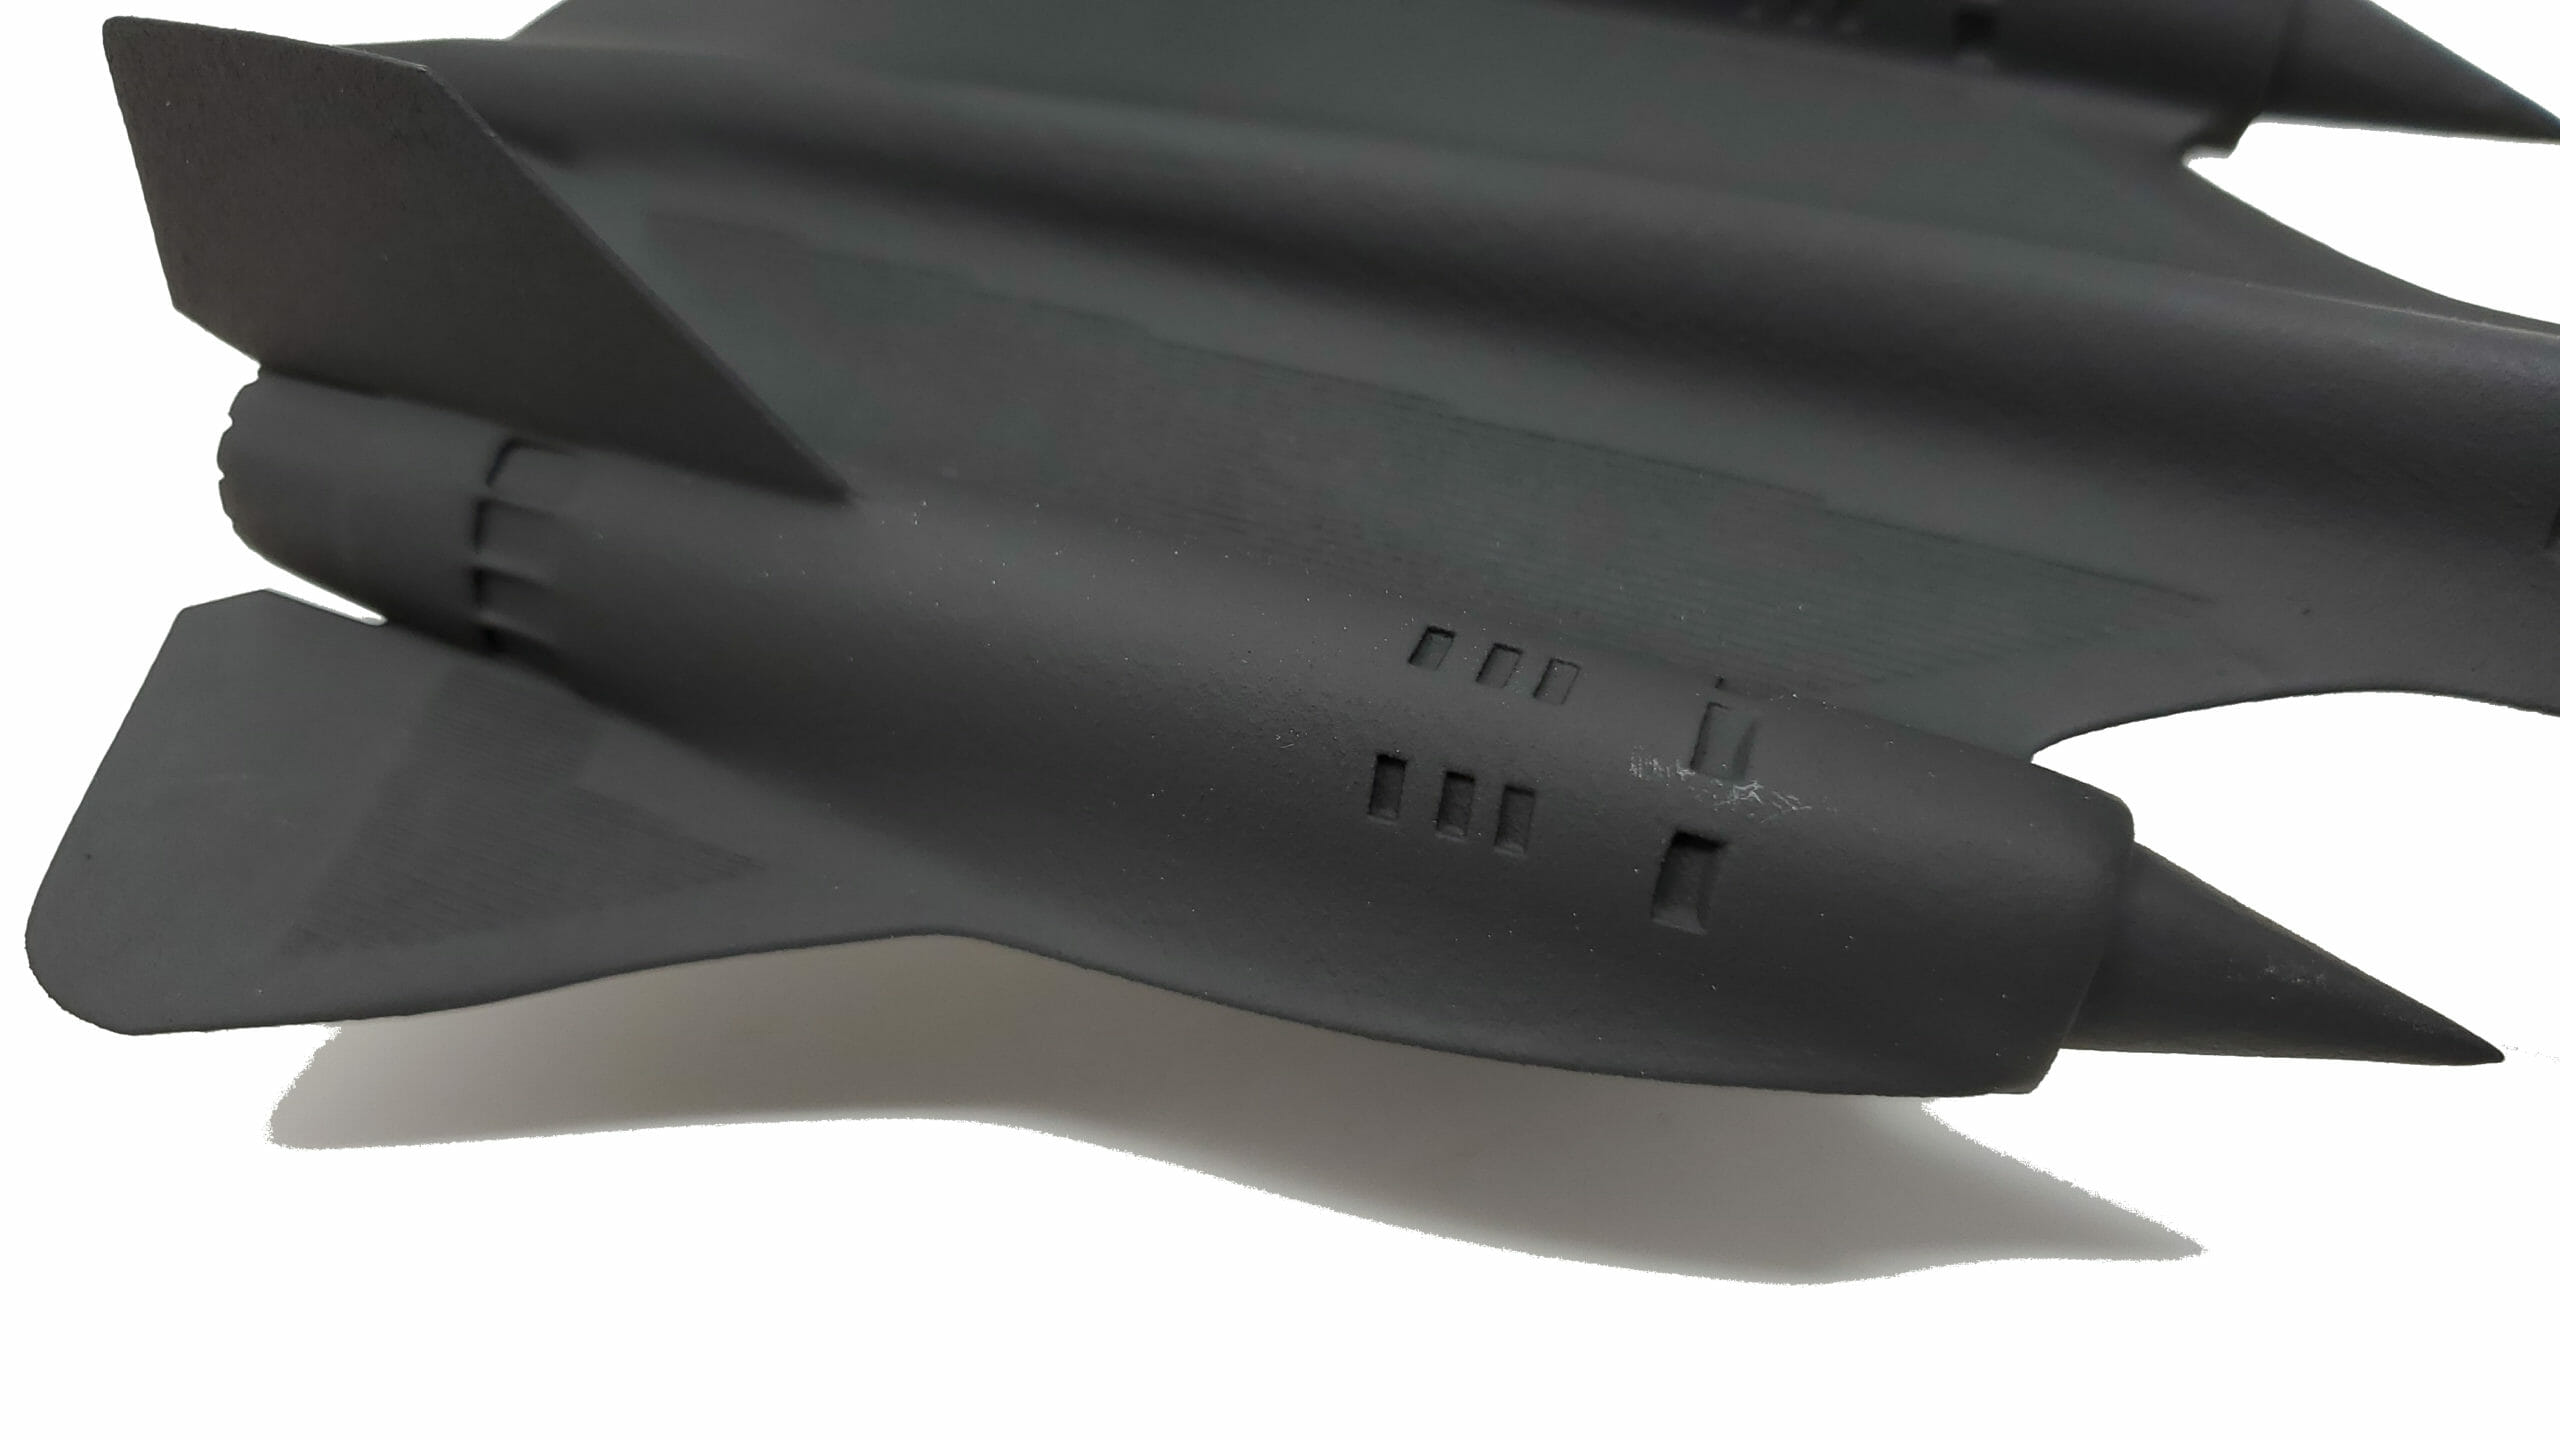
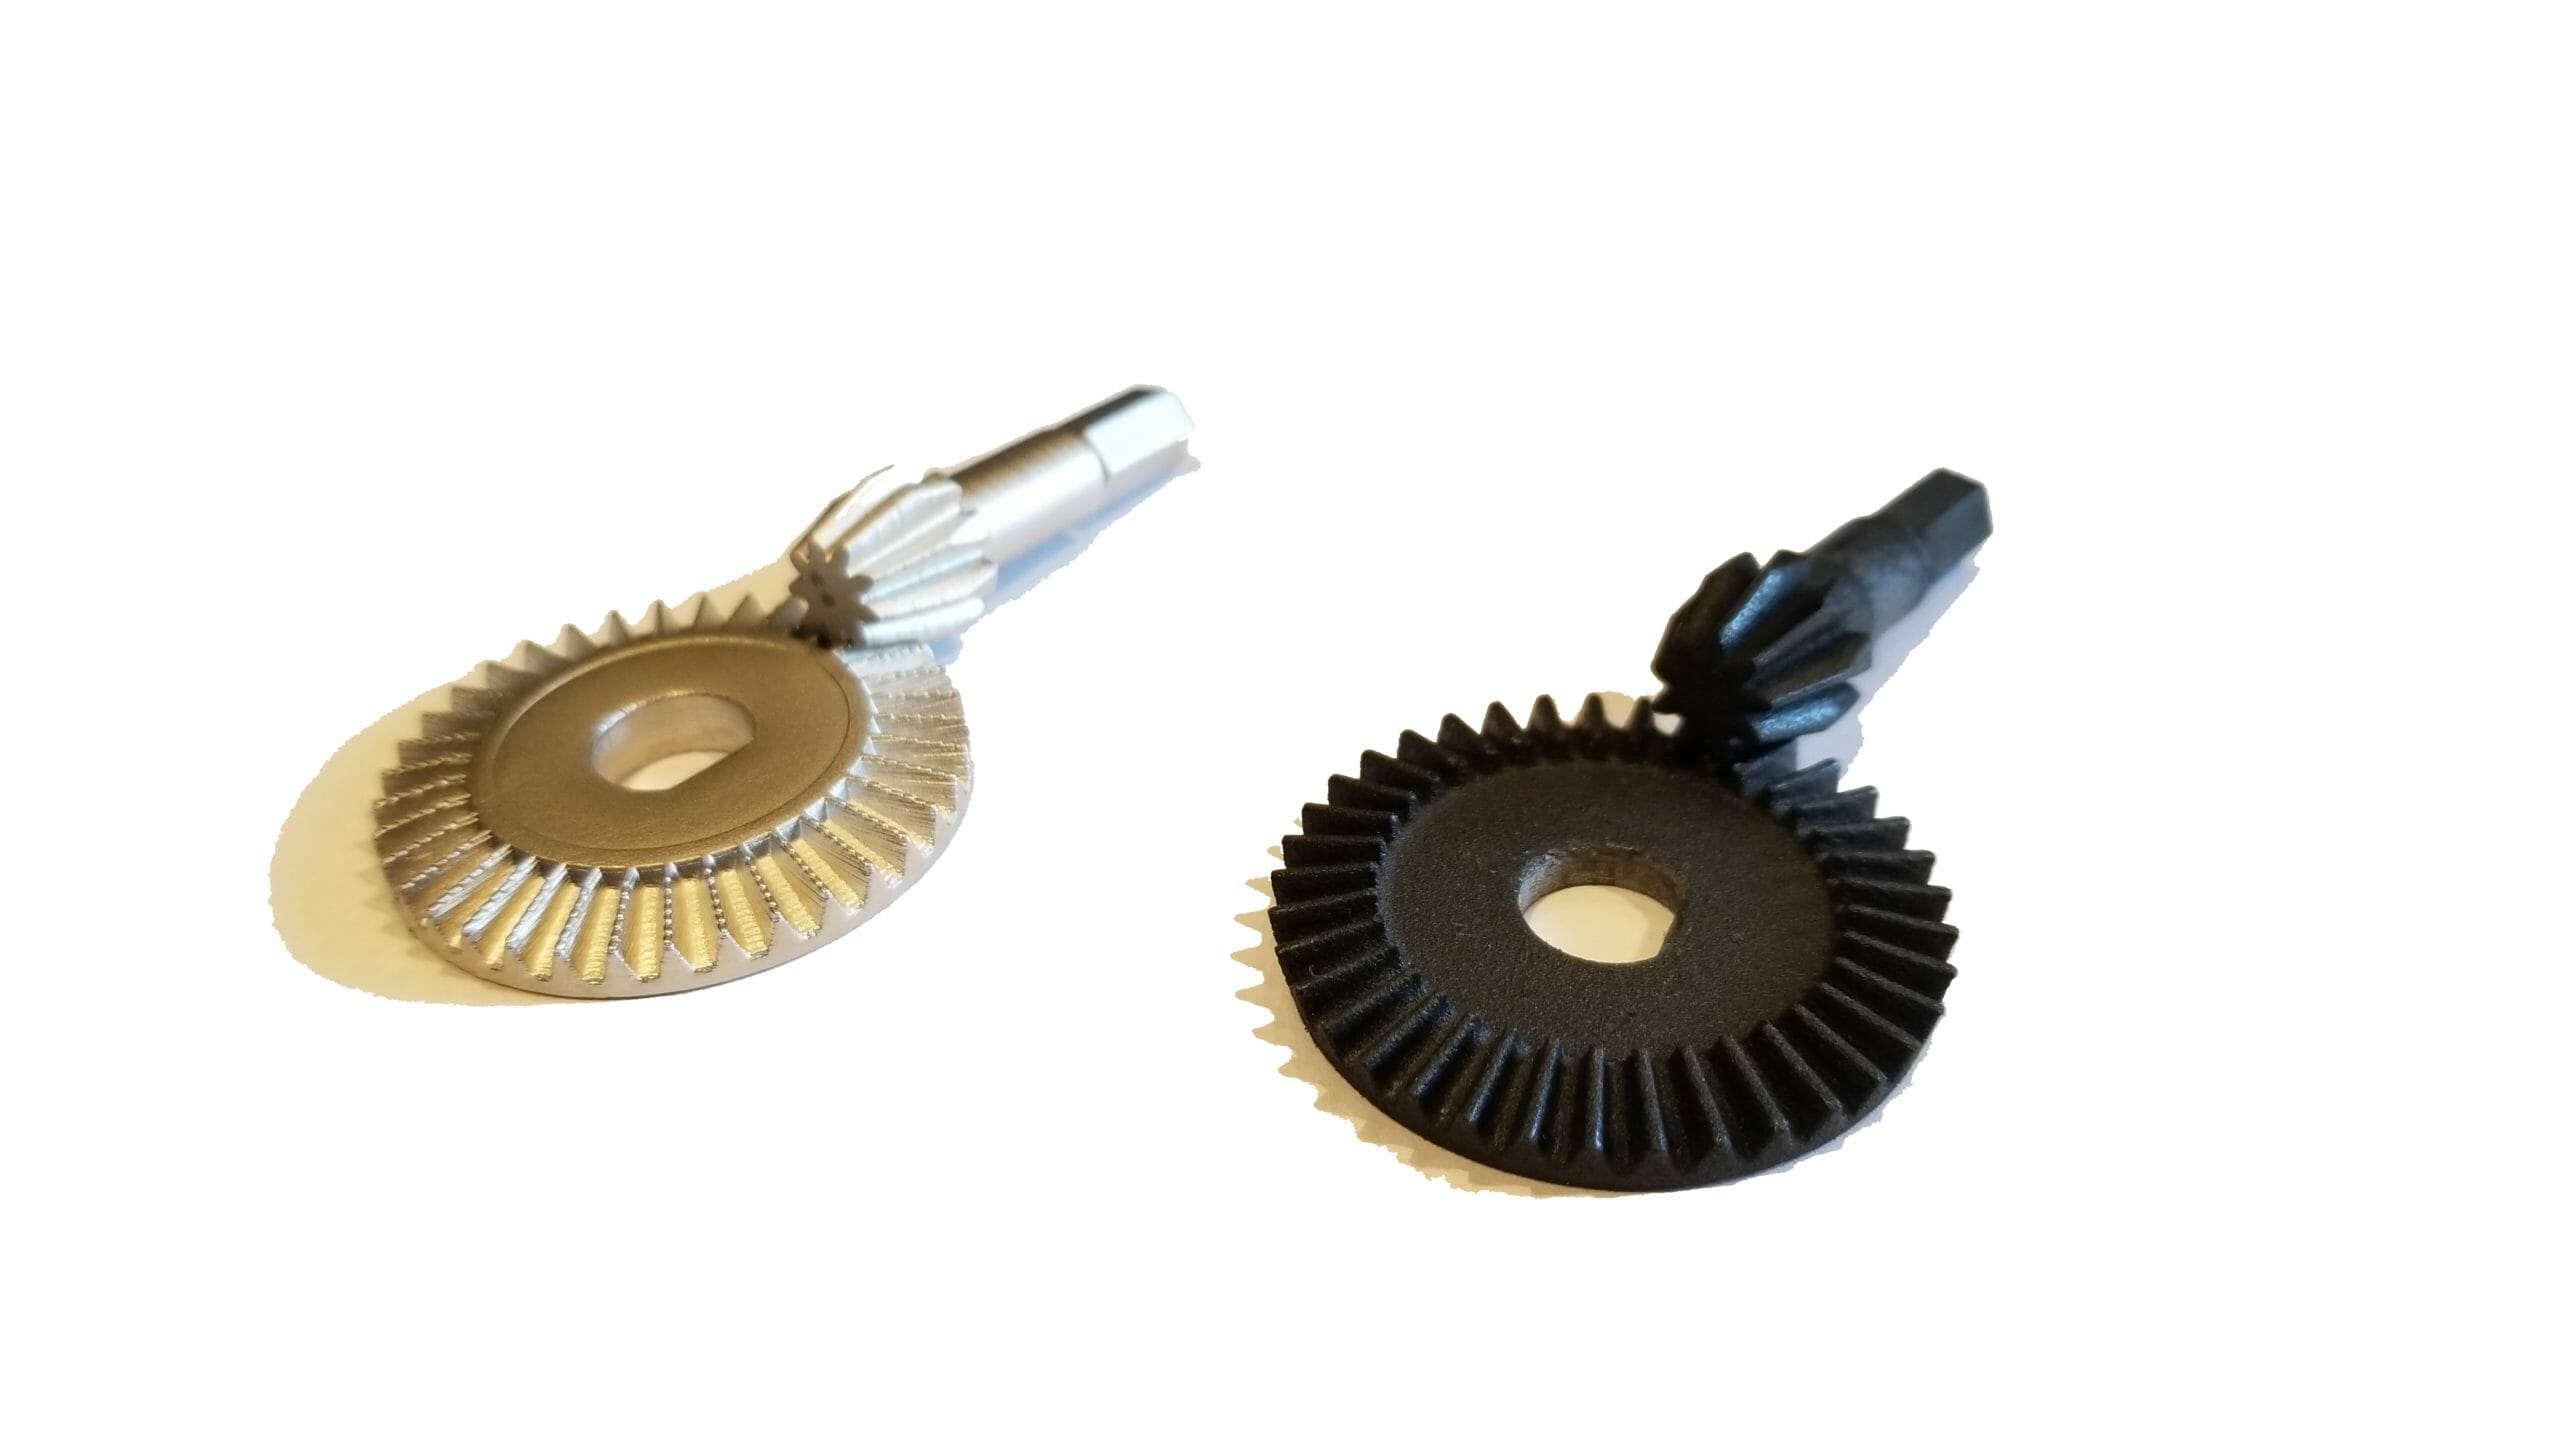
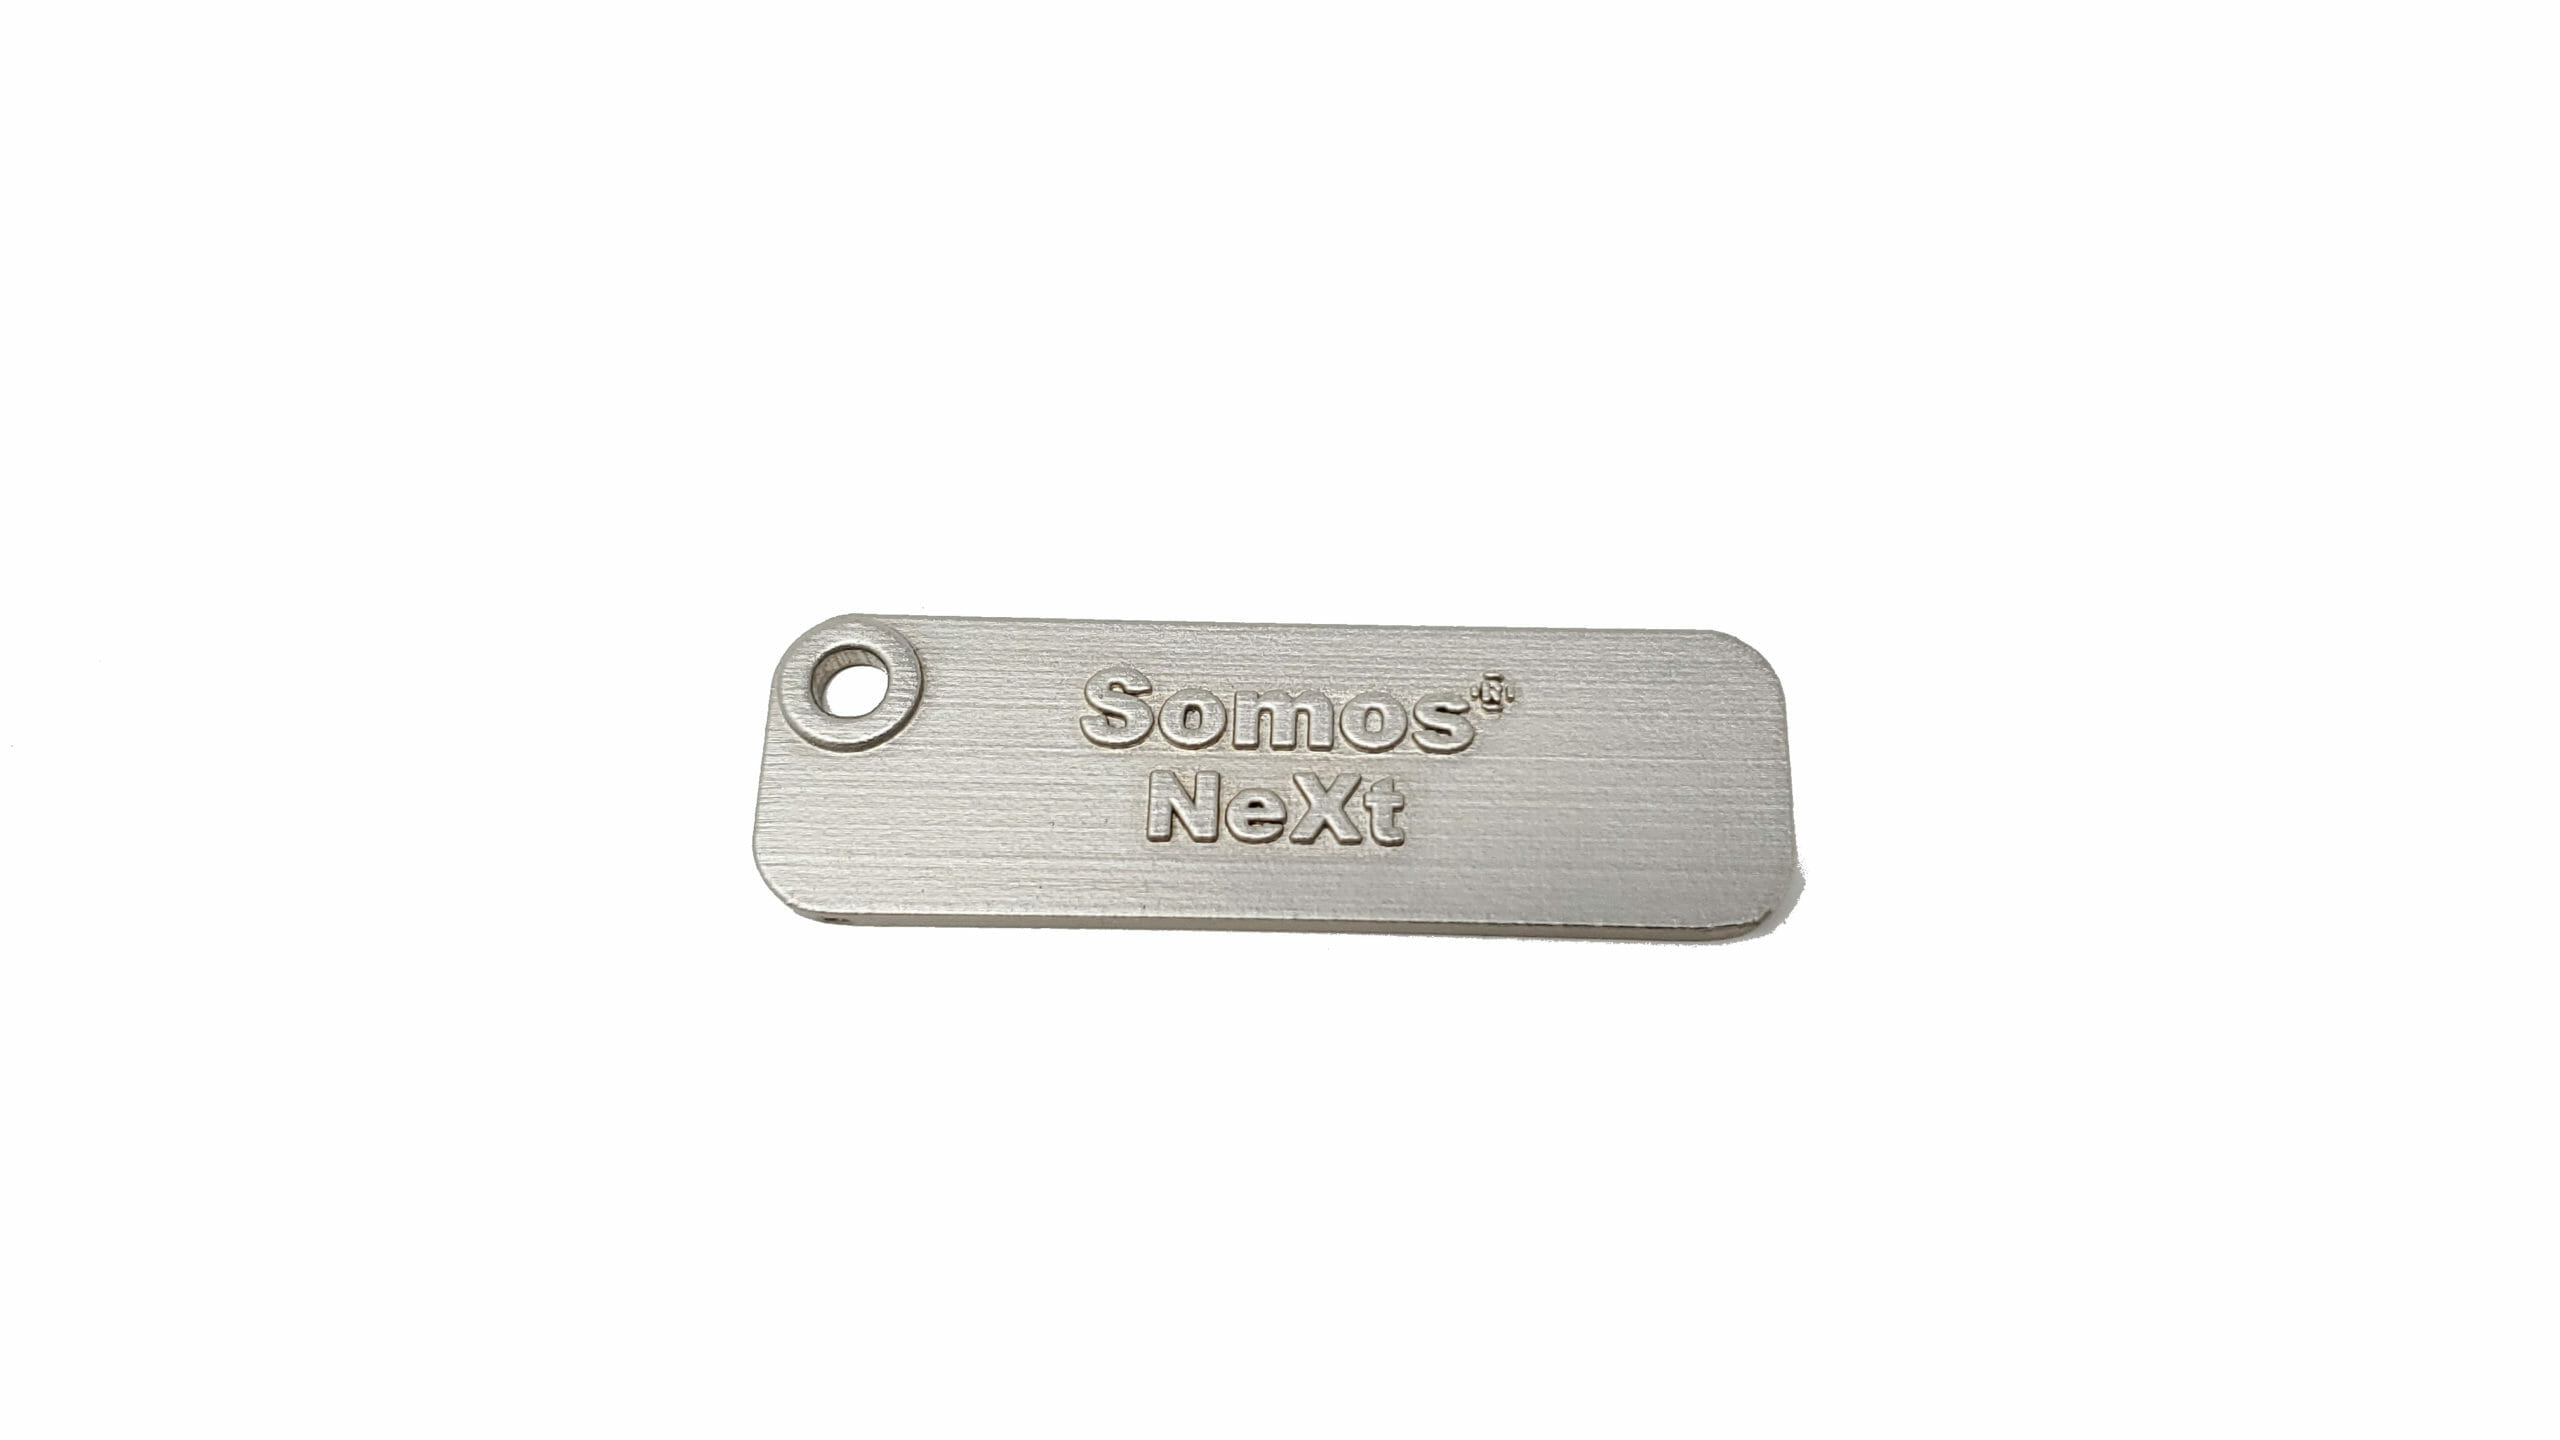
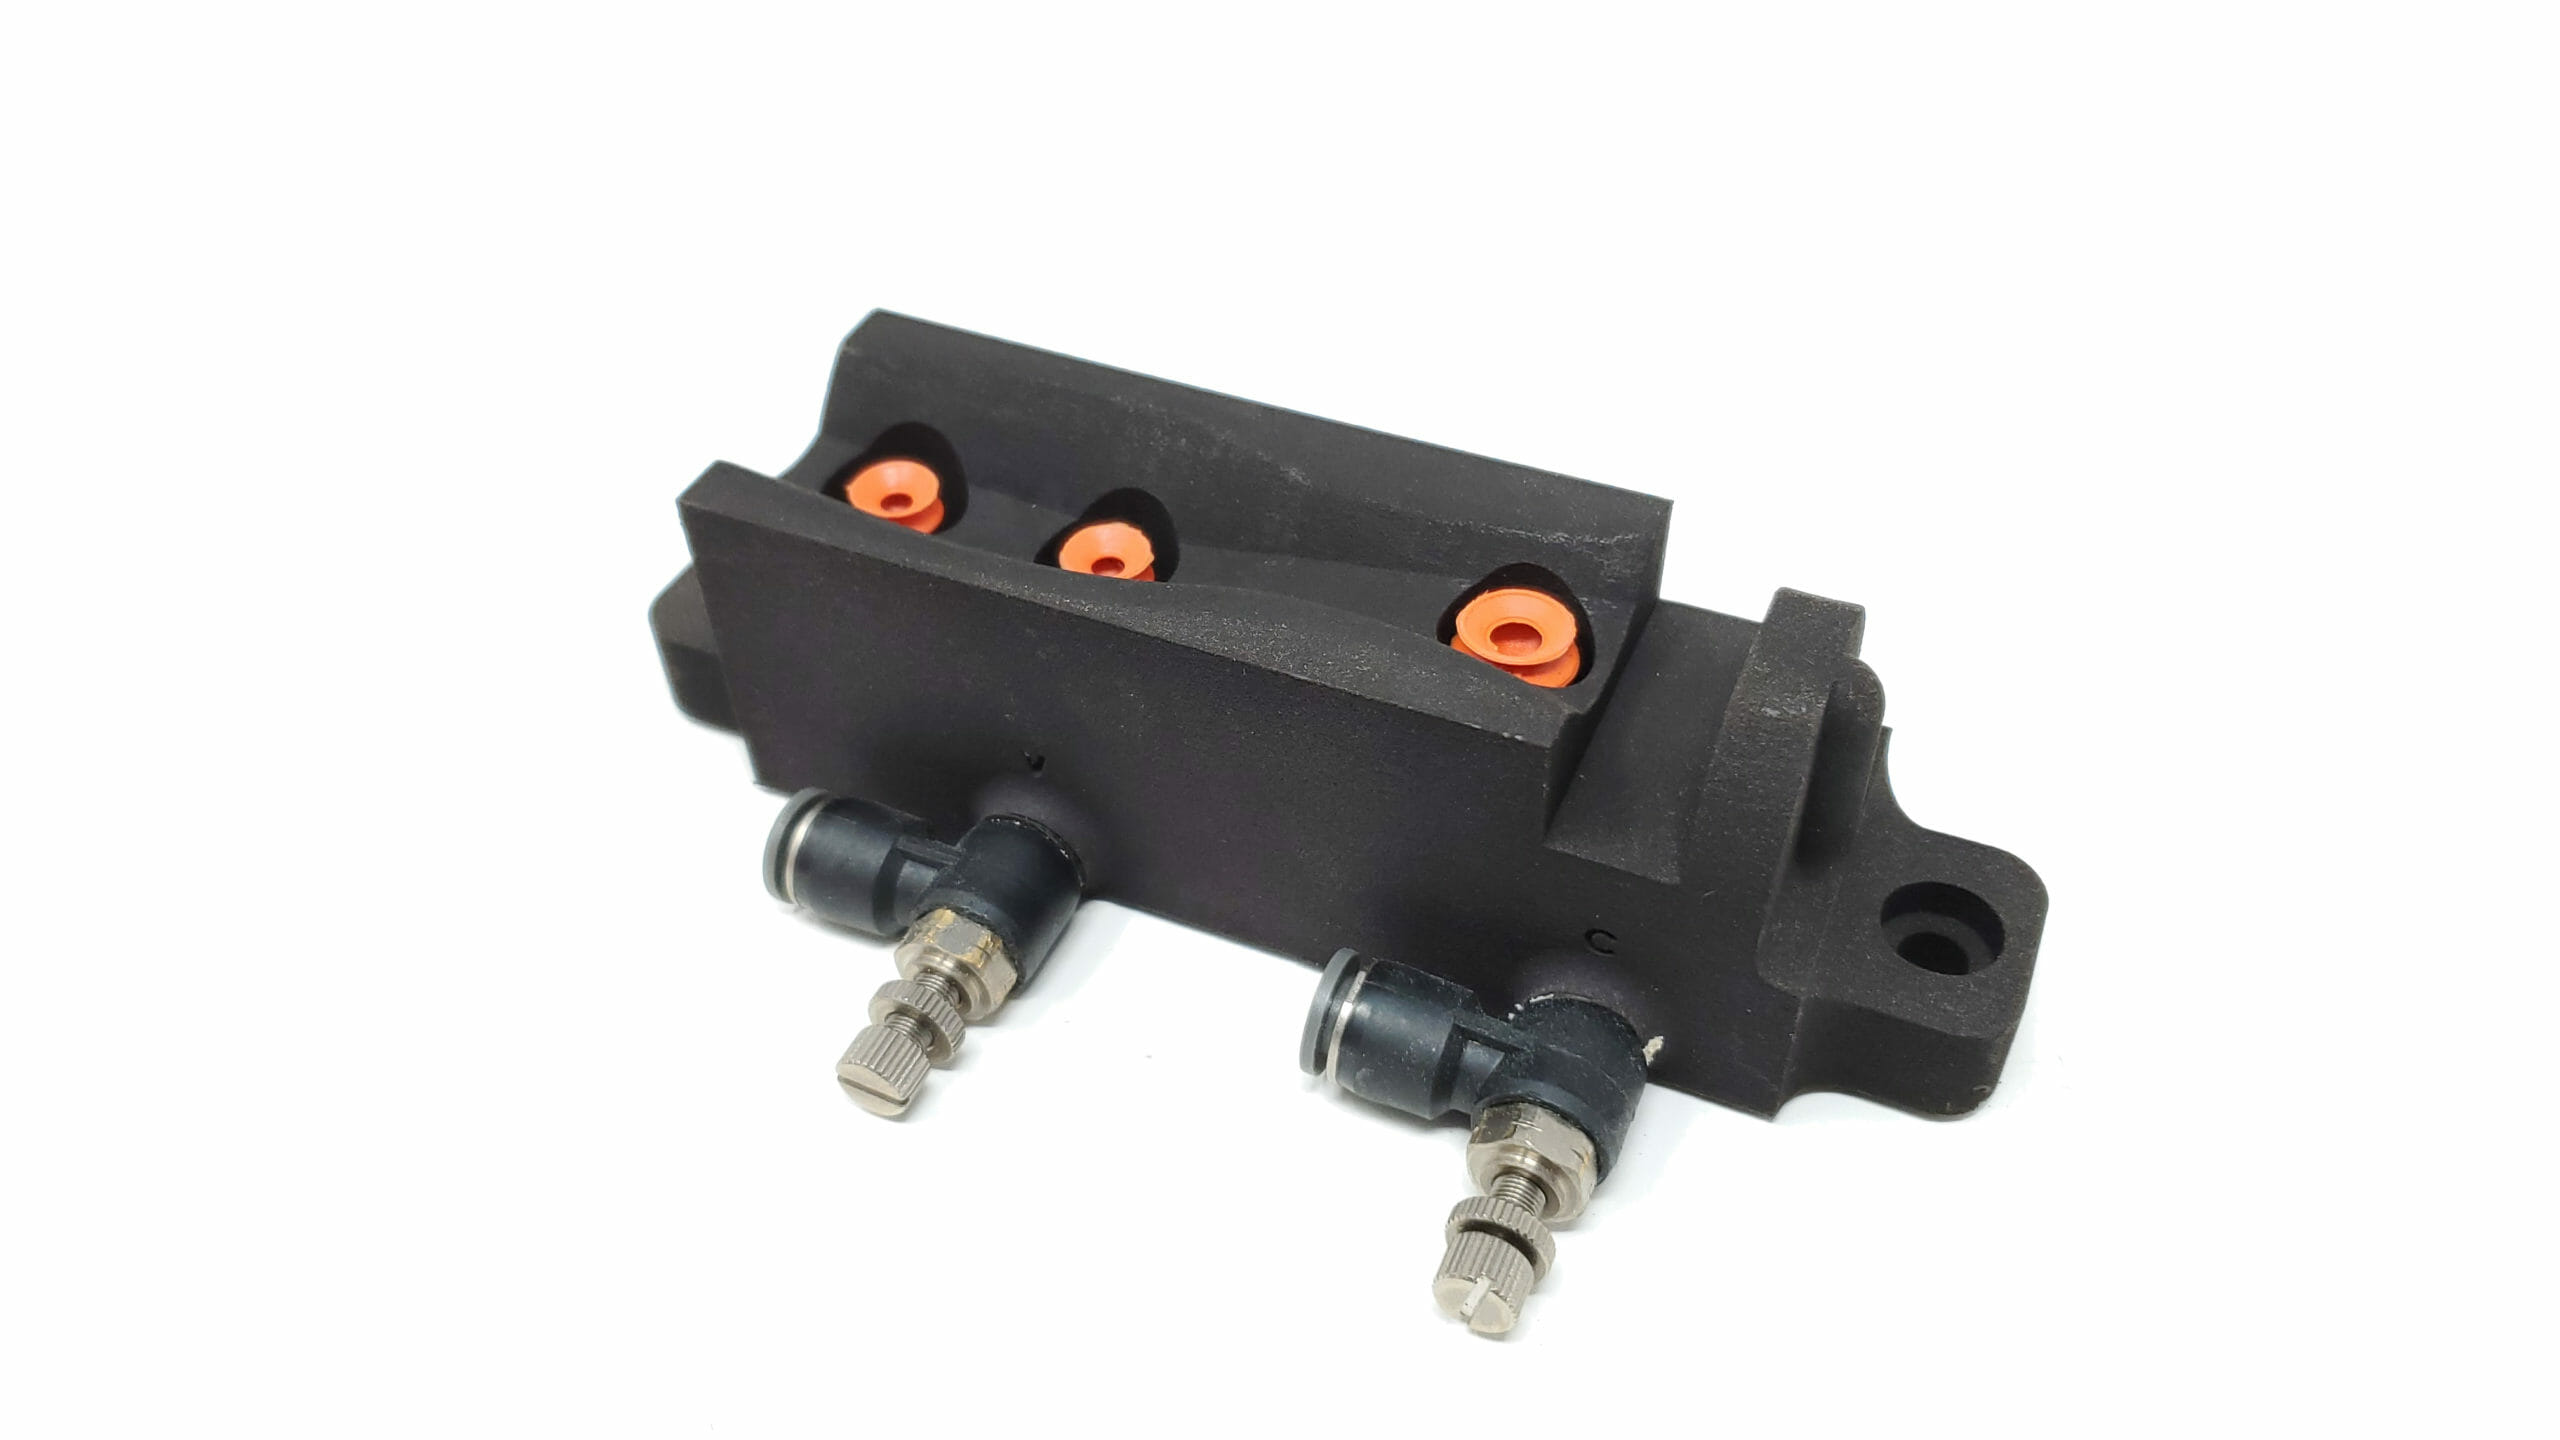
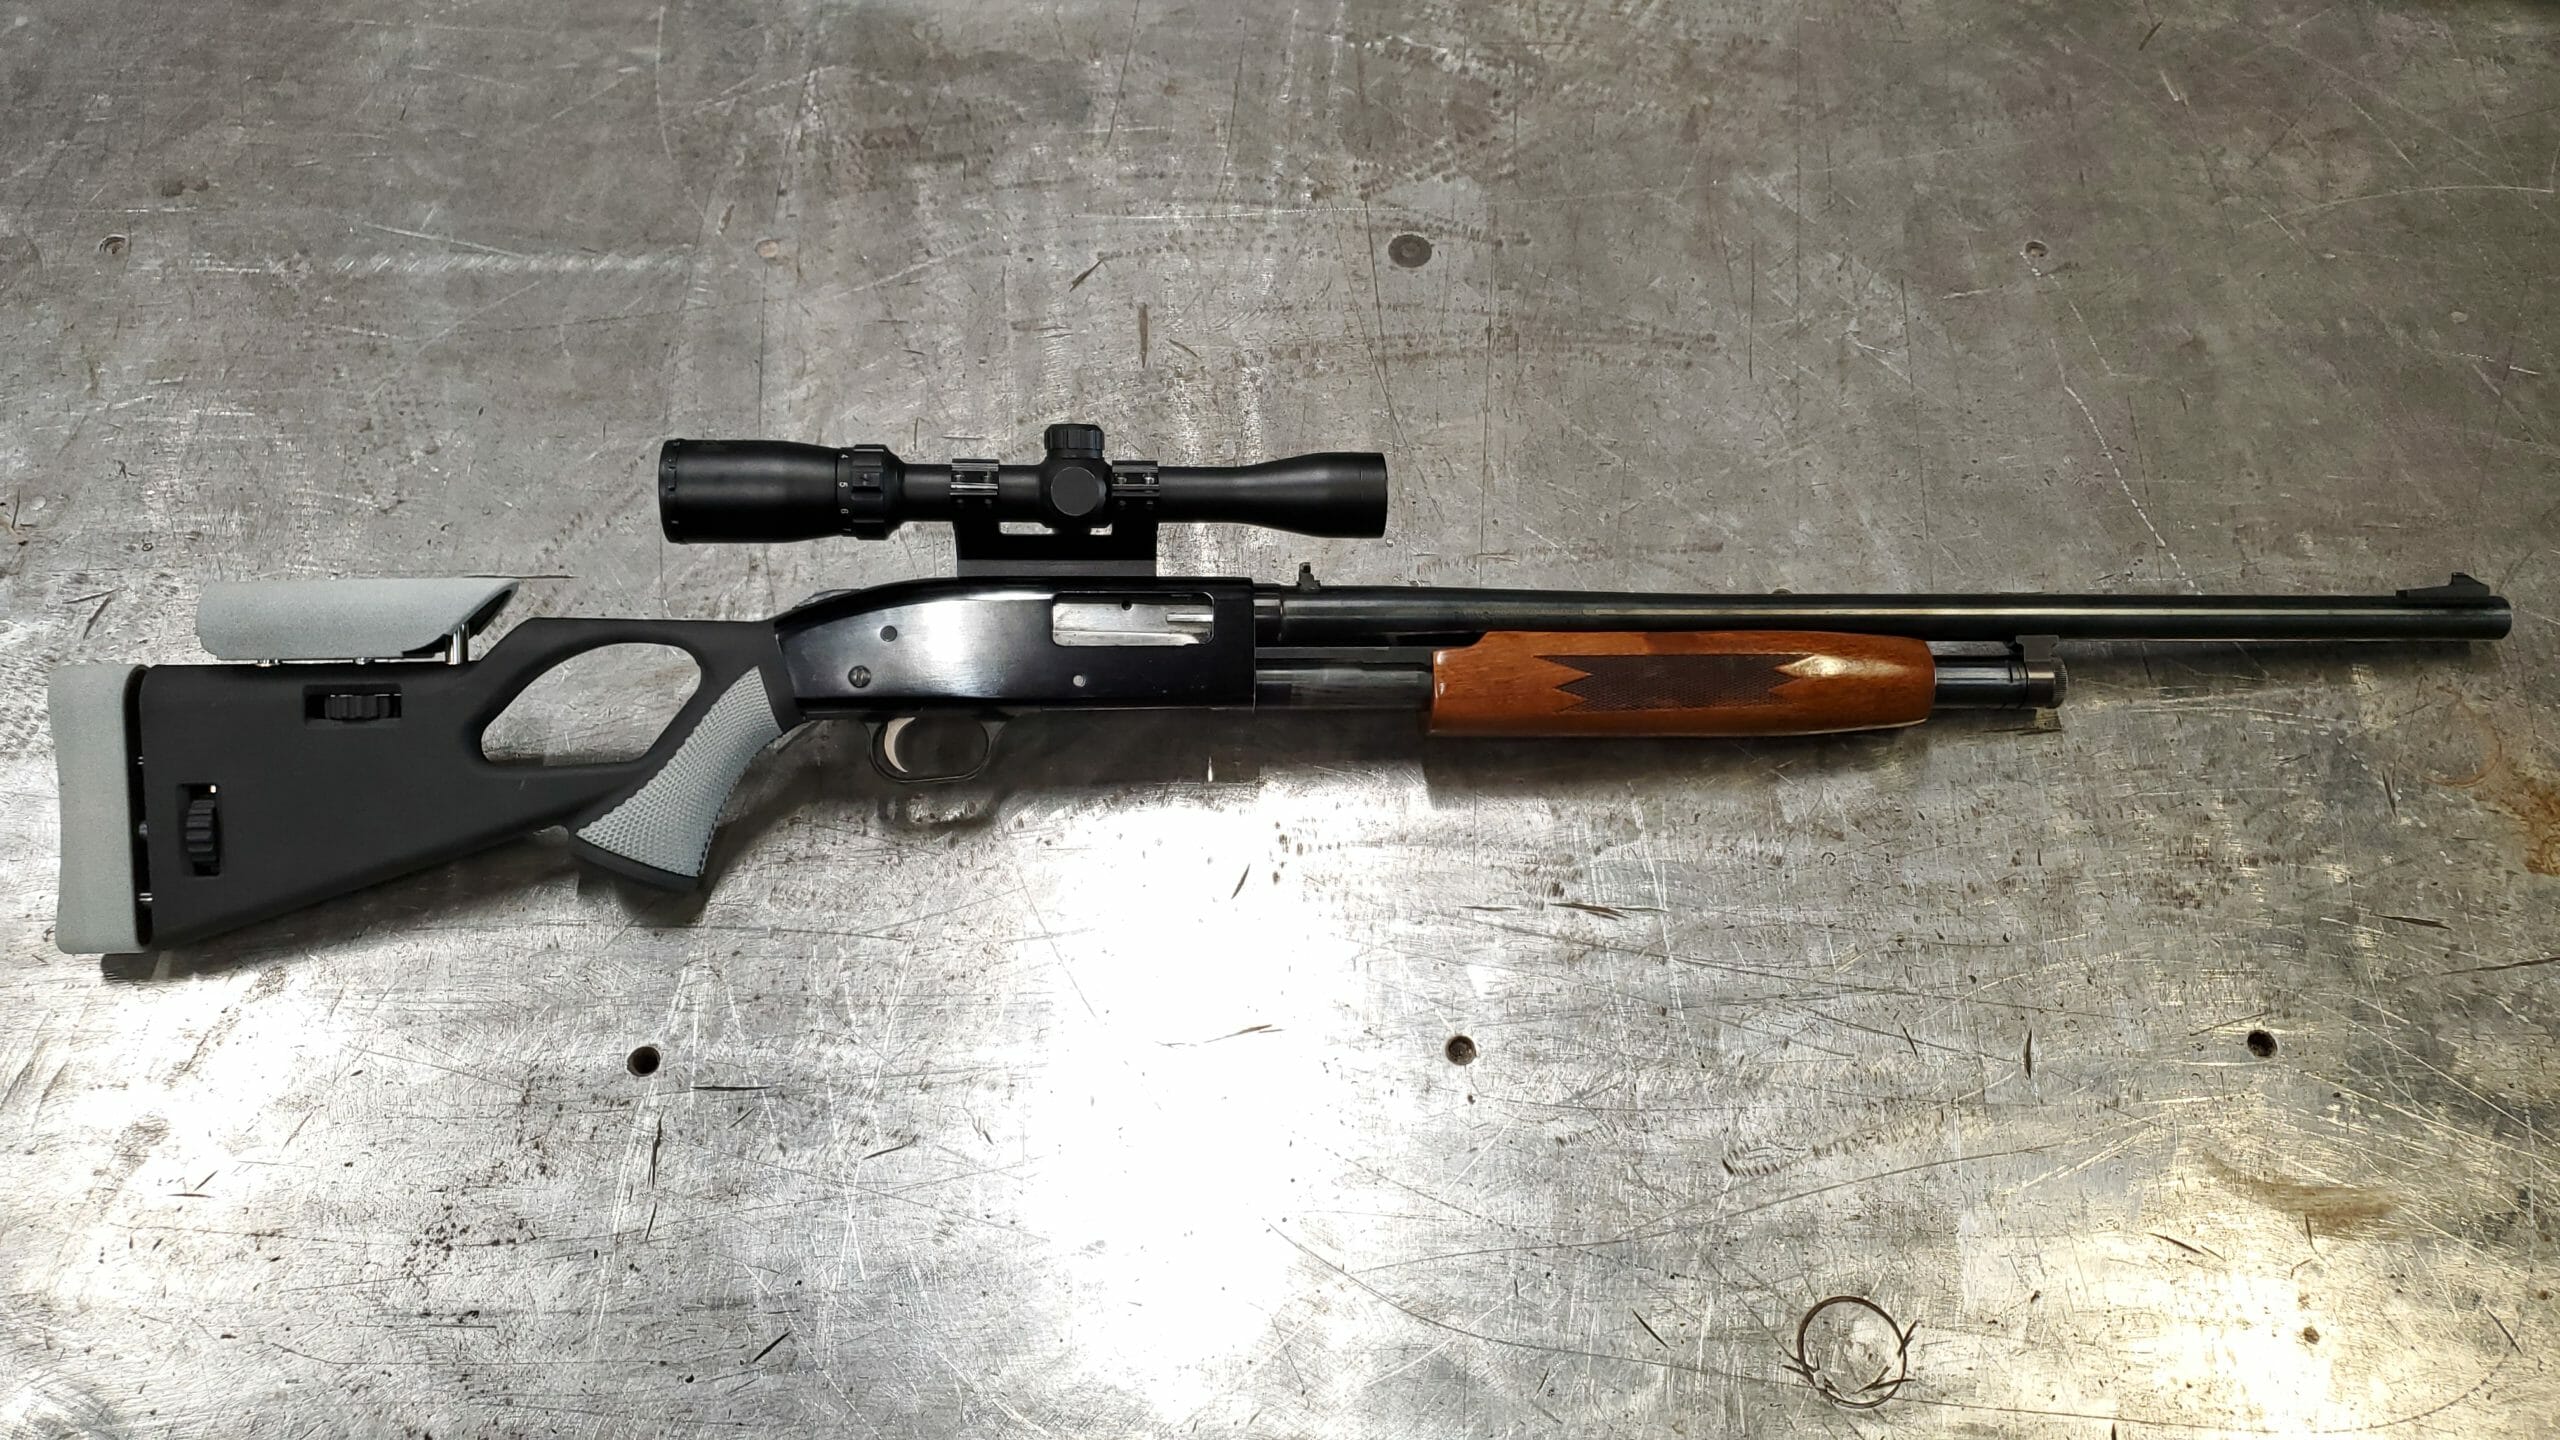
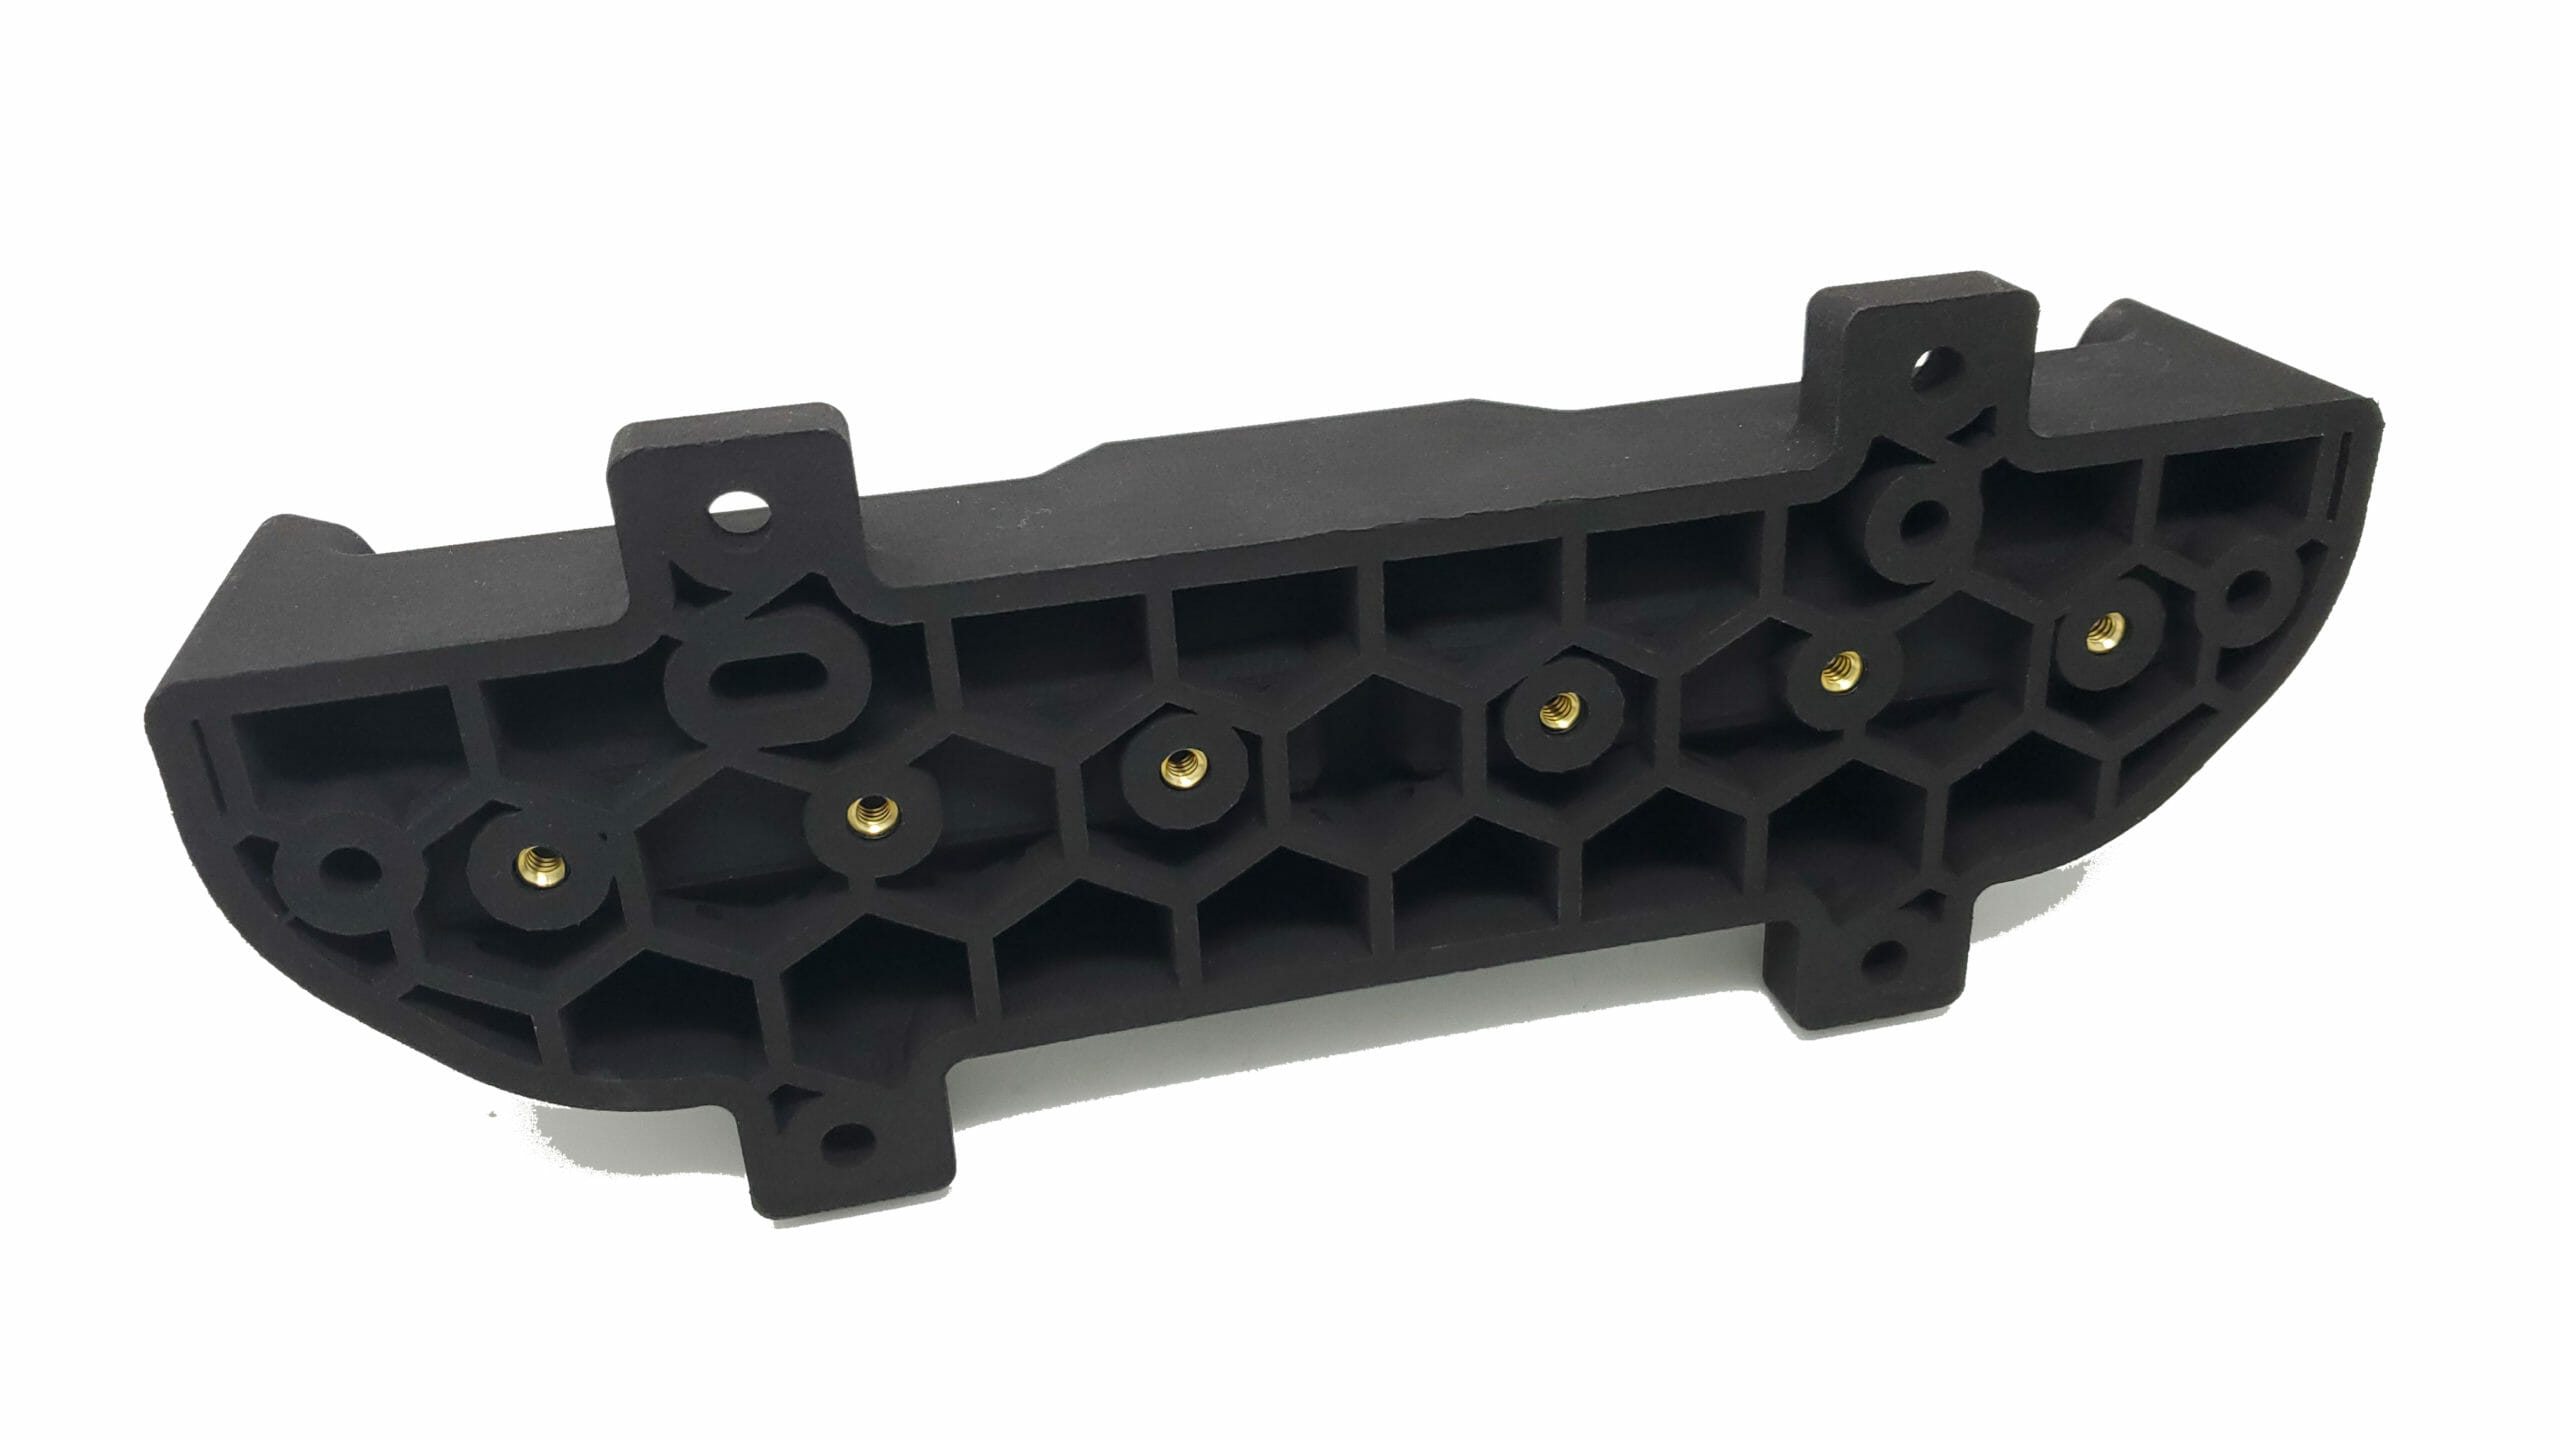
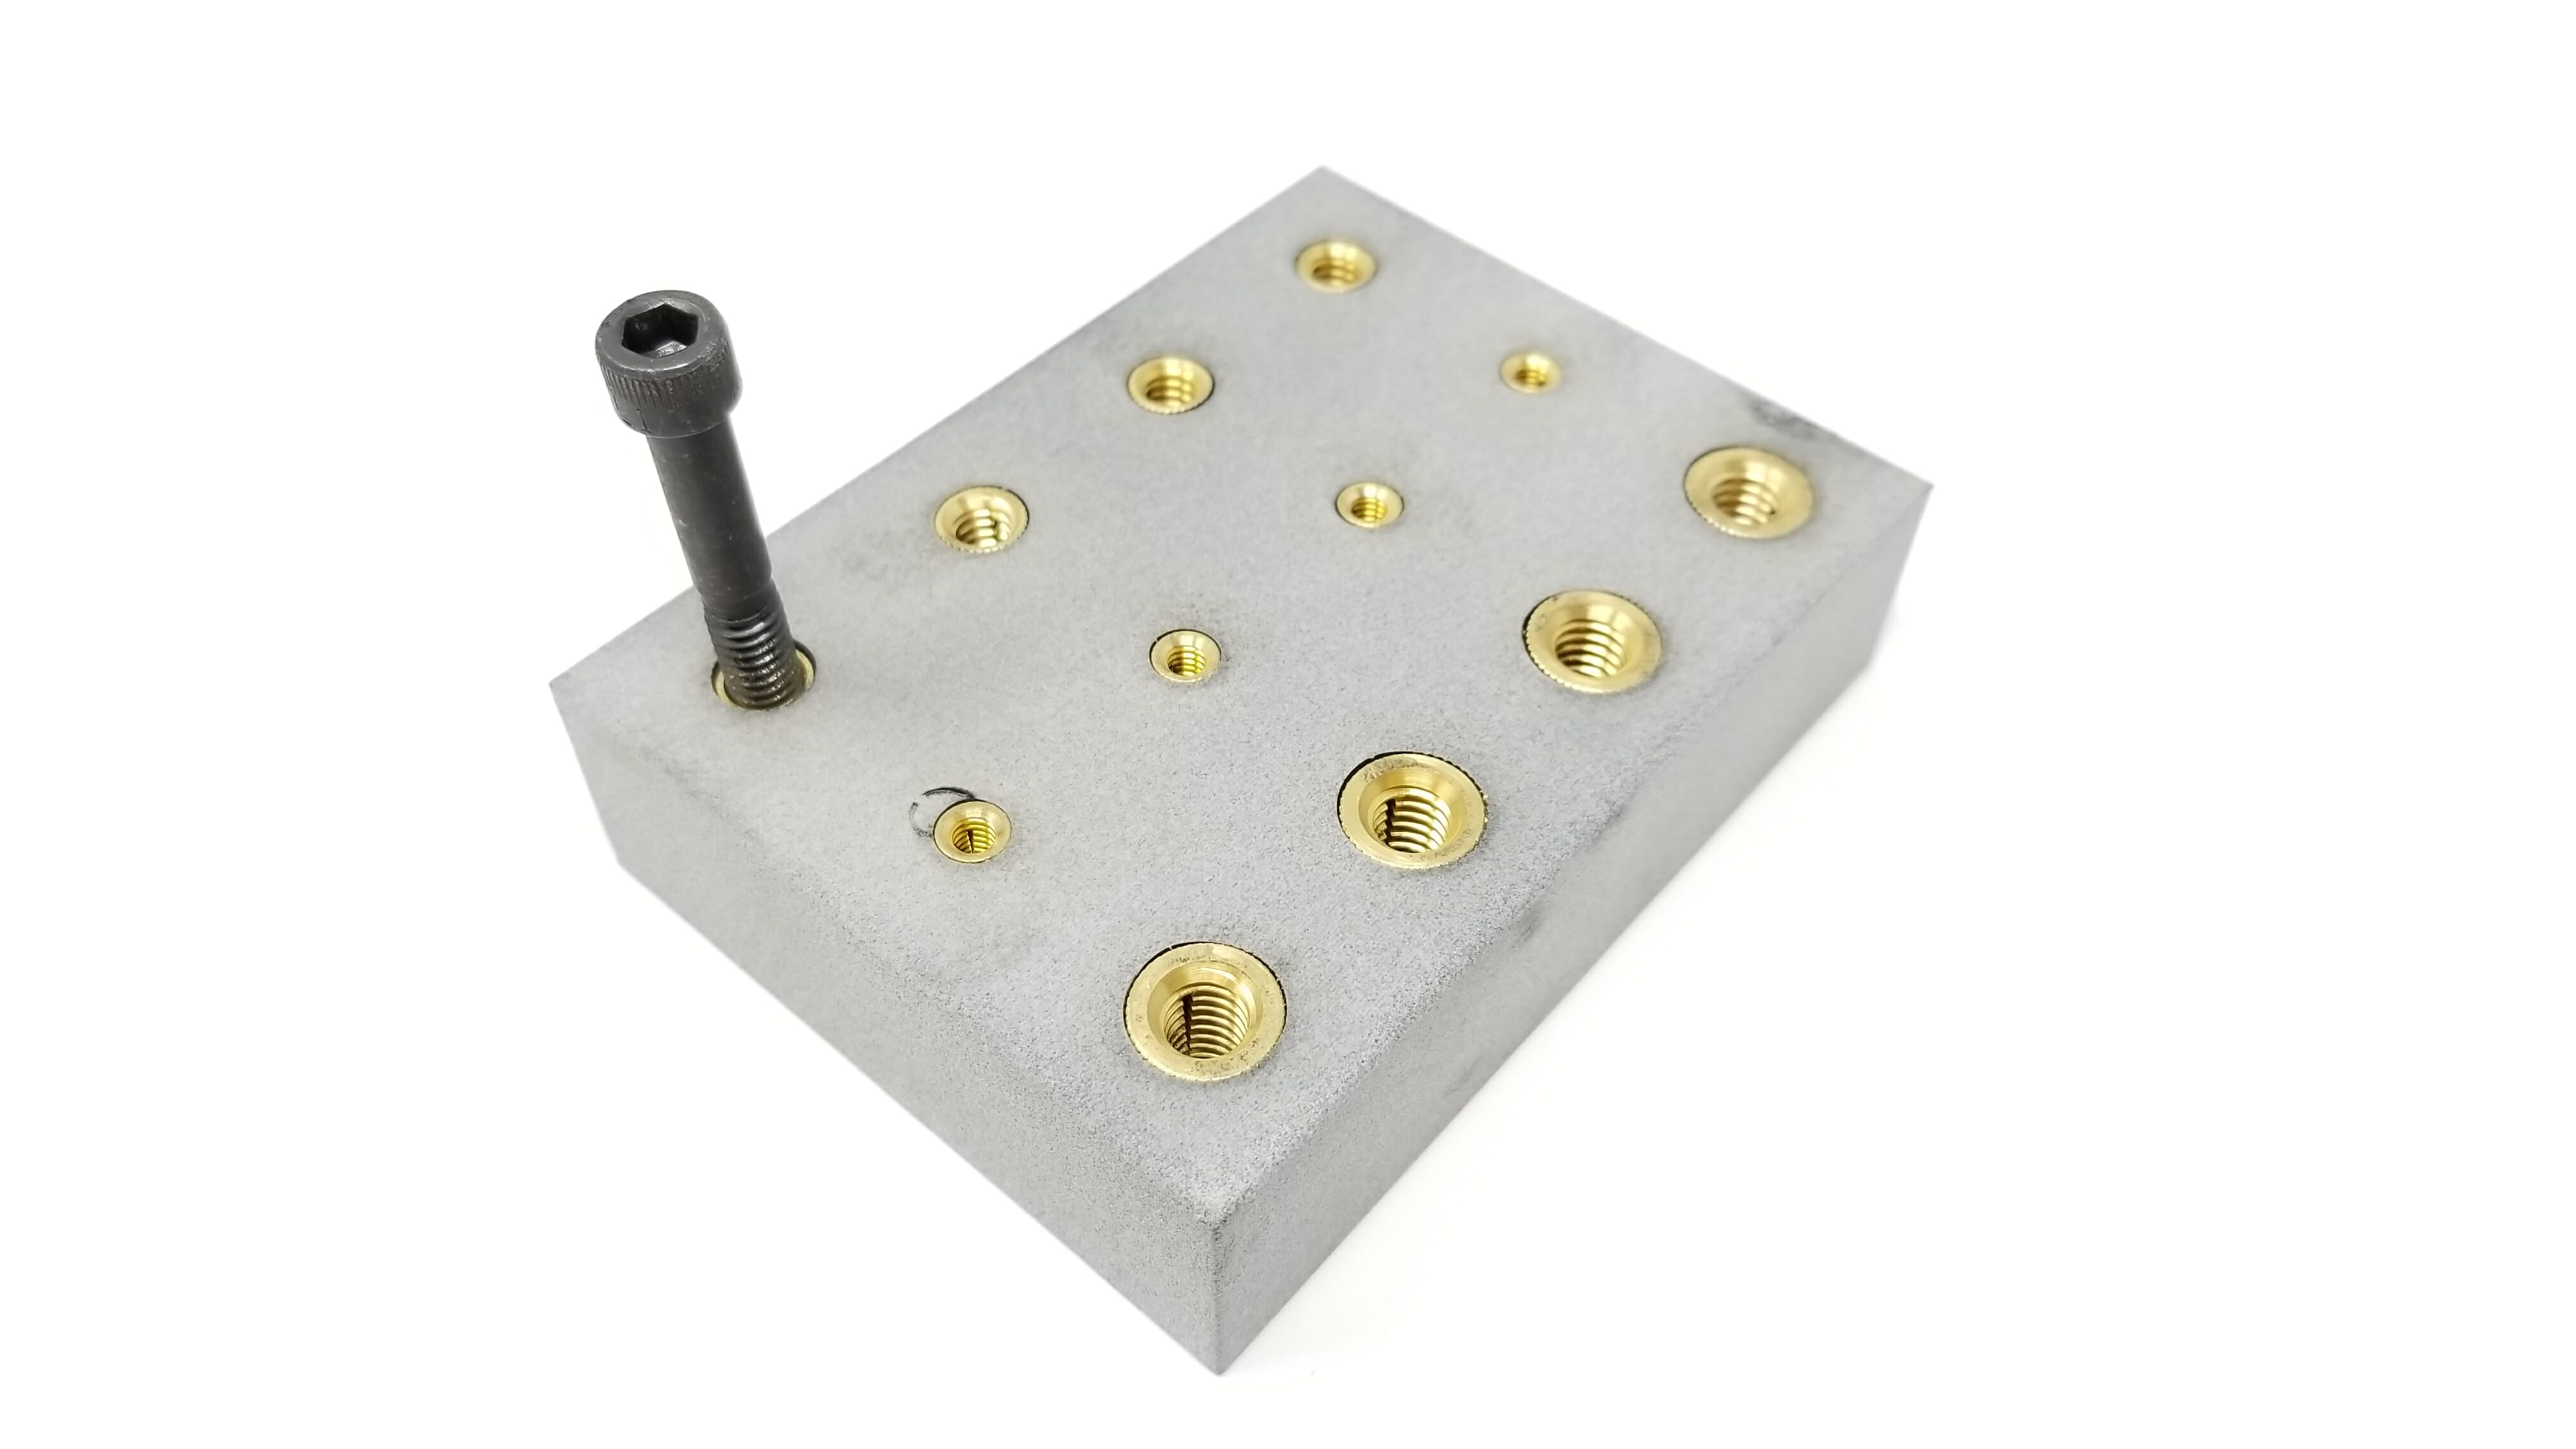
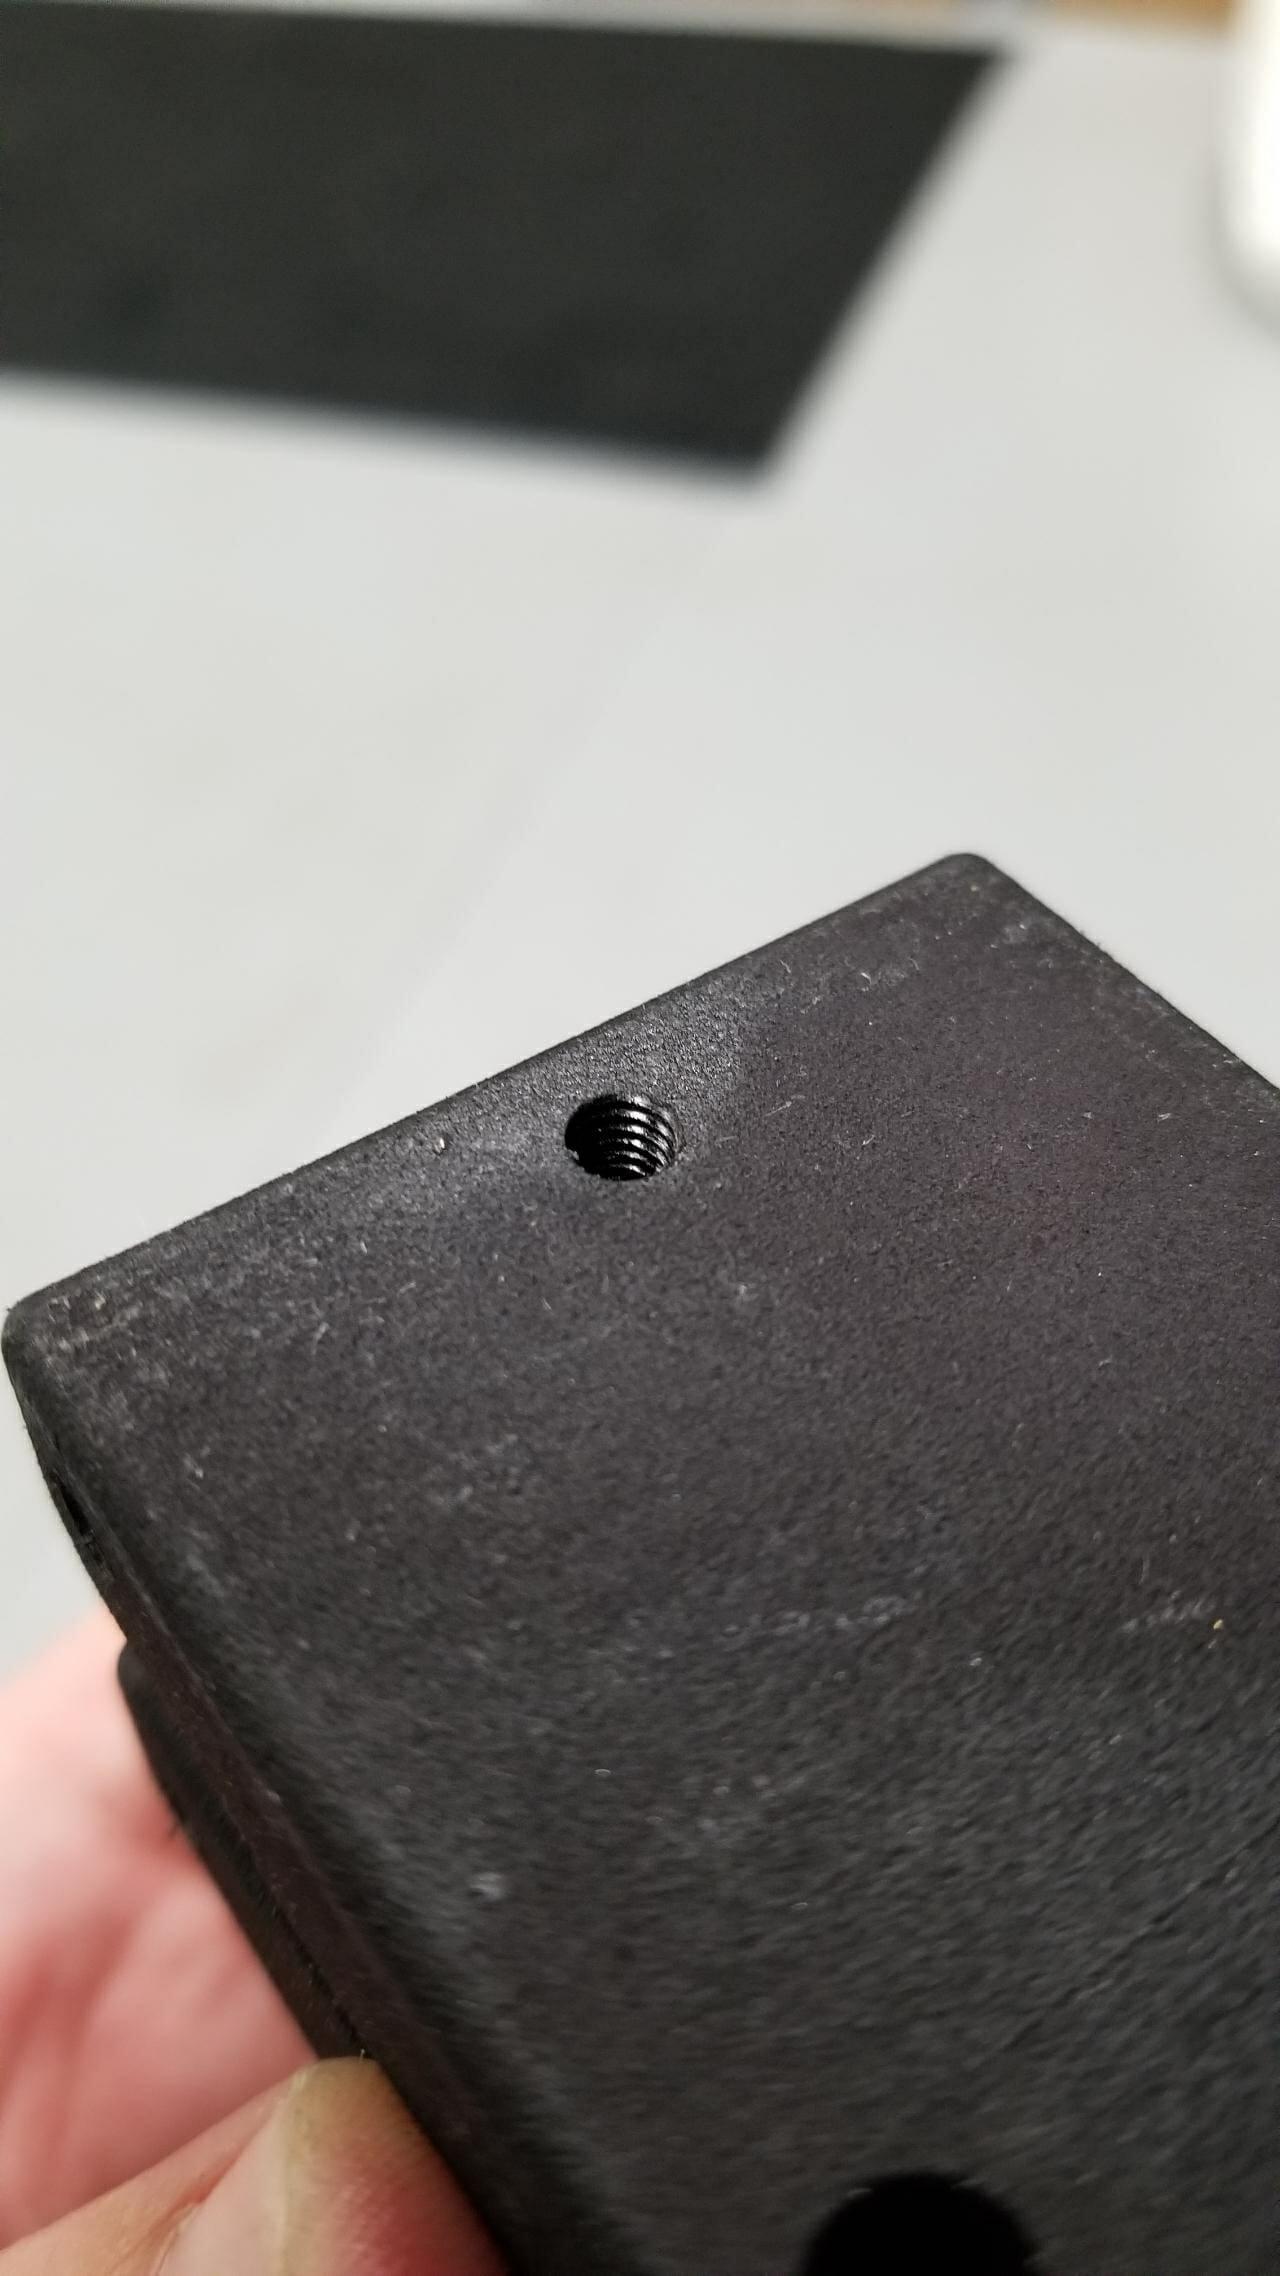
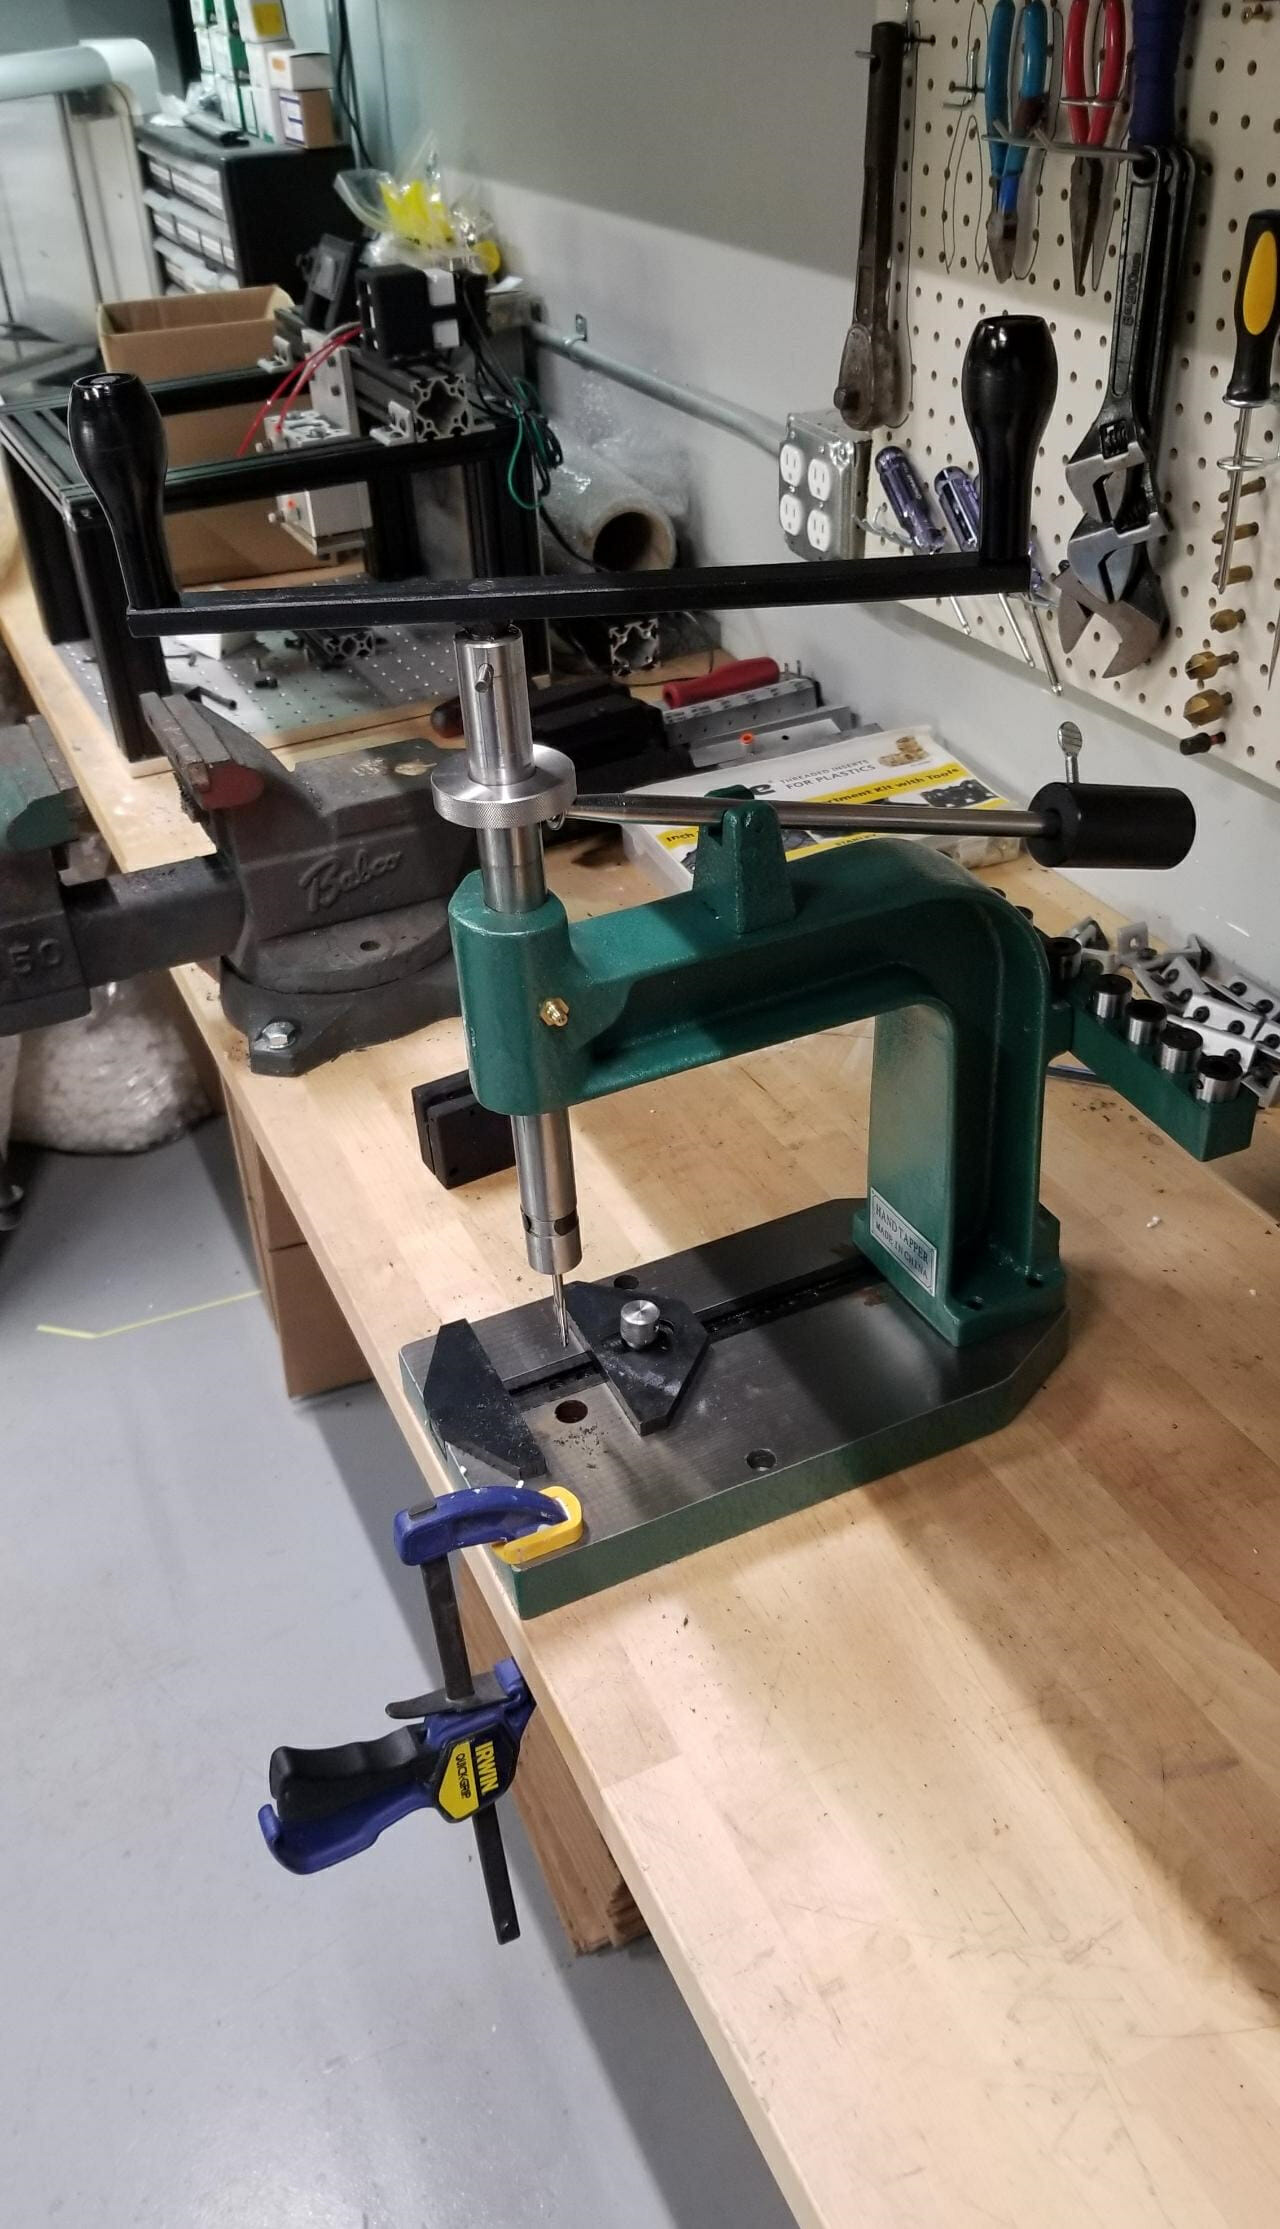
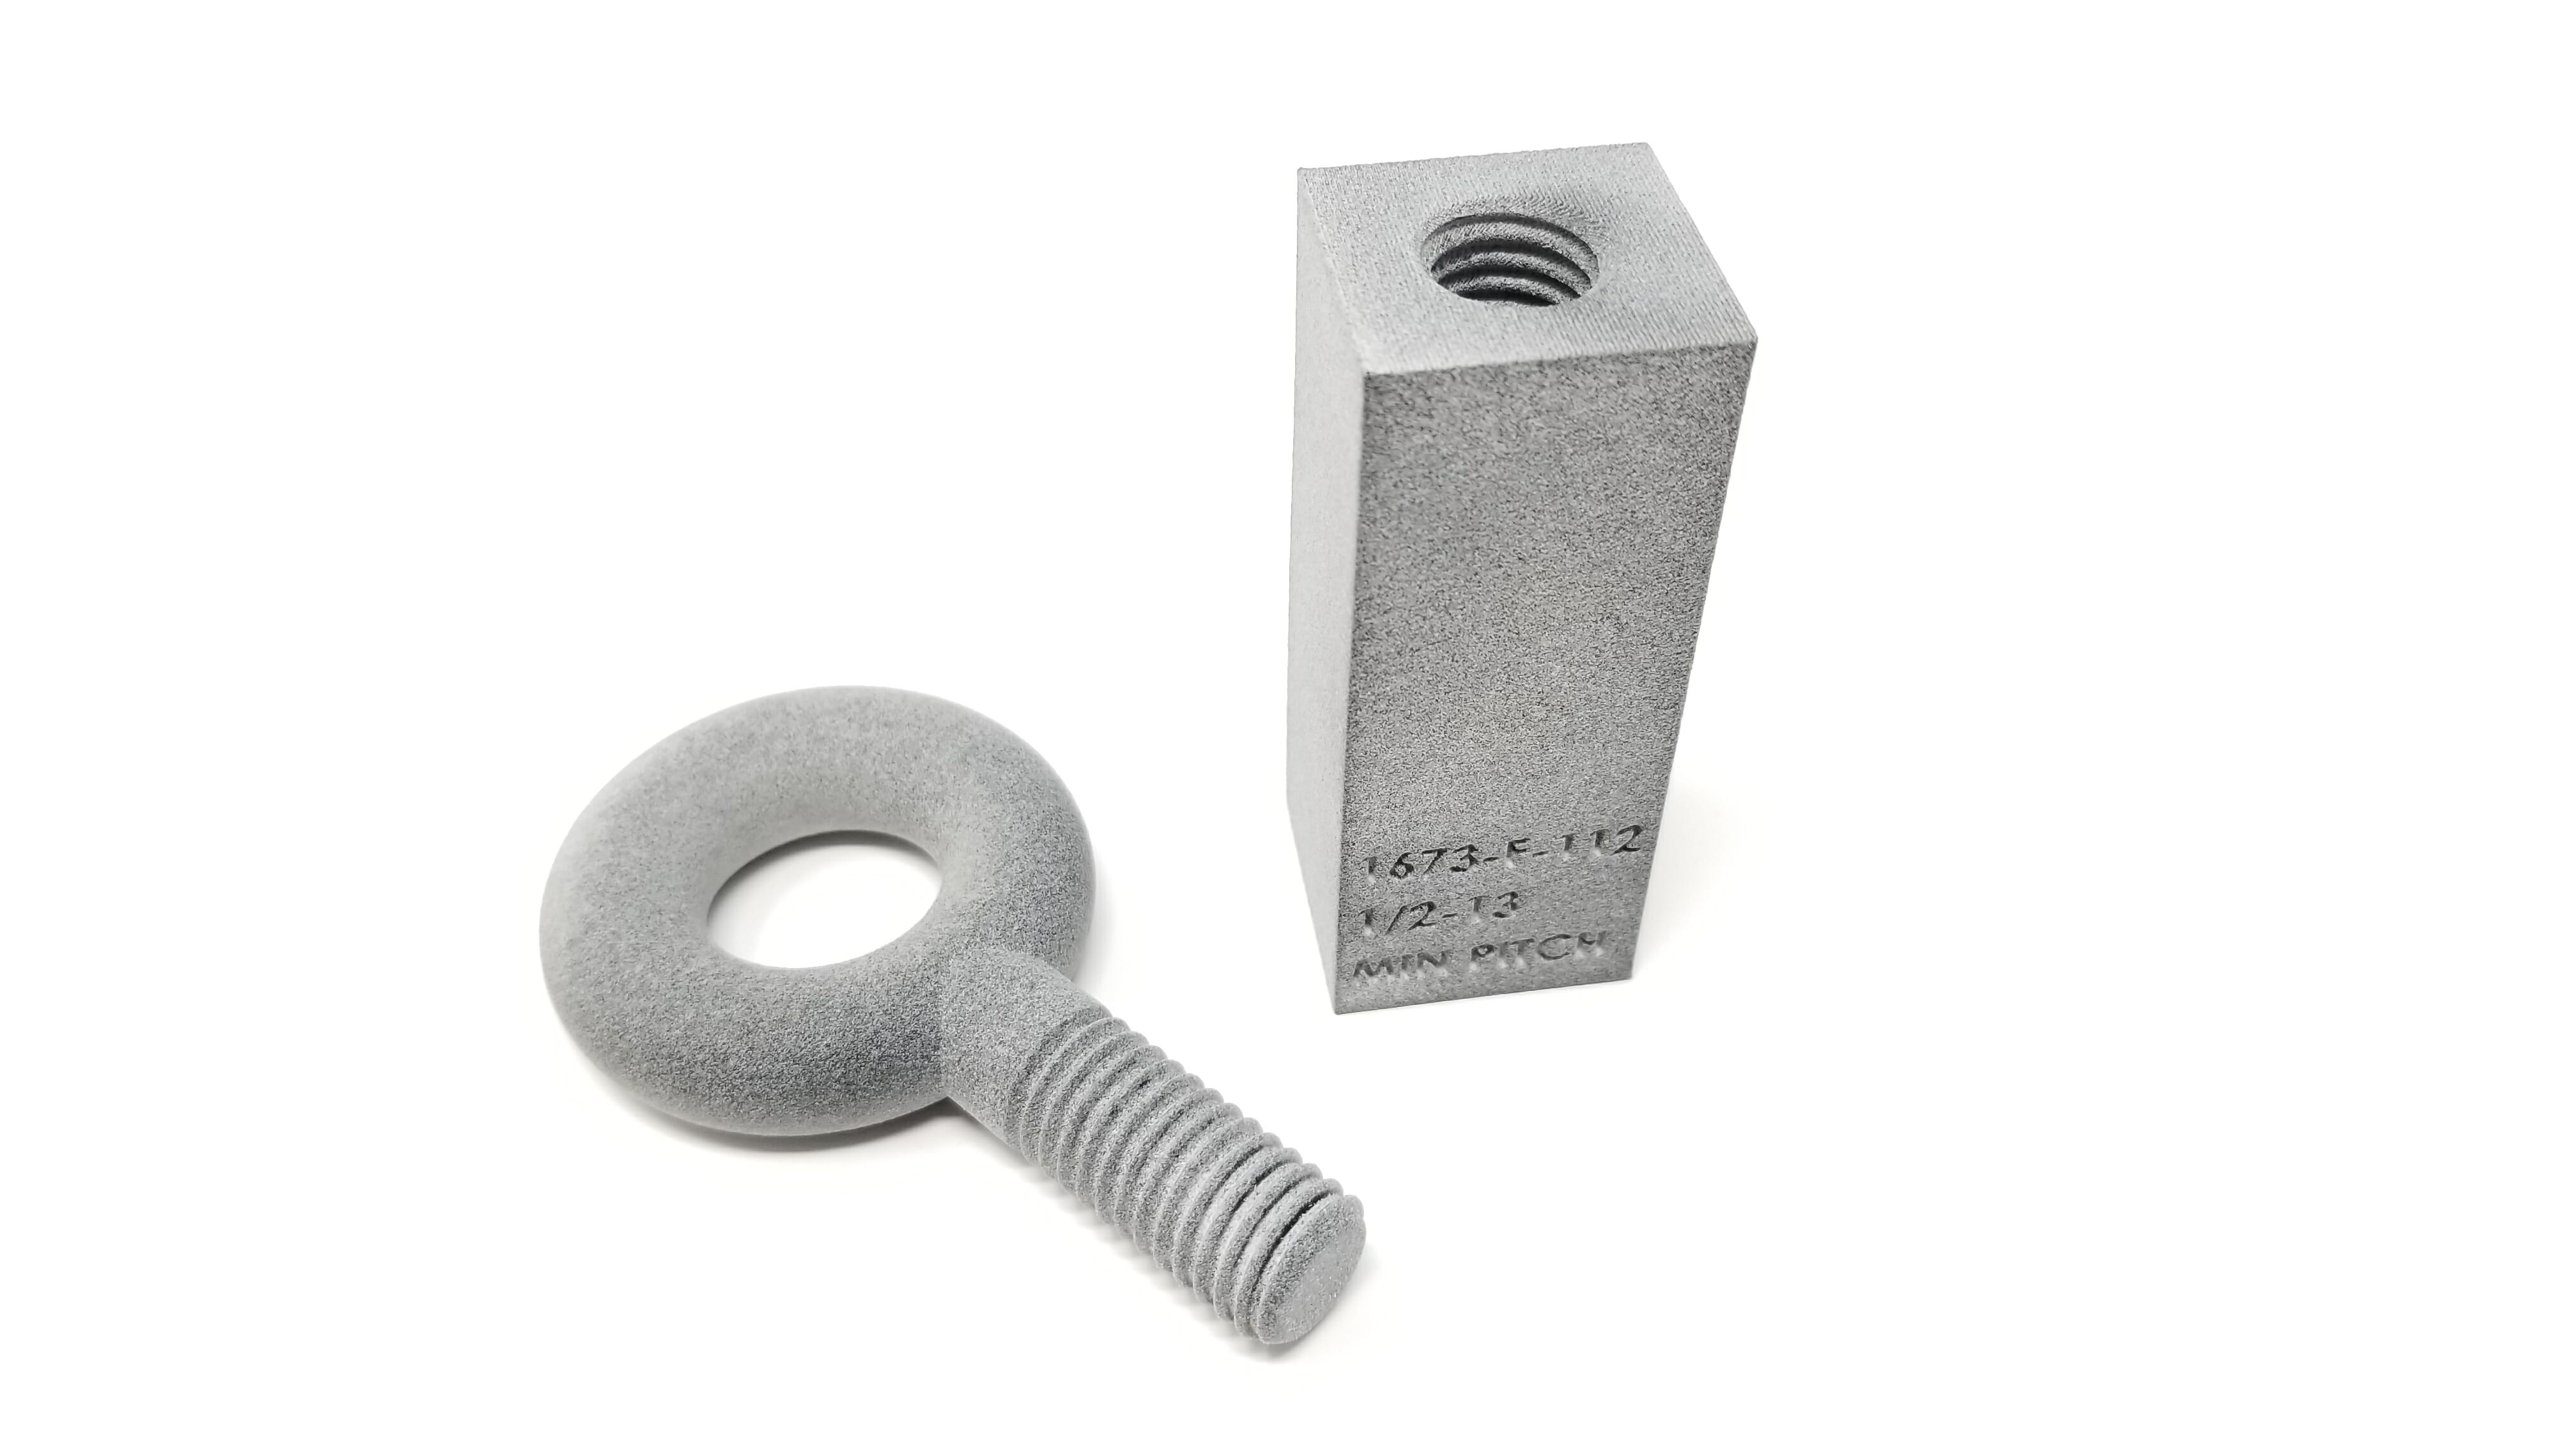
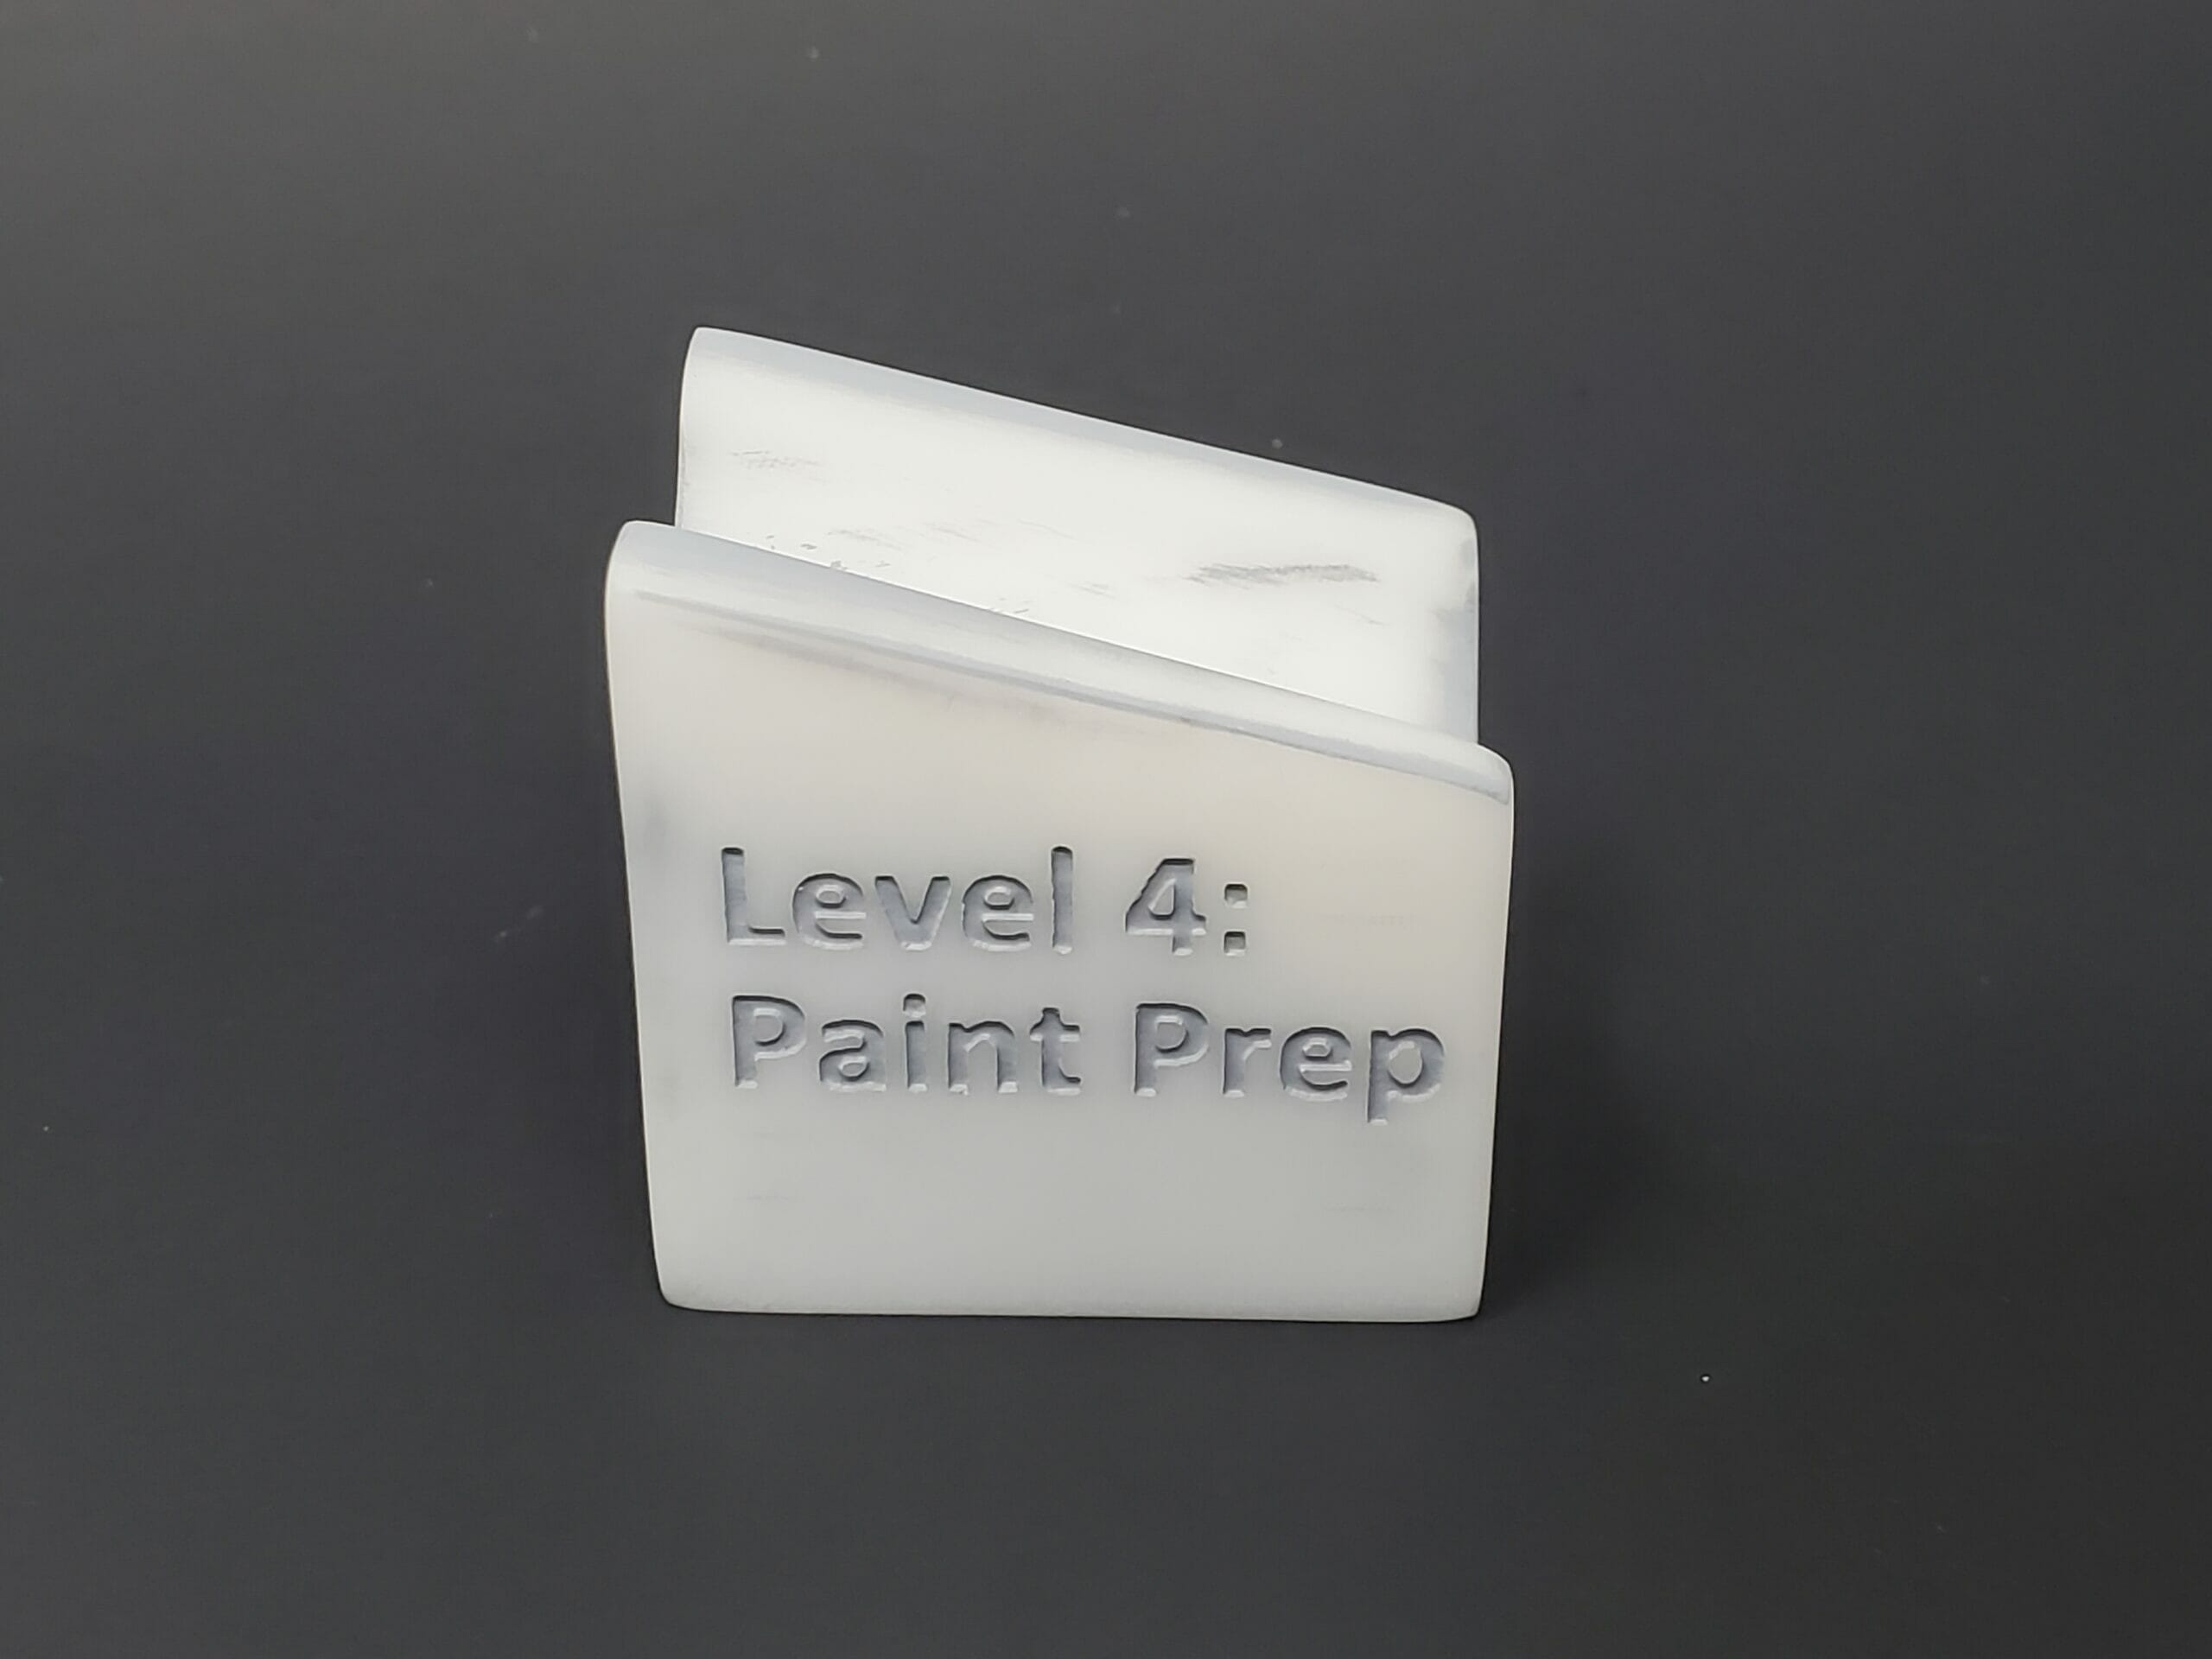
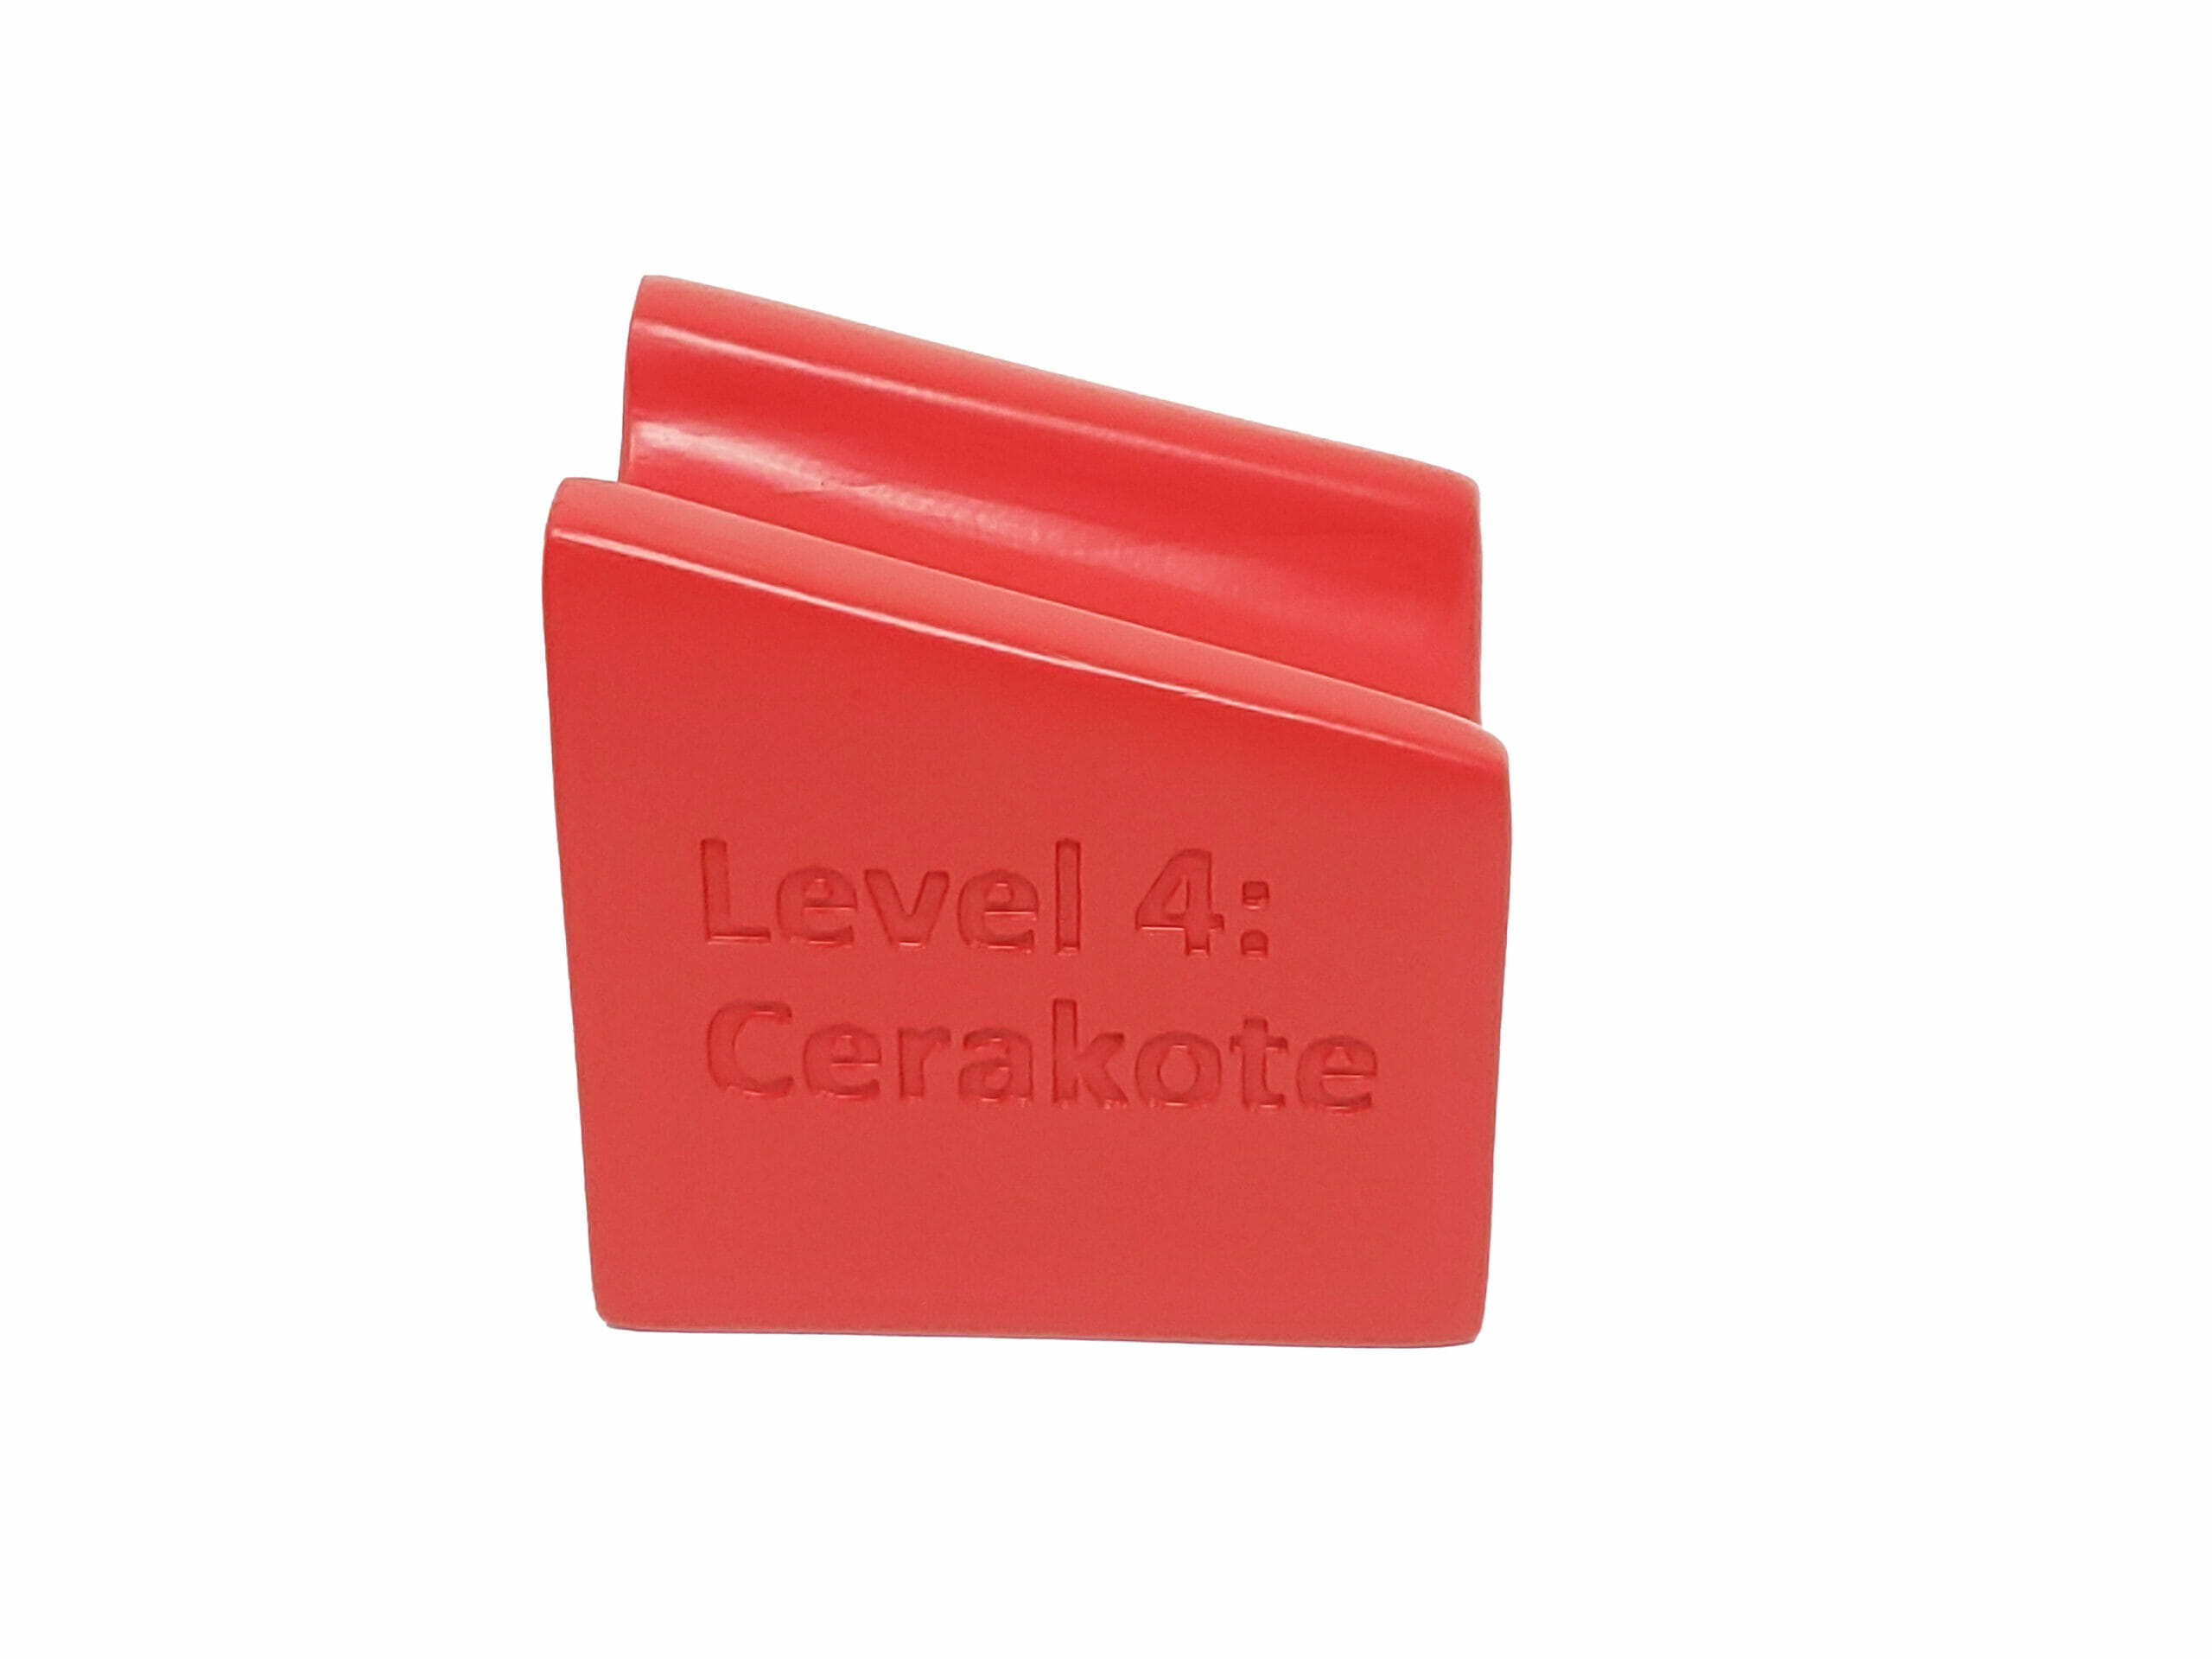
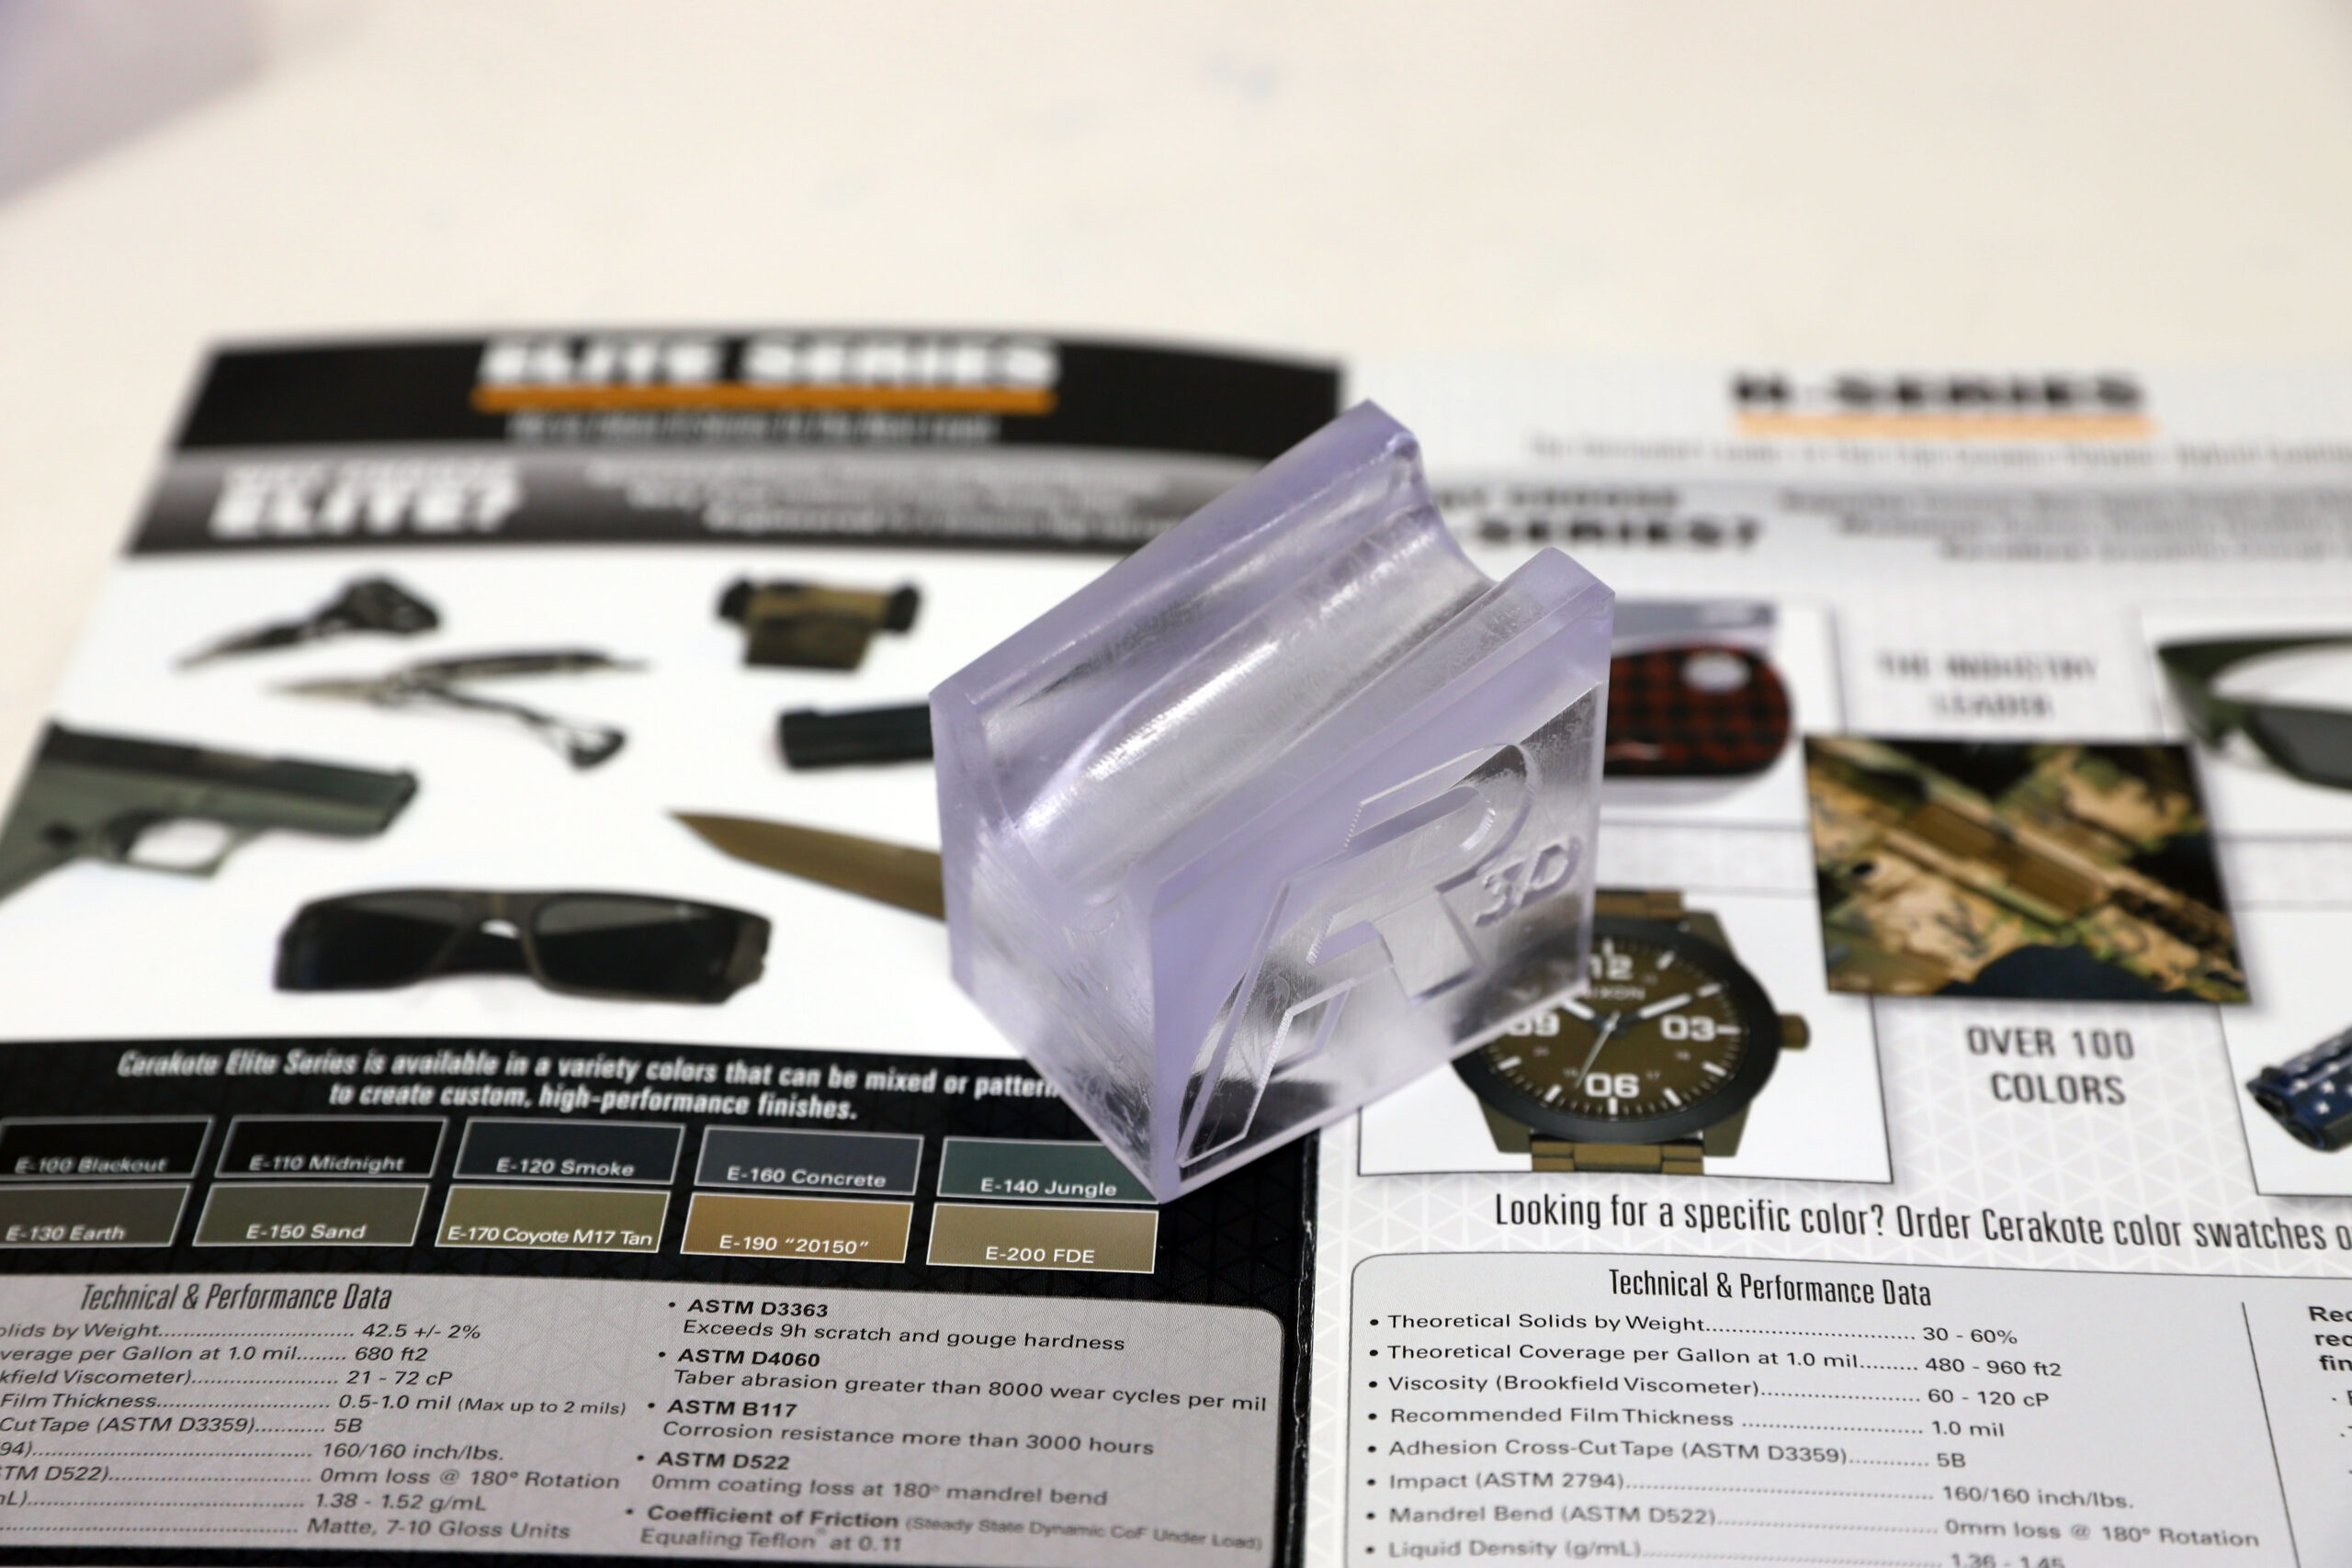
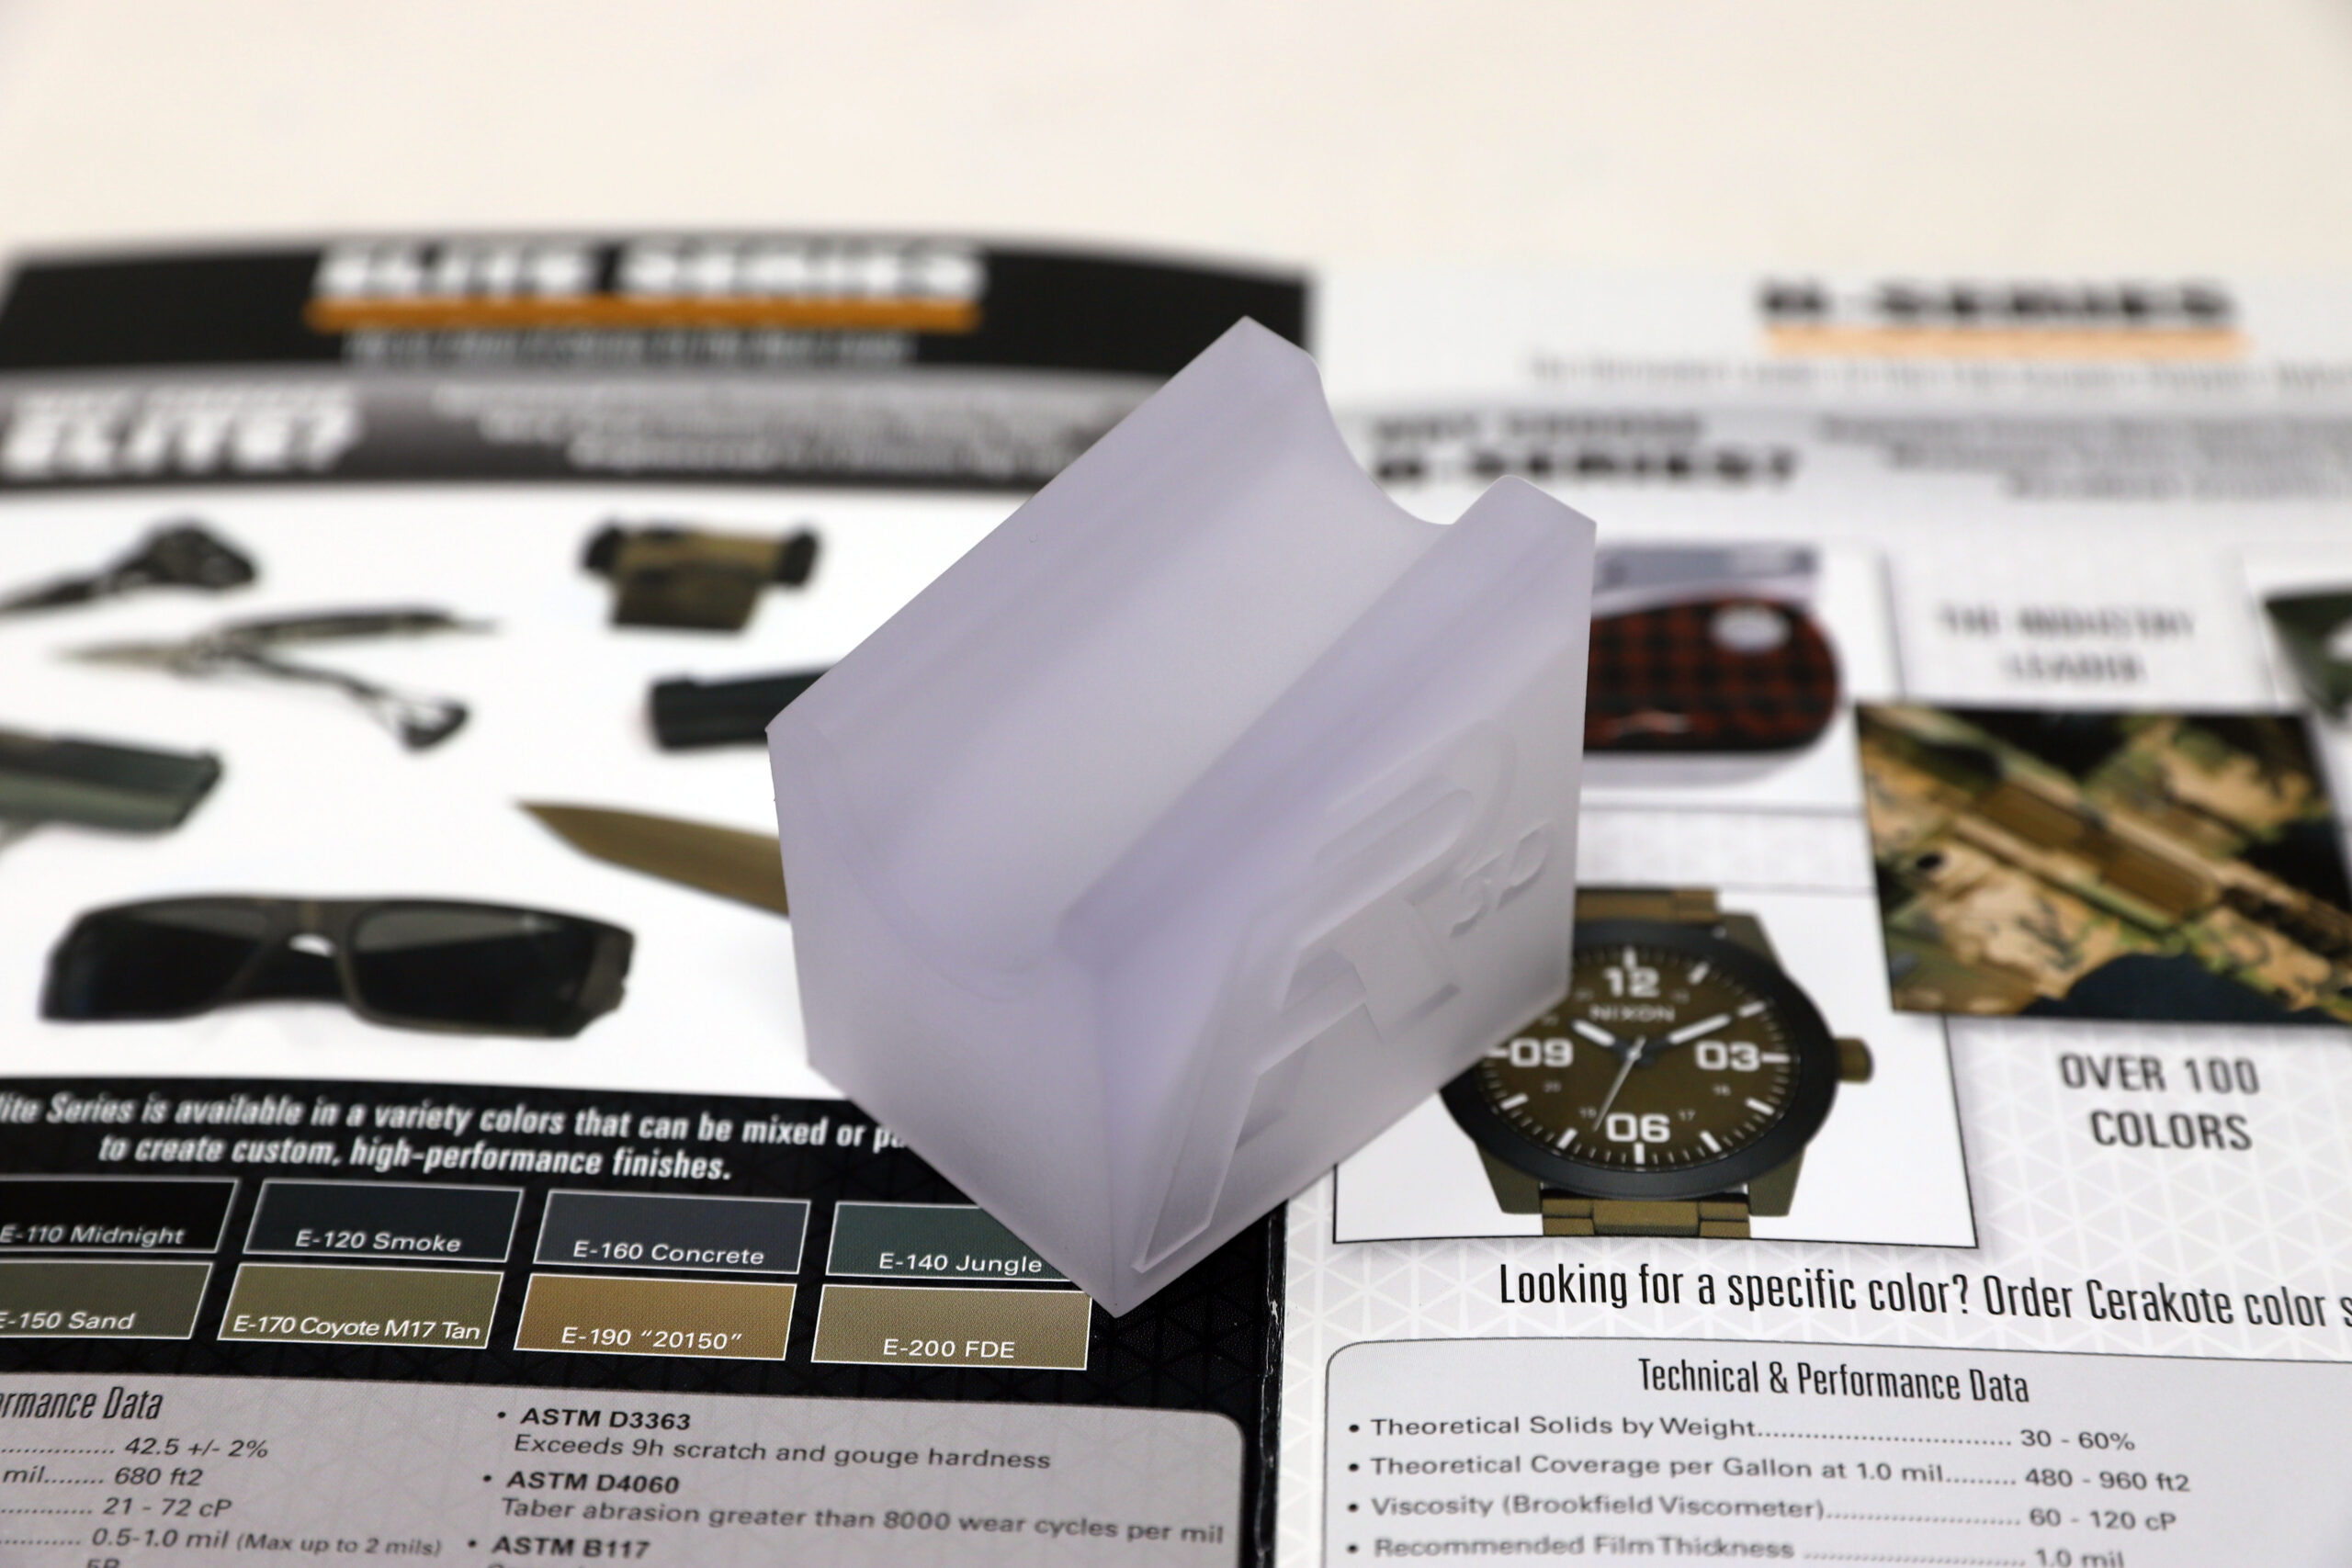
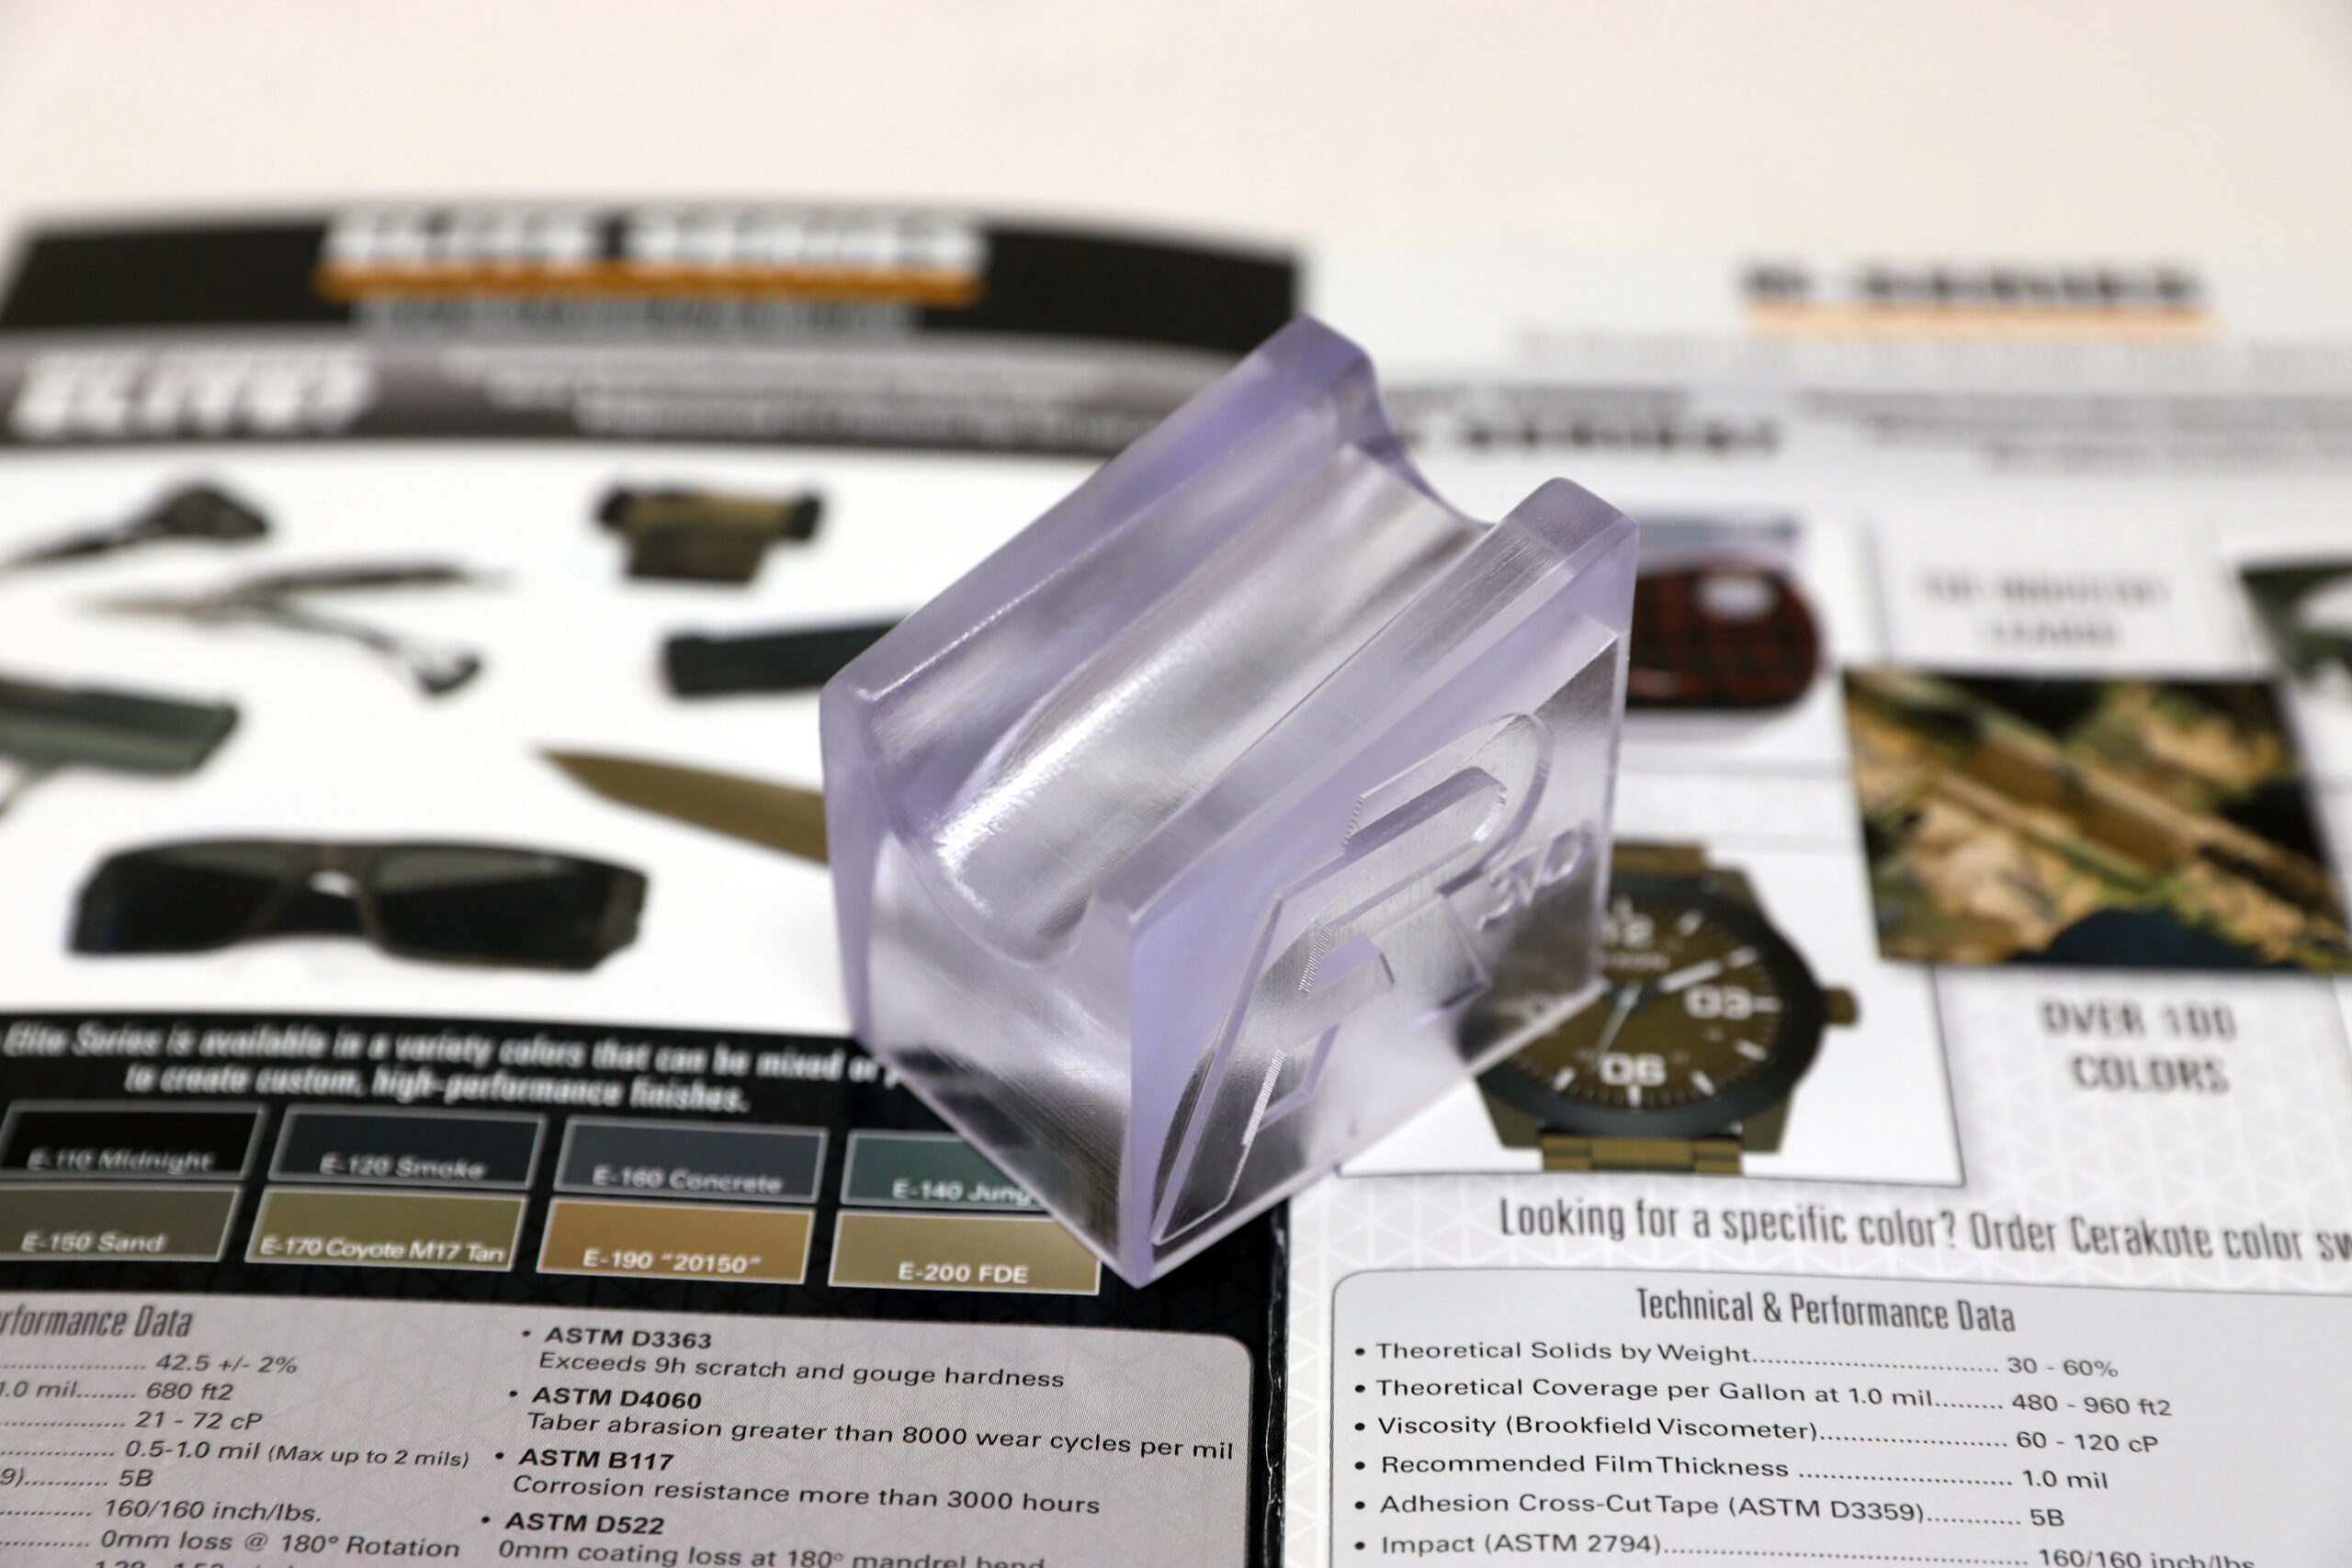
Painted Part Finish: Automotive Paint: This option is great for getting color onto your parts and can be applied to anything produced on any of our 3D printed technologies. In some cases the parts will be fully sanded, then primed, and re-sanded again before the final coat of paint is applied in order to make the parts have an extremely high-end finish. In other cases a part will just be coated in the requested color to keep the cost down and lead time as short as possible. We have the ability to offer any paint color from the following color systems: This painting process is great for prototypes, trade show models, or investor pitch models. If you are looking for something that will hold up to rough use, harsh environments, and end use applications, please look at our Cerakote option below. Cerakote Coating: Cerakote is a Polymer-Ceramic Composite coating that can be applied to many different 3D printed materials. The unique formulation used for Cerakote ceramic coating enhances a number of physical performance properties including abrasion/wear resistance, corrosion resistance, chemical resistance, impact strength, and hardness. Clear Part Finish: Parts printed on one of our SLA machines in the Somos Watershed material can be hand sanded and clear coated to achieve a very clear surface finish. Metal Plating: Electroplated coatings are a great compliment to 3D printed part that need characteristics like: Using 3D Printing in conjunction with electroplating its possible to create high end durable products in low quantities for high value applications. Metals that are available for platting: Examples of parts that have been metal plated: NOTE: Having parts coated typically adds 2-10 days to the time it takes to get parts done and shipped out. Assembly: F3DP offers part assembly services for both 1 off prototypes all up to multi thousand part production runs for customers. Examples of these services include: Deep Laser Engraving: Using Deep Laser Engraving we are able to cost effectively digitally mark 3D printed parts with logos, serial numbers, instructions, etc. Here is our dedicated page on this topic. Threaded Holes: Heat Set inserts – F3DP can handle the installation of any heat set insets needed for your parts. Check out our design guide for using heat set inserts on your 3D Printed parts. Tapped Holes – F3DP can handle any tapping needed for your parts. Printed in Threads – Printed threads is a viable option for MJF parts and can be a real cost savings due to it eliminating a secondary operation. For more testing on the durability of printed threads please check out our dedicated page on this topic. Heli-Coil Inserts – F3DP can handle the installation of any Heli-Coil insets needed for your parts. Gluing / Light Welding: Gluing – great option for joining both similar and different materials together as a single part. If there are any drips or runs from the joint it can be hard if not impossible to sand them away so if you care about cosmetics this option is not really the best way to go. Please visit our dedicated part gluing page to find out more about this. Light Welding (SLA only) – with this process we use an SLA like material that is very similar to the material that the parts were printed with and apply that to the joint, then put the parts are put together and cured with a UV light source. This is the weaker of the two joint bonding options, but the upside is that we can sand this joint after welding and make smooth so that it can’t be felt or seen if the part is painted. The following is a guide to the different finishes that will be on a quote from F3DP and what they mean: MJF / SLS Parts: Opaque Parts (SLA / FDM / POLYJET / CLIP Parts): Clear Parts (SLA / POLYJET): NOTES:
The Vapor Smoothing process is a chemical surface smoothing method that improves the part performance, seals the surface, and offers a smooth / glossy look and feel. To find out more about this process check out our dedicated page on the topic here.
Part Coating / Color Options –


Other Secondary Services –
![]()


Finish Level Definition:


![]()
Click here to go to the 3D Printing Machines & Materials page
Have questions?
Contact us:
Sales@Forerunner3d.com – 231.722.1144
About. Services. Contact. Industrial Codes.
Upload your files and fill out the information below to begin the quoting process.
